- 5 -
OPERATING INSTRUCTIONS
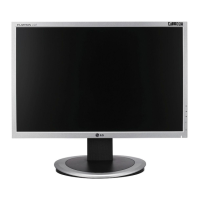
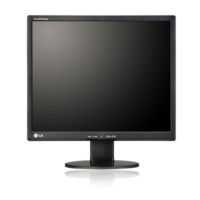
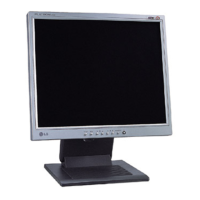
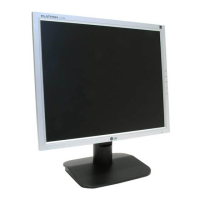
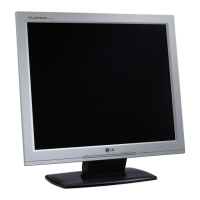
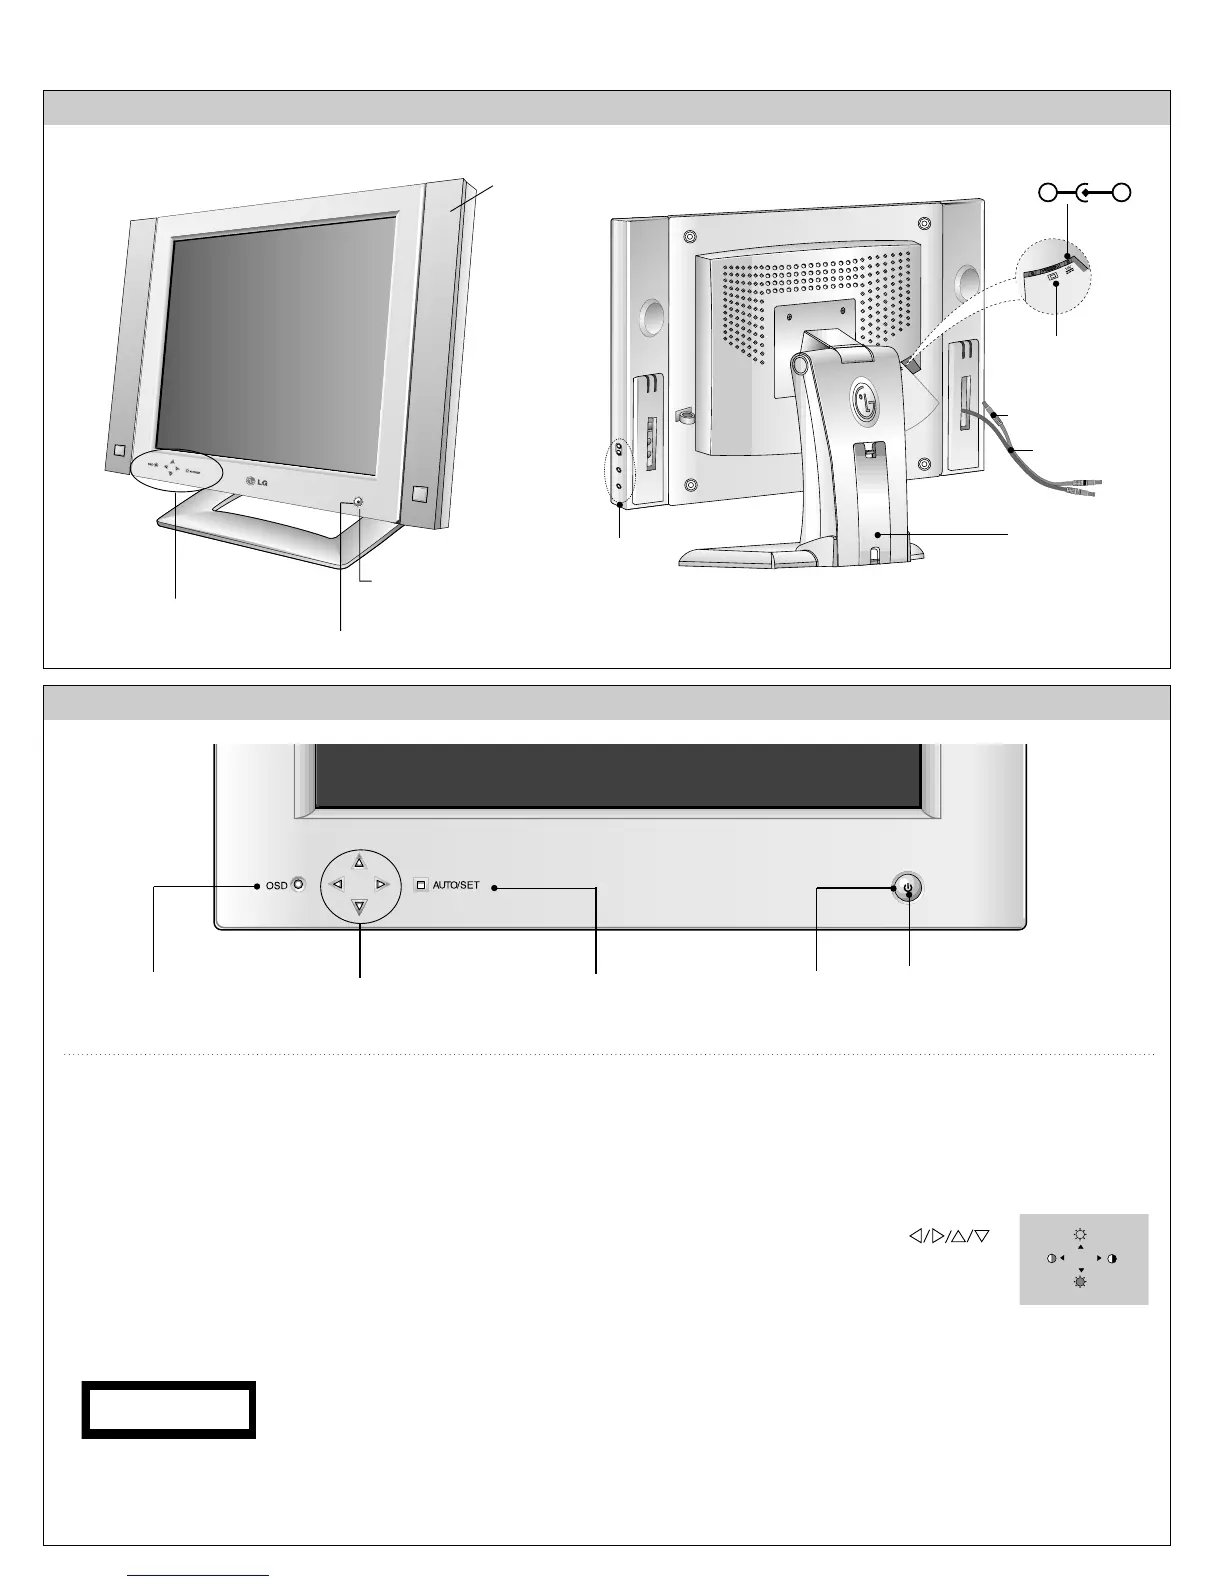
FRONT VIEW REAR VIEW
Front Control Panel
24V
AUDIO
DC OUT
AUDIO
DC OUT
1. Power ON/OFF Button
This button is used to turn the monitor ON and OFF.
2. Power Indicator
This indicator lights up green when the monitor
perates
normally. If the monitor is in DPM (Energy Saving)
mode (stand-by/ suspend/power off), this indicator color
changes to orange.
3. AUTO/SET Button
Use this button to enter a selection in the on screen display.
4. OSD Selection/Adjustment Buttons
Use these buttons to choose or adjust items in the on screen
display.
5. OSD Button
Use this button to enter or exit the on screen display.
Stand Cover
DC Power Connecter
D-Sub Signal Connector
Audio DC Power Cable
Audio Cable
Audio Buttons
Power ON/OFF Button
Speaker
Power (DPMS) Indicator
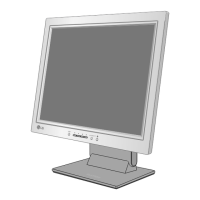
Front Control Panel
<Shortcut Keys>
• Brightness and Contrast can be adjusted
directly without entering the On Screen
Display (OSD) system. Touch the
buttons to adjust the settings and then the
OSD button to save all changes. The
Brightness and Contrast functions are also
available in the On Screen Display (OSD)
menu.
* AUTO adjustment function
Touch the AUTO/SET button before
using OSD menu. This button is for the
automatic adjustment of the screen
position, clock and phase.
Note: Some signal from some graphics boards may not function
properly. If the results are unsatisfactory, adjust your monitor’s
Position, Clock and Phase manually.
PROCESSING
AUTO CONFIGURATION
100
100
OSD Selection/Adjustment
Buttons
AUTO/SET Buttons
Power ON/OFF Button
1
Power (DPMS) Indicator
23
OSD Buttons
54
 Loading...