Do you have a question about the LG GSA-E60N and is the answer not in the manual?
Ensure PC has USB port and turn off all device power before connecting cables.
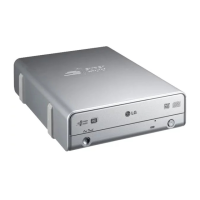
Connect USB cable to drive and PC, then AC adapter. Confirm drive detection and install software.
Use specified cables only. Device powers on upon AC connection; outlet must be accessible.
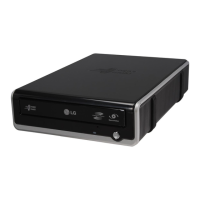
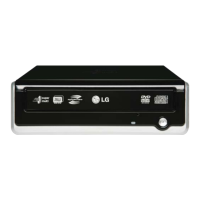
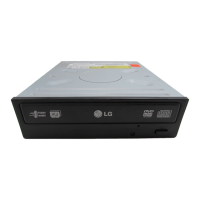
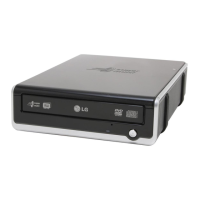
Identification of front panel components: Disc Tray, activity indicators, emergency eject, and stop/eject buttons.
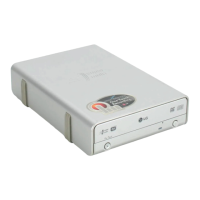
Description of rear panel connectors: USB Connector and Power Connector for cables.
Steps to safely remove USB cable via Windows taskbar icon, ensuring software is stopped.
Avoid removing the USB cable when the drive activity indicator blinks or during computer startup.
Details PC hardware, OS, and software requirements for optimal drive operation and installation.
Lists compatible disc types, writing methods, and detailed read/write speed specifications.
Key performance metrics including sustained data transfer rates, access times, buffer capacity, and MTBF.
Crucial safety warnings about laser eye damage, electric shock, opening the unit, and avoiding moisture.
Declarations of compliance with EEC, Industry Canada, and FCC radio interference standards.
| CD write speed | 48 x |
|---|---|
| CD rewrite speed | 32 x |
| DVD+R write speed | 20 x |
| DVD+RW write speed | 8 x |
| DVD-RW write speed | 6 x |
| DVD-R Double Layer write speed | 10 x |
| CD-RW read speed | 40 x |
| DVD+R read speed | 16 x |
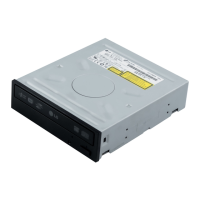
| Internal | No |
| Drive device, buffer size | 2 MB |
| Mean time between failures (MTBF) | 125000 h |
| Dimensions (WxDxH) | 16 x 230 x 50 mm |
| USB 2.0 ports quantity | 1 |
| Storage temperature (T-T) | -30 - 60 °C |
| Operating temperature (T-T) | 5 - 35 °C |
| Storage relative humidity (H-H) | 10 - 90 % |
| Operating relative humidity (H-H) | 10 - 80 % |
| Height | 50 mm |
|---|---|
| Weight | 1260 g |