Do you have a question about the LG GSA-H10N and is the answer not in the manual?
Turn off system power, disconnect cord, remove cover, and slide drive into bay.
Set jumper to MASTER or SLAVE based on IDE port connection and other drives.
Connect audio, IDE data, and 4-pin power supply cables to the drive.
Reattach the computer cover, reconnect the power cord, and restart the system.
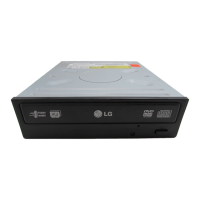
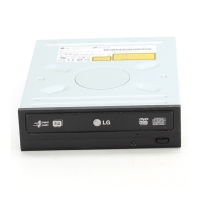
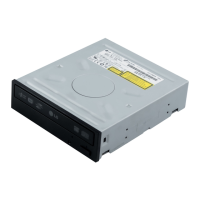
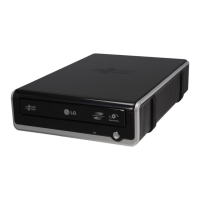
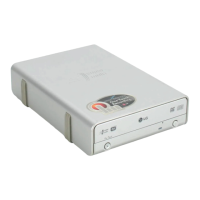
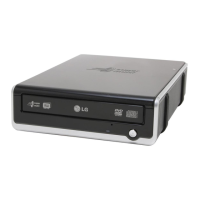
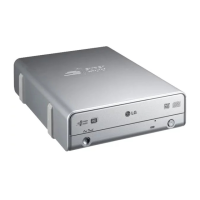
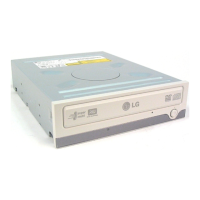
Details drive features, supported discs, and items included in the package.
Lists computer system requirements and detailed drive specifications.
Provides warnings regarding laser radiation, electric shock, fire, and moisture.
Details compliance with EEC, FCC, and Industry Canada radio interference requirements.
| Drive Type | DVD±RW |
|---|---|
| Model | GSA-H10N |
| Buffer Size | 2 MB |
| Type | DVD Drive |
| Read Speed | 16x DVD-ROM |
| Write Speed | 16x DVD±R |
| Rewrite Speed | 8x DVD+RW |
| Form Factor | 5.25-inch |
| Supported Formats | CD-R, CD-RW |