Do you have a question about the LG LMXC23796D and is the answer not in the manual?
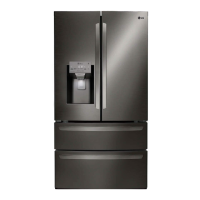
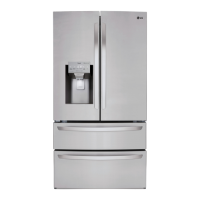
Detailed specifications for the LMXC23796 refrigerator model.
Procedure for removing and replacing refrigerator doors, including left and right doors.
Instructions for mullion removal and door gasket replacement or removal.
Steps for removing and replacing the Sub Printed Circuit Board (PCB).
Guidance on how to properly align refrigerator doors for even gaps.
Procedure for removing and replacing the fan and fan motor assembly.
Instructions for replacing the LED light assembly in the refrigerator compartment.
Procedure for removing and replacing the LED lamp located in the bottom cap duct.
Steps for removing and replacing the multi duct component.
Procedure for removing and replacing the water dispenser assembly.
Instructions for removing and replacing the display printed circuit board (PCB).
Details on how to remove the CustomChill display interface.
Procedure for removing and replacing the ice button assembly.
Steps for removing and replacing the water button assembly.
Procedure for removing and replacing the ice corner door.
Instructions for removing and replacing the icemaker unit.
Procedure for replacing the sub PCB related to the dispenser function.
Steps for removing and replacing the cap duct motor.
Procedure for removing and replacing the module filter.
Details on replacing parts of the module filter assembly.
Instructions on how to properly remove the ice bin from the unit.
Steps for correctly inserting the ice bin into the unit.
Procedure for removing and reinstalling the CustomChill drawer.
| Type | freestanding |
|---|---|
| Style | french door |
| Color | black stainless steel |
| Number of Doors | 4 |
| Total Capacity | 22.5 cubic feet |
| Refrigerator Capacity | 13.3 cubic feet |
| Freezer Capacity | 6.4 cubic feet |
| Humidity Controlled Crispers | yes |
| Defrost System | automatic |
| Number of Refrigerator Shelves | 4 |
| Number of Refrigerator Door Bins | yes |
| Temperature Control | electronic |
| Interior Light | led |
| Dispenser | ice and water |
| Ice Maker | yes |
| Water Filter | yes |
| Air Filter | yes |
| Door Alarm | yes |
| Smart Home | true, amazon alexa, google assistant |
| Wi-Fi | wi-fi |
| Annual Energy Consumption | 697 kilowatt hours |
| Voltage | 120 volts |
| Current | 20 amperes |
| Depth | 32 1/8 inches |
|---|---|
| Height | 70 1/4 inches |
| Width | 35 3/4 inches |
| Net Weight | 371 pounds |