5
ENGLISH
- When you separate the 8 screws on the wall mount connected to the wall bracket for use with a wooden wall, it is much
easier to install the product.
- Check the material and thickness of the wall.
- Use the anchors for wall material of concrete, light concrete, strong natural stone, soft natural stone masonry brick and hallow
block that do not crack.
- When installing the product on a wooden wall, refer to page 5.
- When installing the product on wall material not designated, install the product so that each fixated location can withstand a pull
out load of 70 kgf (686 N) and shear load of 100 kgf (980 N) or above.
a. Use a drill bit Ø 8 mm to drill a hole for the anchor location within a depth of 80 mm to 100 mm
b. Clean the drilled hole.
c. Insert the sealed anchor into the hole. (When inserting the anchor, use a hammer.)
d. Set the wall mount on the wall by aligning to the location of the hole. and, set the angle adjusting part to face upward.
e. Align the wall mount bolts to the holes and tighten them by hand.
Then, fasten the bolts at a torque of 45 kgf/cm to 60 kgf/cm.
→ If the screw cannot be assembled in the designated location
inevitably, it can be assembled by rearranging to the closest
location. But, do not change 2 or more locations from the
designated spot.
→ Assemble the wall mount screw on 1 left and 1 right location
on the top part and 1 left and 1 right location on the bottom
part.
→ At this time, use a Phillips Head driver (Manual or motorized)
or 8 mm wrench to tighten the screw so that the wall, wall
bracket and screw are completely pressed against one
another.
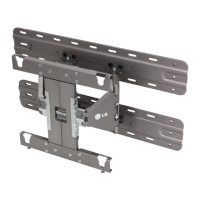
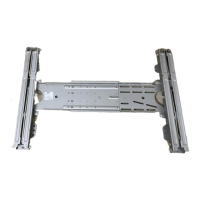
Wall mount
screw
<When mounting to wooden studs>
a. Locate and mark the centers of the wall studs using a stud finder.
b. After aligning the wall bracket on the wall where the center of the wood stud is marked, mark the location of the screws and
then remove the wall bracket.
c. Use a level to make sure your screw marks are level.
d. Use the Ø 4 mm drill bit for wood to drill holes with the depth of 76 mm or above where the wall mount screw location is
marked on the wall.
e. Clean the drilled hole.
f. Tighten the wall mount screws for the wall bracket on the drilled hole.
→ At this time, tighten the screw so that the wall, wall bracket and the wall mount screw are pressed against one another.
(Drywall can be damaged when tightened with excessive force, please be careful.)
→ When tightening the screw use the "+" driver (Manual or motorized) or 8 mm wrench.
406 mm
drywall
76 mm
drywall
wood stud
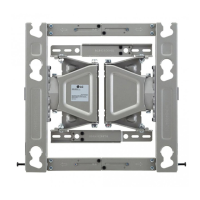
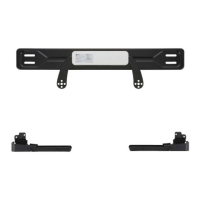
1. Set the display with the guide spacer assembled on the wall
mount bracket on the wall in arrow direction. At this time, align
the bottom assembly part and lift the set up lightly to align the
top part.
2. When adjusting the location, assemble the provide safety clip as
shown in the picture to prevent the product from moving.
Tighten the safety clip screw completely. If the safety clip is not
tightened as shown in the picture, the product can fall off.
→ Pull on the bottom of the set to make sure the display is secure.
→ When fixing the product with the speaker to the wall, hold and
lift up the product, not the speaker.
→ When installing a display rotated, only rotate the display 90 degrees
(portrait mode).
→
When connecting cables and accessories, make sure that the
product is installed at a sufficient distance from the wall to avoid
stress on them.
→ When you push the product with excessive force, the product
can be damaged.
4
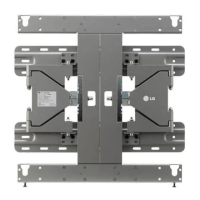
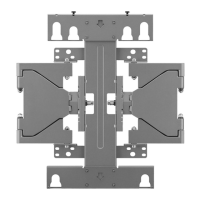
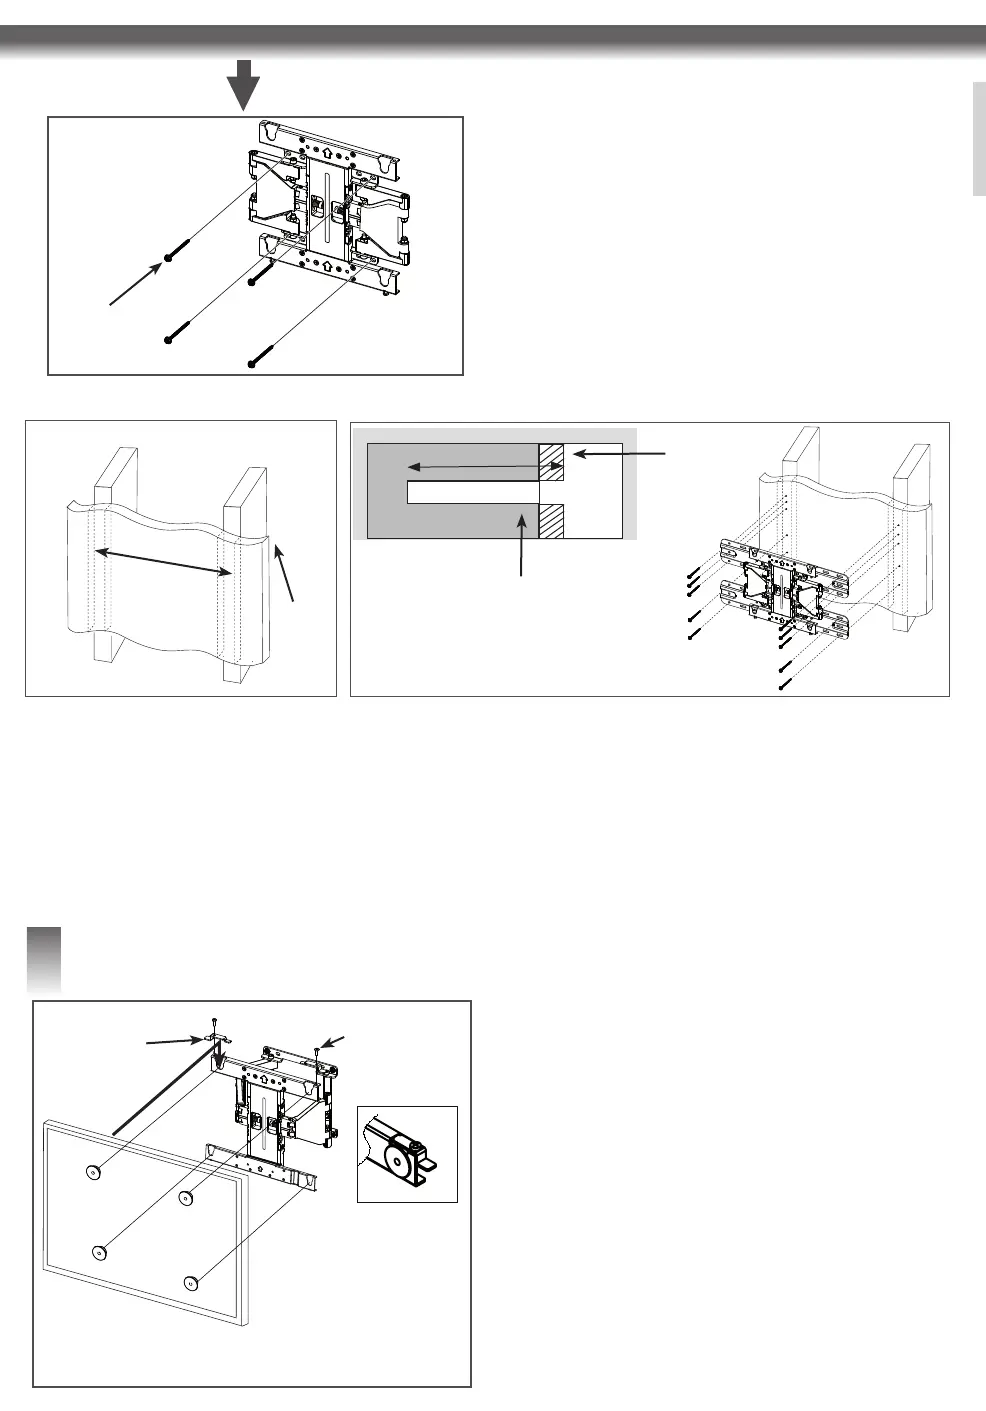
How to assemble the wall mount support and display
- Always install the display with 2 or more people.
* Assemble the wall mount
support, product and safety
clip.
Safety clip
Safety clip screw
* Caution : Prevent the power
cord from being pinched
between the wall mounting
bracket and the set when
installing the set.
(A pinched power cord may
cause an electrical short)
 Loading...