3
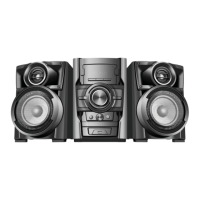
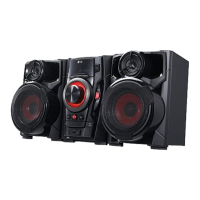
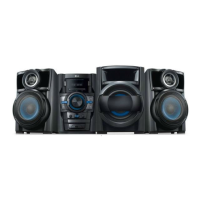
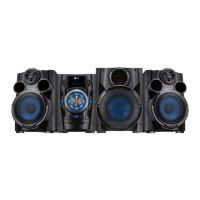
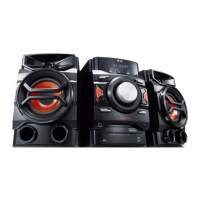
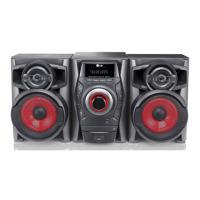
There is so much your Hi-Fi system can do
Before connecting, operating or adjusting this product, please read this instruction booklet carefully
and completely.
The making of unauthorized copies of copy-protected
material, including computer programs, files, broadcasts and
sound recordings, may be an infringement of copyrights and
constitute a criminal offense. This equipment should not be
used for such purposes.
Be responsible
Respect copyrights
Put the battery into the remote control
Make sure for the + (plus) and – (minus) on the
battery to be matched on the remote control
.
(size AAA)
Contents
Setting up 4
Main unit 5
About Remote control 6
Listening to CDs 7
Listening to the radio 7
Using an USB device 8
Listening to music from your external device 9
Enjoying a pre-programmed sound field 9
Recording to USB 10
Setting the Clock 11
Troubleshooting 12
Specifications 12
POWER: This unit operates on a mains supply of 200-240V~, 50/60Hz.
WIRING: This unit is supplied with a BSI 1363 approved 13 amp mains
plug, fused at 5 amp. When replacing the fuse always use a 5 amp BS
1362, BSI or ASTA approved type. Never use this plug with the fuse
cover omitted. To obtain a replacement fuse cover contact your dealer.
If the type of plug supplied is not suitable for the mains sockets in your
home, then the plug should be removed and a suitable type fi tted.
Please refer to the wiring instructions below:
WIRING: A mains plug removed from the mains lead of this unit must
be destroyed. A mains plug with bared wires is hazardous if inserted
in a mains socket. Do not connect either wire to the earth pin, marked
with the letter E or with the earth symbol
or coloured green or green
and yellow. If any other plug is fi tted, use a 5 amp fuse, either in the
plug, or at the distribution board.
IMPORTANT: The wires in this mains lead are coloured in accordance
with the following codes:
- BLUE: NEUTRAL, BROWN: LIVE - As the colours of the wires in the
mains lead of this unit may not correspond with the coloured marking
identifying the terminals in your plug, proceed as follows: The wire
which is coloured blue must be connected to the terminal which is
marked with the letter N or coloured black. The wire which is coloured
brown must be connected to the terminal which is marked with the
letter L or coloured red.
In NIGERIA
RAD114-A0U-DNGAFLK-ENG.indd 3RAD114-A0U-DNGAFLK-ENG.indd 3 2010.4.5 3:24:24 PM2010.4.5 3:24:24 PM
 Loading...