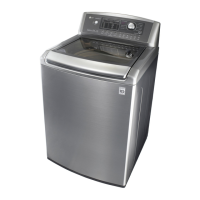
EasyManuals Logo

LG WT-R10(~3)3(7)1(3,5)TP(H) User Manual

LG WT-R10(~3)3(7)1(3,5)TP(H)
61 pages
To Next Page IconTo Next Page
To Previous Page IconTo Previous Page
Page #43 background imageLoading...
Page #43 background image
43
SNAP RING.
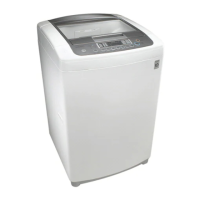
Loosen the 6 fixing screws on the stator.
(Lower
upper position screws)
Check the direction of SNAP RING.
(The handle of snap ring is toward to rotor and
stator.)
Preventing fallen the stator, tighten with one hand
and then loosen the last screw.
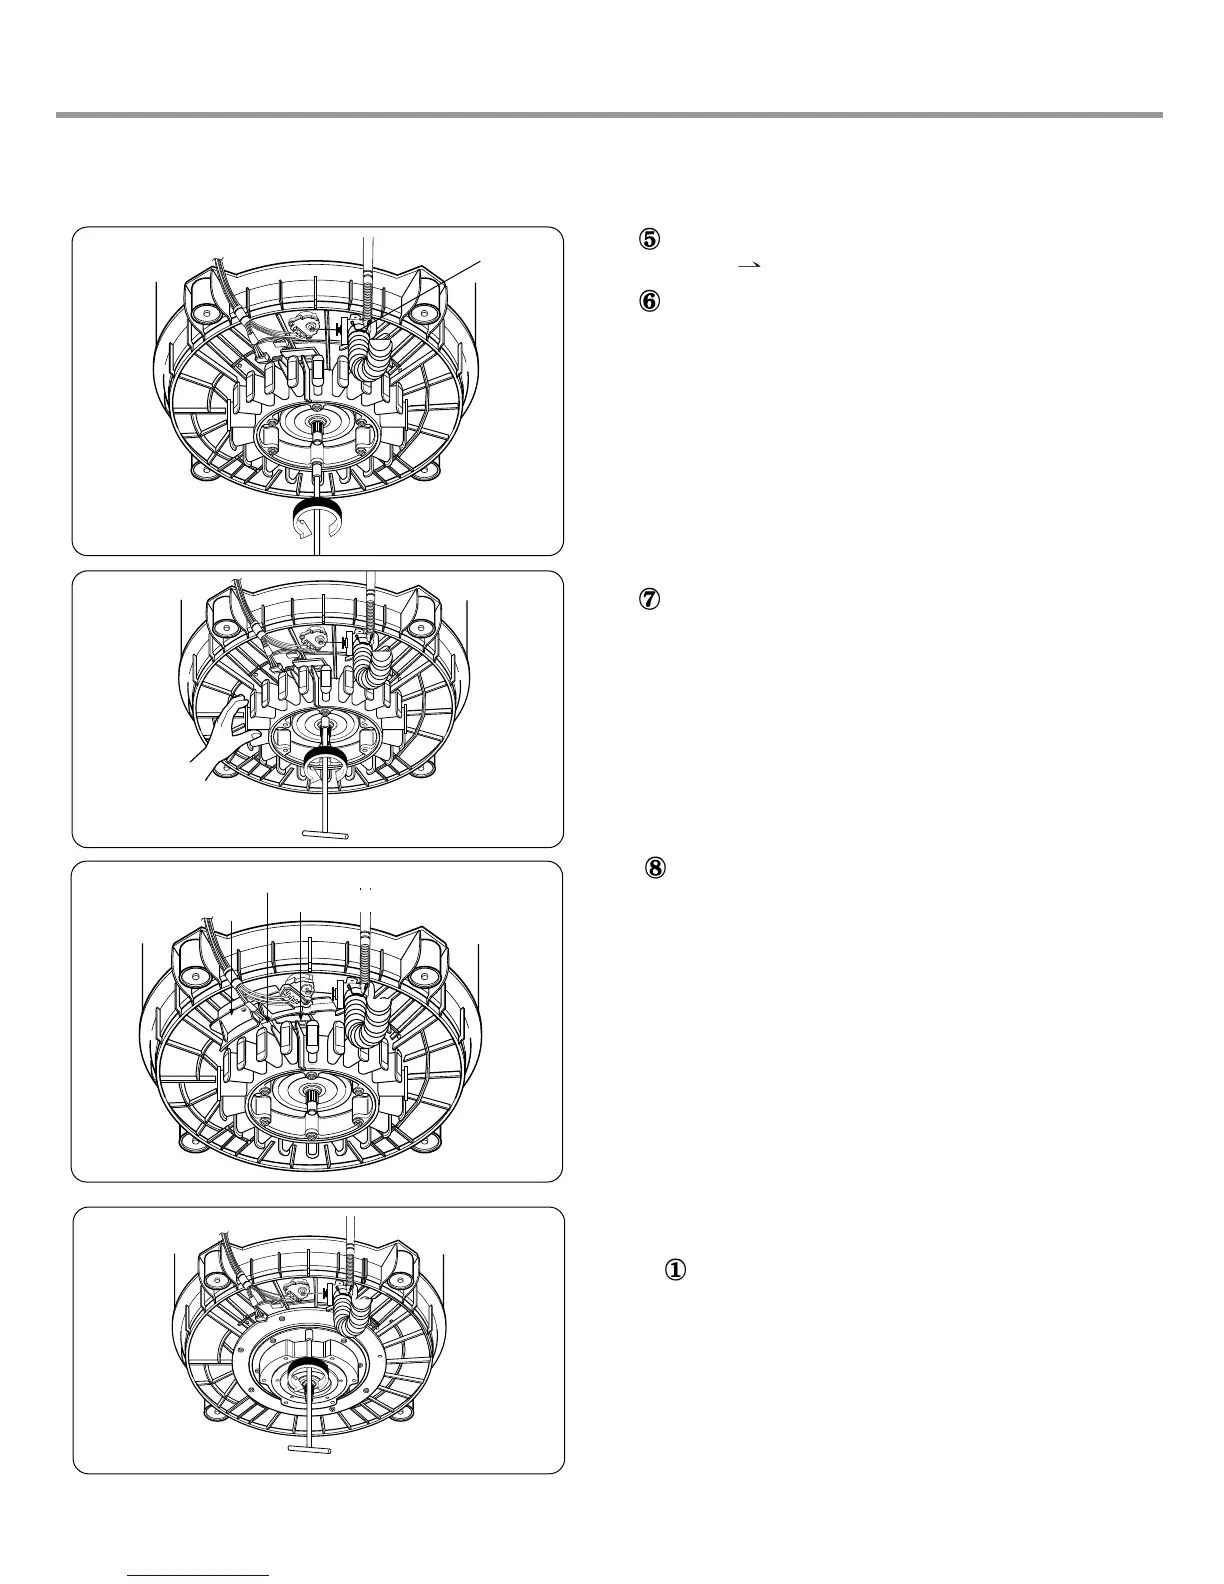
For assembly take care lead wires state,
it produce a noise and cut attach the rotor.
7) Replacement of Bearing housing asm
Loosen 14 Fixing screws on the Bearing Housing
ASM and pull up it.
Hall Sensor
Stator Housing
Water Guide

Questions and Answers:

Question and Answer IconNeed help?

Do you have a question about the LG WT-R10(~3)3(7)1(3,5)TP(H) and is the answer not in the manual?

LG WT-R10(~3)3(7)1(3,5)TP(H) Specifications

General IconGeneral
Power SourseRefer to rating label on the back of Washer
InputRefer to rating label on the back of Washer
Rating of Fuse250V, 8A for 220~240V/50Hz 125V, 12A for100~127V/60Hz
Auto Power OffApplied
CapacityRefer to rating label on the back of Washer
Spin Speed710 50
Lint FilterDouble
Softener DispenserApplied
Detergent DispenserApplied
Bleach InletApplied
Inner TubStainless
Inlet Water Pressure0.3kgf/cm2~ 8kgf/cm2
Water Level7 Stages
ReservationAvailable for 3 ~ 24 Hr
ProgramDELICATE, WOOL, NORMAL, SPEEDY, JEAN
Lid Interlock SwitchMagnet Sensor
Child LockApplied
Weight and Dimensions IconWeight and Dimensions
Dim.Refer to rating label on the back of Washer
WeightRefer to rating label on the back of Washer

Related product manuals