Do you have a question about the LG WT1901CK and is the answer not in the manual?
Critical safety advisories for proper operation and to prevent injury or damage.
Steps to ensure the washing machine is level for optimal performance and to minimize noise and vibration.
Detailed instructions for securely connecting the water supply hoses to the machine and the water tap.
Guidelines for correctly attaching the drain hose to prevent leaks and ensure proper water removal.
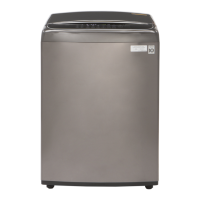
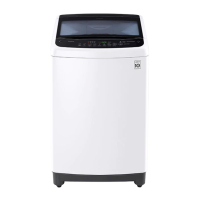
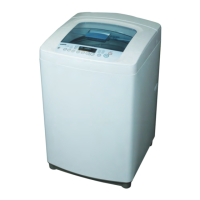
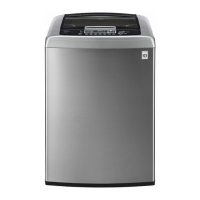
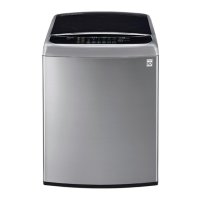
Visual guide to identify all major components and controls of the washing machine.
Essential pre-wash checks, including sorting clothes, checking pockets, and pretreating stains.
Guidance on choosing the correct water temperature for various fabric types and soil levels.
Instructions on selecting the right detergent and using the machine's dispensers for detergent, bleach, and softener.
Comprehensive advice and methods for effectively removing common stains from clothing.
Detailed explanation of the function and operation of every button on the control panel.
Overview of all available wash cycles, their recommended uses, and fabric compatibility.
Procedures for cleaning and maintaining the washing machine to ensure optimal performance and longevity.
Step-by-step instructions for disassembling major components of the washing machine for servicing.
Guides the user through the process of removing the noise filter, inlet valve, and dispenser housing.
Instructions for safely removing the top cover and lid assembly for access.
Procedure for disassembling the tub cover and pulsator for tub maintenance.
Information on using specialized tools, such as a 38 mm wrench, for specific disassembly tasks.
Steps to remove the back cover and drain pump assembly for repair or replacement.
Instructions for removing the damper assembly, crucial for shock absorption.
Guide on how to disassemble the motor's rotor and stator for inspection or replacement.
Steps for removing and servicing the door lock switch mechanism.
Detailed electrical schematic showing all connections for troubleshooting purposes.
Procedure for conducting operational tests on the machine without water to verify functionality.
Solutions for frequent washing issues such as poor cleaning, stains, lint, and fabric damage.
A concise overview of common problems, their causes, and recommended solutions for quick reference.
Visual identification of the main Printed Circuit Board (PCB) and its components.
Explains common error codes, their probable causes, and the necessary steps for resolution.
Specific steps to diagnose and fix 'OE' drain errors, focusing on the pump and drainage system.
Procedures to resolve 'LE' motor errors by checking motor, stator, and related electrical connections.
Guide to troubleshoot 'UE' unbalance and 'FE' overflow errors, involving load balancing and water level checks.
Steps for diagnosing and fixing 'PE' pressure sensor errors, including component checks.
General troubleshooting tips for issues not covered by specific error codes, such as power failures.
Diagnostic steps for resolving issues where the washing machine does not power on.
Troubleshooting steps for problems related to the power button and the display panel functionality.
Instructions for testing the line filter, including its circuit diagram and resistance values.
Details on the operation and testing of the door lock switch mechanism.
Information on testing the stator assembly, including winding resistance and circuit details.
Steps for testing the pump motor, including resistance checks and circuit diagrams.
Guide to testing the inlet valve assembly, covering its multiple solenoids and resistance.
Instructions for testing the thermistor, which monitors water temperature.
Visual breakdown of the top cover and its constituent parts.
Visual breakdown of the washing machine's outer casing and base structure.
Visual breakdown of the inner tub, pulsator, and associated components.
| Style | top load |
|---|---|
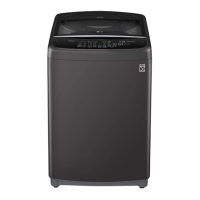
| Color | black stainless steel |
| Washer Capacity | 5 cubic feet |
| Max Spin Speed | 950 revolutions per minute |
| Spin Speeds | 4 |
| Number of Cycles | 12 |
| Cycle Selections | pre wash+ normal, cotton/normal, tub clean, bulky/bedding, heavy duty, speed wash, delicates, bright whites™, towels, oxi-sanitize, waterproof, downloaded |
| Options | soak, extra rinse, fabric softener, delay wash (up to 19 hours), child lock, custom program, pgm save, signal, rinse+spin, spin only, coldwash™, staincare™, water plus |
| Temperature Settings | 5 |
| Temperature Selections | extra hot, hot, warm, cold, tap cold |
| Soil Levels | light, normal, heavy |
| Control Panel | electronic |
| Delay Start / End | yes |
| Child Lock | yes |
| Cycle Signal | yes |
| Smart Home | yes |
| Wi-Fi | wi-fi |
| Annual Energy Consumption | 130 kilowatt hours |
| Voltage | 120 volts |
| Current | 5 amperes |
| Depth | 28.4 inches |
|---|---|
| Height | 40.1 inches |
| Width | 27 inches |
| Net Weight | 137.35 pounds |