Do you have a question about the Liberty Pumps LCU-15 and is the answer not in the manual?
Accidental contact with electrically live parts, items, fluid, or water can cause serious injury or death.
Do not use an extension cord to power the product. Extension cords can overload both the product and extension cord supply wires.
Do not modify the pump/pump system in any way. Modifications may affect seals, change the electrical loading of the pump, or damage the pump and its components.
Explains CAUTION and NOTICE symbols indicating minor injury risks or important instructions for pump operation.
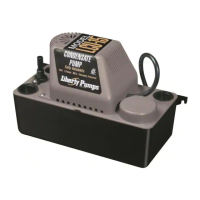
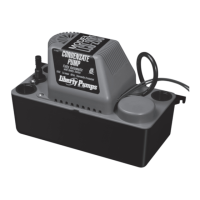
Select a level location below the condensate pan drain and connect the drain pan to intake holes using suitable tubing.
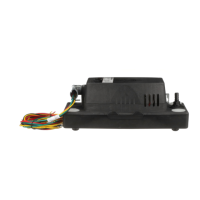
Connect discharge tubing and safety switch leads to a Class 2 low voltage circuit for overflow prevention.
Rotate tank cover for mounting flexibility and connect the unit to a constant power source matching voltage.
Energize power, test unit by adding water, check discharge, and verify connections for leaks and proper routing.
Addresses issues like tripped breakers, low water level, poor plug contact, obstructed float, or non-level pump installation.
Covers problems such as incorrect check valve, blocked tubing, jammed impeller, or exceeding pump's maximum lift capability.
Troubleshoots stuck floats, non-level pump installation, or defective switches.
Identifies causes like approaching maximum lift, partially blocked inlet, blocked discharge line, or defective check valve.
Addresses issues with undersized breakers, shared circuits, inadequate wiring, or defective motor/switch.
| Brand | Liberty Pumps |
|---|---|
| Model | LCU-15 |
| Category | Water Pump |
| Language | English |