16
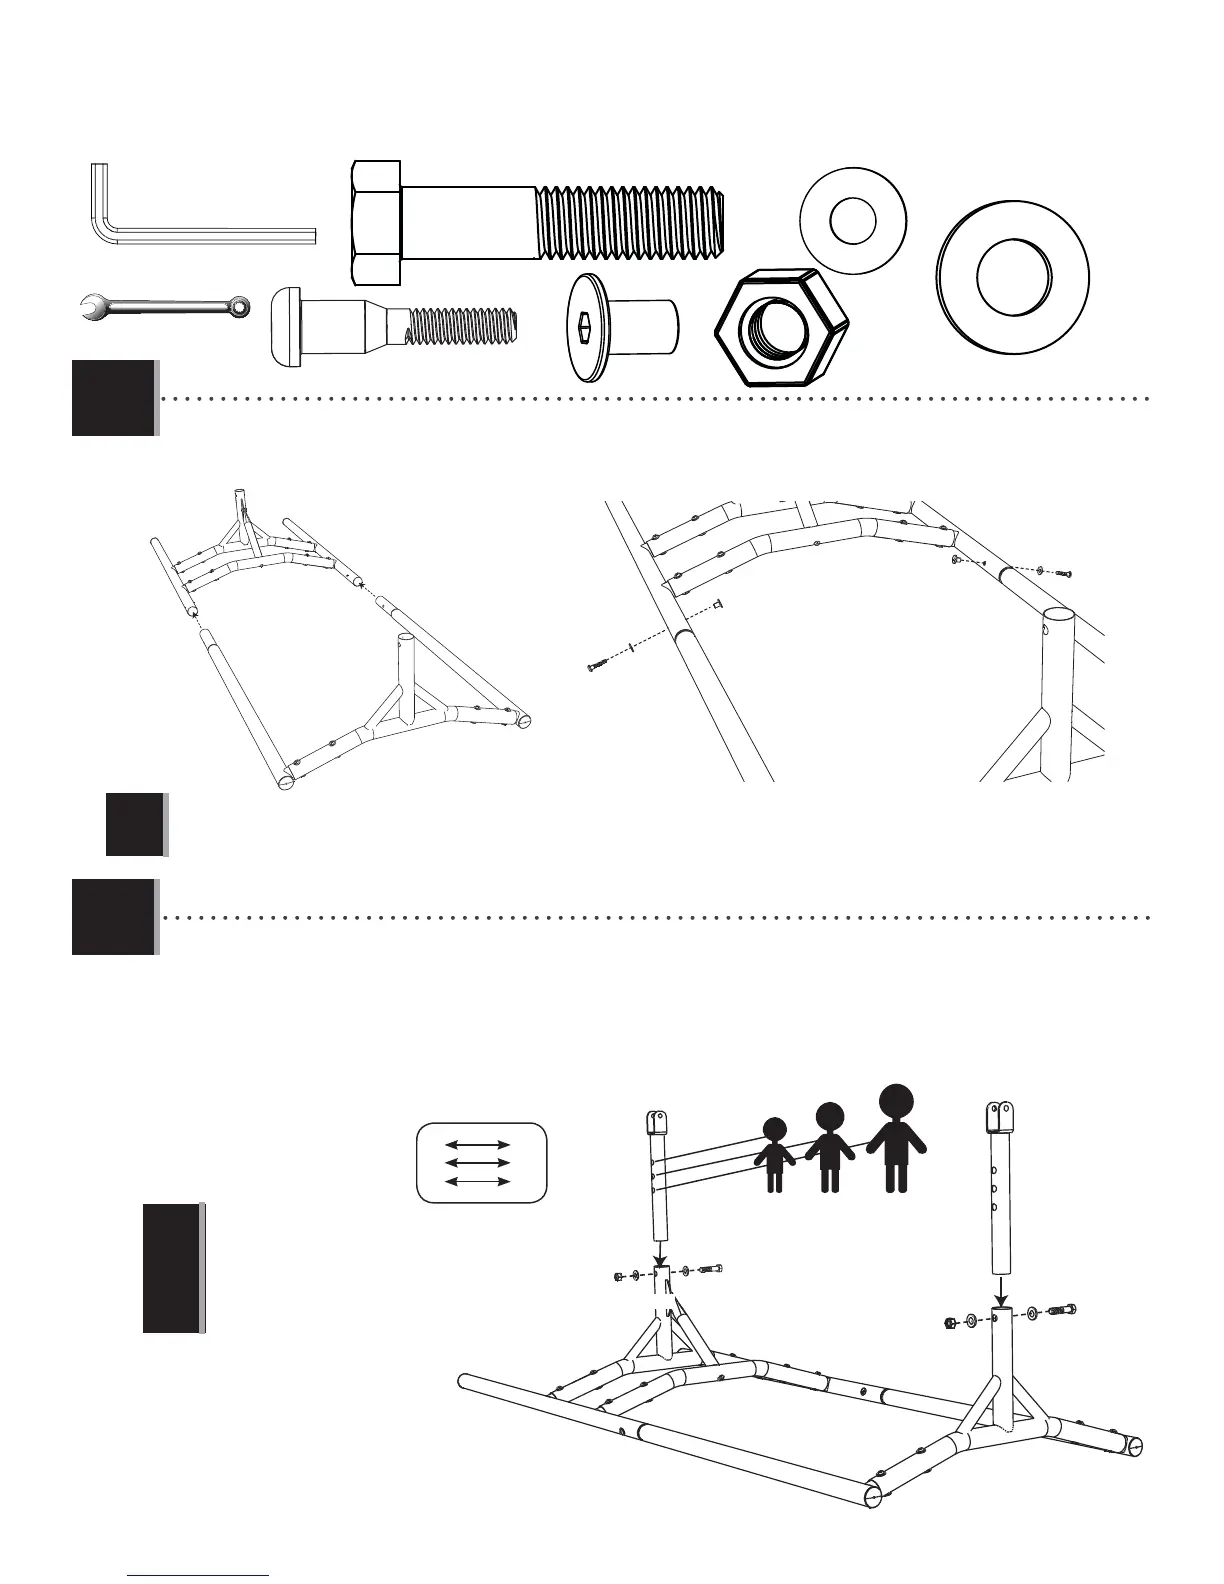
TOOLS AND HARDWARE REQUIRED
X SECTION 1 (CONTINUED)
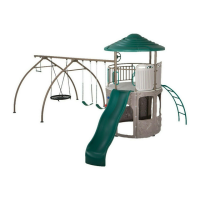
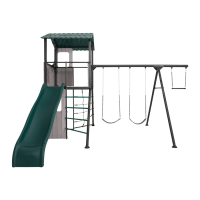
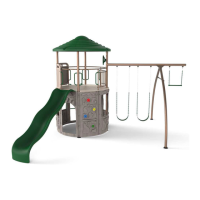
• Place the Adjustment Stand (CPR) into the Cross Braces (CPL & CPM). Secure with the hardware shown. Both
Adjustment Stands must be at the same height setting.
DXY
DXY
CVZ
CVZ
ATB
ATB
• Make sure all of the Screws fi t before tightening. Securely tighten all Base Assembly hardware before continuing.
!
CVZ (x2)
DXY (x2)
• Connect the two assemblies completed in steps 1.1 - 1.4. Secure with the hardware shown.
1.5
ATD (x2)
ATE (x4)
ATC (x2)
ATB (x2)
1.6
#
#
#
#
#
#
#
#
#
#
#
#
ATD
ATD
ATC
ATC
ATE
ATE
ATE
ATE
CPR
CPR
CPM
CPL
#1
#2
#3
• Set the hardware for the
Adjustment Stand at hole #1 for
younger children, and at hole #3
for older children.
!
3/4 in/po (≈19 mm)
(2)
3/16 in/po (≈5 mm)
(2)