EasyManua.ls Logo

Lifetime STRONG ARM 90491 User Manual

Lifetime STRONG ARM 90491
44 pages
To Next Page IconTo Next Page
Page #1 background imageLoading...
Page #1 background image
TOOLS REQUIRED TABLE OF CONTENTS
Pour le français, voir la page 2. Para el español, ver la página 3.
ASSEMBLY INSTRUCTIONS
MODEL #60091
MODEL 90491
Save this instruction in the event that the manufacturer has
to be contacted for replacement parts.
CONTACT LIFETIME CUSTOMER SERVICE:
Call: 1-800-225-3865
7:00 am–5:00 pm (Monday–Friday) MST
and 9:00 am–1:00 pm Saturday MST
QUESTIONS?
Model Number: 90491
Product ID:
For Customer Service in Mainland
Europe and the United Kingdom,
E-mail: cs@lifetimeproducts.eu
Live Chat:
www.lifetime.com
Video Instructions:
www.youtube.com/lifetimeproducts
STRONG ARM
BASKETBALL SYSTEM
BEFORE ASSEMBLY:
Prepare the Area
Before you start, decide how you would like to fi ll your base
(sand is recommended, see page 27).
Recruit Friends and Family
Assembly should take 2 people about 2-3
hours to complete.
Icon Legend................................4
Notices....................................5
Pole Assembly............................6
Pole to Base Assembly...............10
Backboard to Rim Assembly.......13
Backboard to Pole Assembly.......19
Parts Identifi er..........................i - iv
Handle Assembly.......................22
Final Assembly..........................25
Maintenance Instructions..........31
Warning Sticker........................32
Registration........................36
Warranty................................37
(2)
(1)
(1)
(1)
(1)
(1)
(1)
1/2” (13 mm), 9/16” (14 mm),
3/4” (19 mm), 5/8” (16 mm)
(310 lb)/(141 kg)
1/2” (13 mm)
(1)
(1)
3/16” (5 mm)
(included)
(2)
COPY
Question and Answer IconNeed help?

Do you have a question about the Lifetime STRONG ARM 90491 and is the answer not in the manual?

Lifetime STRONG ARM 90491 Specifications

General IconGeneral
BrandLifetime
ModelSTRONG ARM 90491
CategorySports & Outdoors
LanguageEnglish

Summary

Understanding Assembly Icons

Safety Warnings and Notices

Pole Assembly

Assemble Pole Sections

Connect and seat pole sections using provided hardware.

Seat Pole Ends

Properly seat pole sections by striking ends to ensure secure connection.

Pole to Base Assembly

Attach Pole Brace and Axles

Attach pole brace to base and connect bottom pole using axles.

Finalize Base Connection

Snap poles into base, tip system, and tighten all hardware.

Backboard to Rim Assembly

Assemble Backboard Brackets and Springs

Connect backboard brackets using U-bolts and attach spring components.

Attach Rim to Backboard

Secure rim to backboard using tap bolts, washers, and nuts.

Finalize Rim Attachment

Adjust brackets and tighten all hardware for rim assembly.

Backboard to Pole Assembly

Attach Extension Arms to Backboard

Secure short and long extension arms to the backboard brackets.

Connect Backboard to Pole

Attach the backboard and rim assembly to the pole using extension arms.

Handle Assembly

Assemble Lifter Arm and Cam Mechanism

Assemble lifter arm, handle grip, and cam mechanism for height adjustment.

Connect and Adjust Height

Secure bolt, adjust backboard position, and tighten all hardware.

Final Assembly

Attach Net and Prepare Backboard

Attach the net to the rim and remove protective film from the backboard.

Fill the Base

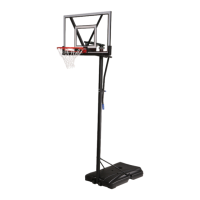
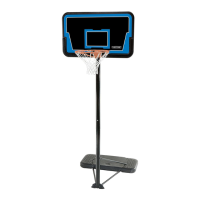
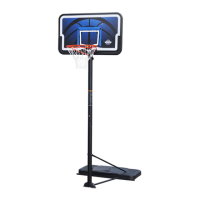
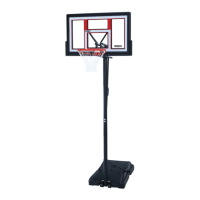
Fill the base with sand or water according to instructions for stability.

Adjust Height and Apply Sticker

Operate height adjustment system and apply height sticker.

Moving the System

Instructions on how to safely move the assembled basketball system.

Maintenance and Care

Warning Sticker Information

Product Warranty Information

Related product manuals