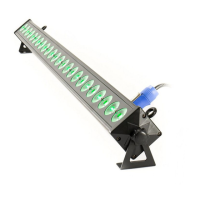
The symbol determines the minimum distance from lighted objects. The minimum distance between light-
output and the illuminated surface must be more than 0.5 meters.
This device is only allowed for an installation via the mounting bracket. In order to safeguard sufficient ventilation,
leave 50 cm of free space around the device.
The housing must never touch surrounding surfaces or objects.
Make sure that the area below the installation place is blocked when rigging, de-rigging or servicing the fixture.
Always fix the fixture with an appropriate safety-rope.
The maximum ambient temperature ta = 45° C must never be exceeded.
Operate the device only after having familiarized with its functions. Do not permit operation by persons not qualified for
operating the device. Most damages are the result of unprofessional operation!
Never use solvents or aggressive detergents in order to clean the device! Rather use a soft and damp cloth.
Please use the original packaging if the device is to be transported.
Please consider that unauthorized modifications on the device are forbidden due to safety reasons!
If this device will be operated in any way different to the one described in this manual, the product may suffer
damages and the guarantee becomes void. Furthermore, any other operation may lead to dangers like short-circuit,
burns, electric shock, lamp explosion, crash etc.
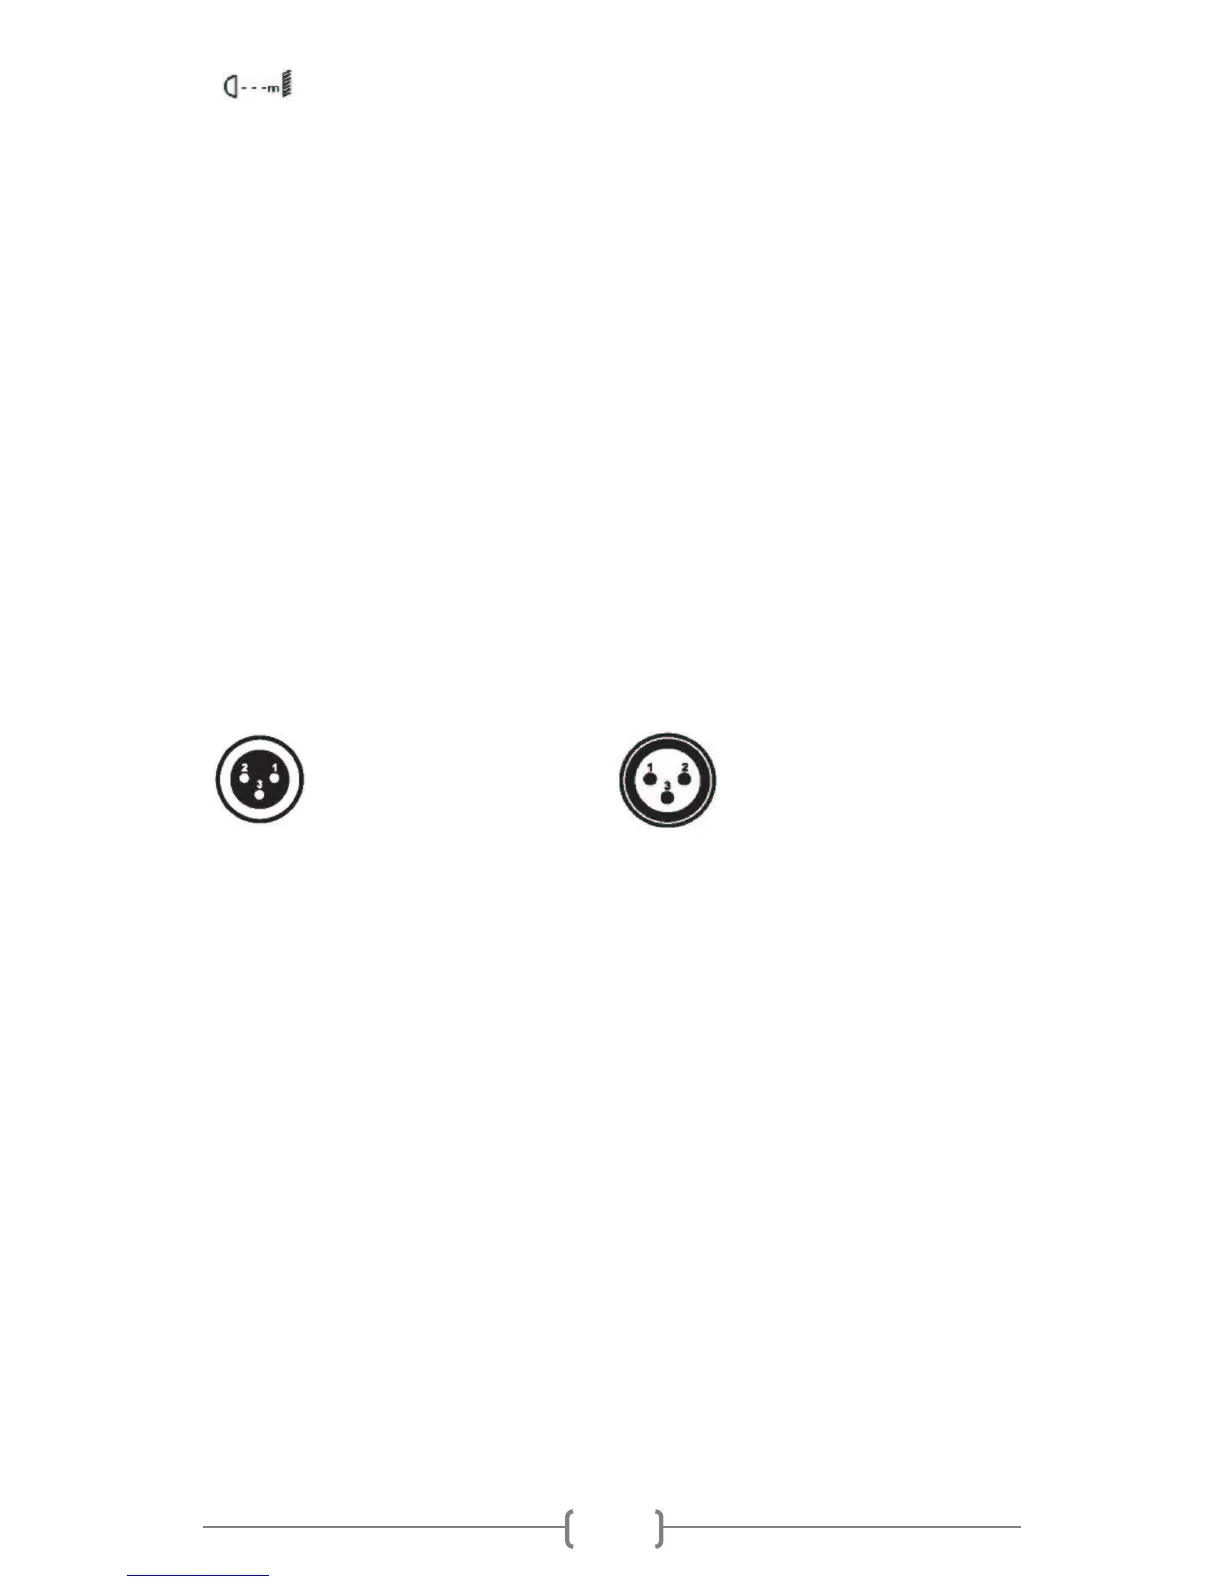
Occupation of the XLR-connection:
If you are using controllers with this occupation, you can connect the DMX-output of the controller directly with the
DMX-input of the first fixture in the DMX-chain. If you wish to connect DMX-controllers with other XLR-outputs, you
need to use adapter-cables.
Building a serial DMX-chain:
Connect the DMX-output of the first fixture in the DMX-chain with the DMX-input of the next fixture. Always connect
one output with the input of the next fixture until all fixtures are connected.
Caution: At the last fixture, the DMX-cable has to be terminated with a terminator. Solder a 120 Ohm resistor between
Signal (–) and Signal (+) into a 3-pin XLR-plug and plug it in the DMX-output of the last fixture.
Addressing
Each projector occupies 7 channels. To ensure that the control signals are properly directed to each projector, the
projector requires addressing. This is to be done for every single projector by changing the LED display as set out in
this table.
The starting address is defined as the first channel from which the DMX LED MOVING SPOT 60W will respond to the
controller.
Please make sure that you don’t have any overlapping channels in order to control each DMX LED MOVING SPOT
correctly and independently from any other fixture on the DMX data link. If two, three or more DMX LED MOVING
SPOTs are addressed similarly, they will work similarly.
 Loading...