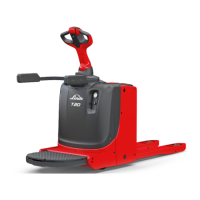
Clean the hydraulic filter
When removing the non-return valve, do not lose
the spring (4) and ball (5).
Check the fluid level when you have completed this
We recommand that this operation be carried out by your
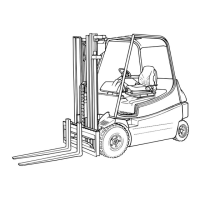
Maintenance every 1000 hours
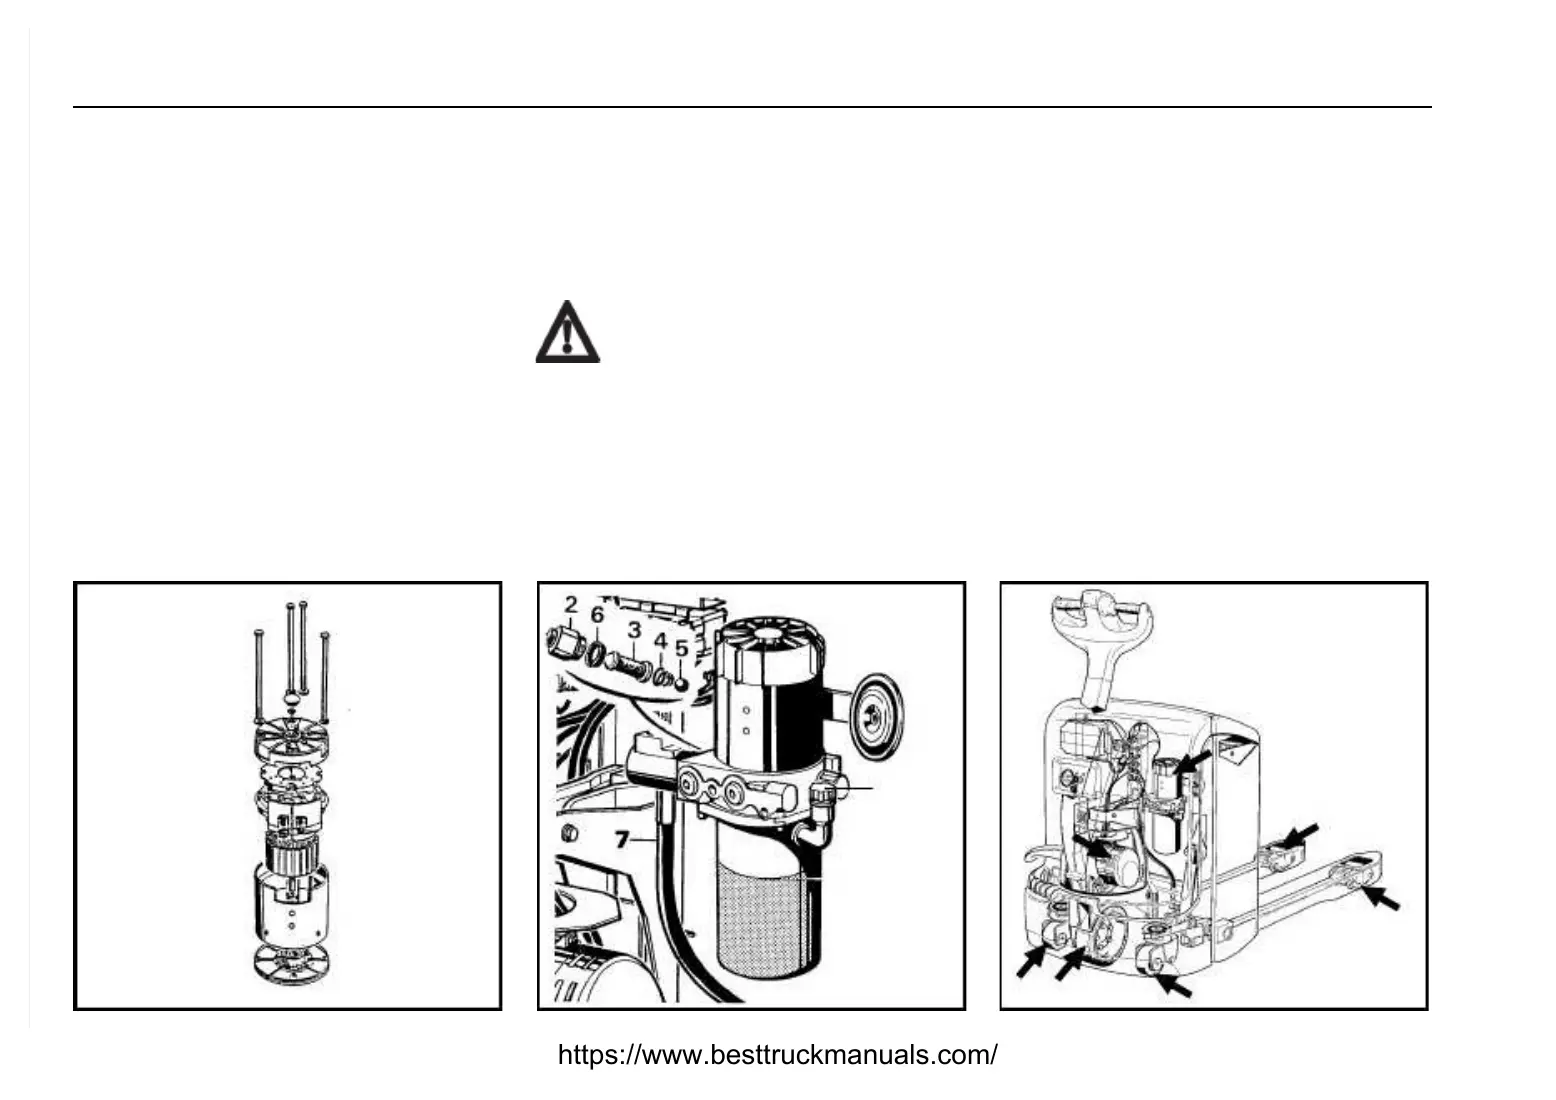
Inspection / replacement of the pump motor
refitting the brushes, carefully lift them on to the
Always replace the brushes as a complete set.
We recommend leaving this operation to your local
Checking the mechanical fixing of compon-
reduction gear, load wheels, driven wheel and stabiliser
https://www.besttruckmanuals.com/