The “on-board” Pedal can switch between either the EXP 1 or EXP 2
PedalModes.Clickthe"toeswitch"totogglebetweenEXP 1 and EXP
2. When an Expression Pedal is connected to the PEDAL 2 input on the
back of POD HD500X it controls EXP 2.
Controlling Amp & FX Parameters
ConguringtheEXP 1&EXP 2 parameter assignments is done within the
Controller Assign screen. To access the Controller Assign screen, go to
the Signal Flow View and select the Amp or FX Block for which you’d like
to create an Expression Pedal assignment. Select the desired FX block,
then double-press the MOVE
button. The Controller Assign screen is
thendisplayedspecicallyfortheAmporFXModelcurrentlyloadedin
theselectedBlock.UsetheMulti-functionKnobs1-4tocongurethe
PedalassignmentsoptionsspecicallyforthisFXModel.
Knob 1 -SelectstheparameterforthecurrentModelthatyouwantto
control with an EXP.
Knob 2 - Selects the controller that you want to assign to the parameter.
Choose O to have no Pedal assignment, or choose EXP 1 or EXP 2.
Knob 3 - Sets the parameter value you’d like for the Pedal’s “heel”
position.
Knob 4 - Sets the parameter value you’d like for the Pedal’s “toe”
position.
Assigning an FX or Amp Block to a Footswitch
FS1 through FS8 footswitches, as well as the Exp Pedal’s “toe switch”
canbeconguredtotoggleanyoftheFXorAmpBlocksOn/O.From
within the Signal Flow screen, select the FX or Amp Block which you want
assigned to one of your footswitches. Then Press and hold the ENTER
button to display the Footswitch Assign screen. The Footswitch Assign
pageissimilartoyourSignalFlowview.UseMulti-functionKnob 1 to
select the footswitch to which you want this FX Block assigned. Note:
you can assign multiple FX Blocks to a single footswitch or Exp Pedal's
"toe switch". You can reference the current Preset’s FX footswitch as-
signments by pressing the VIEW button to display the Performance
View screen.
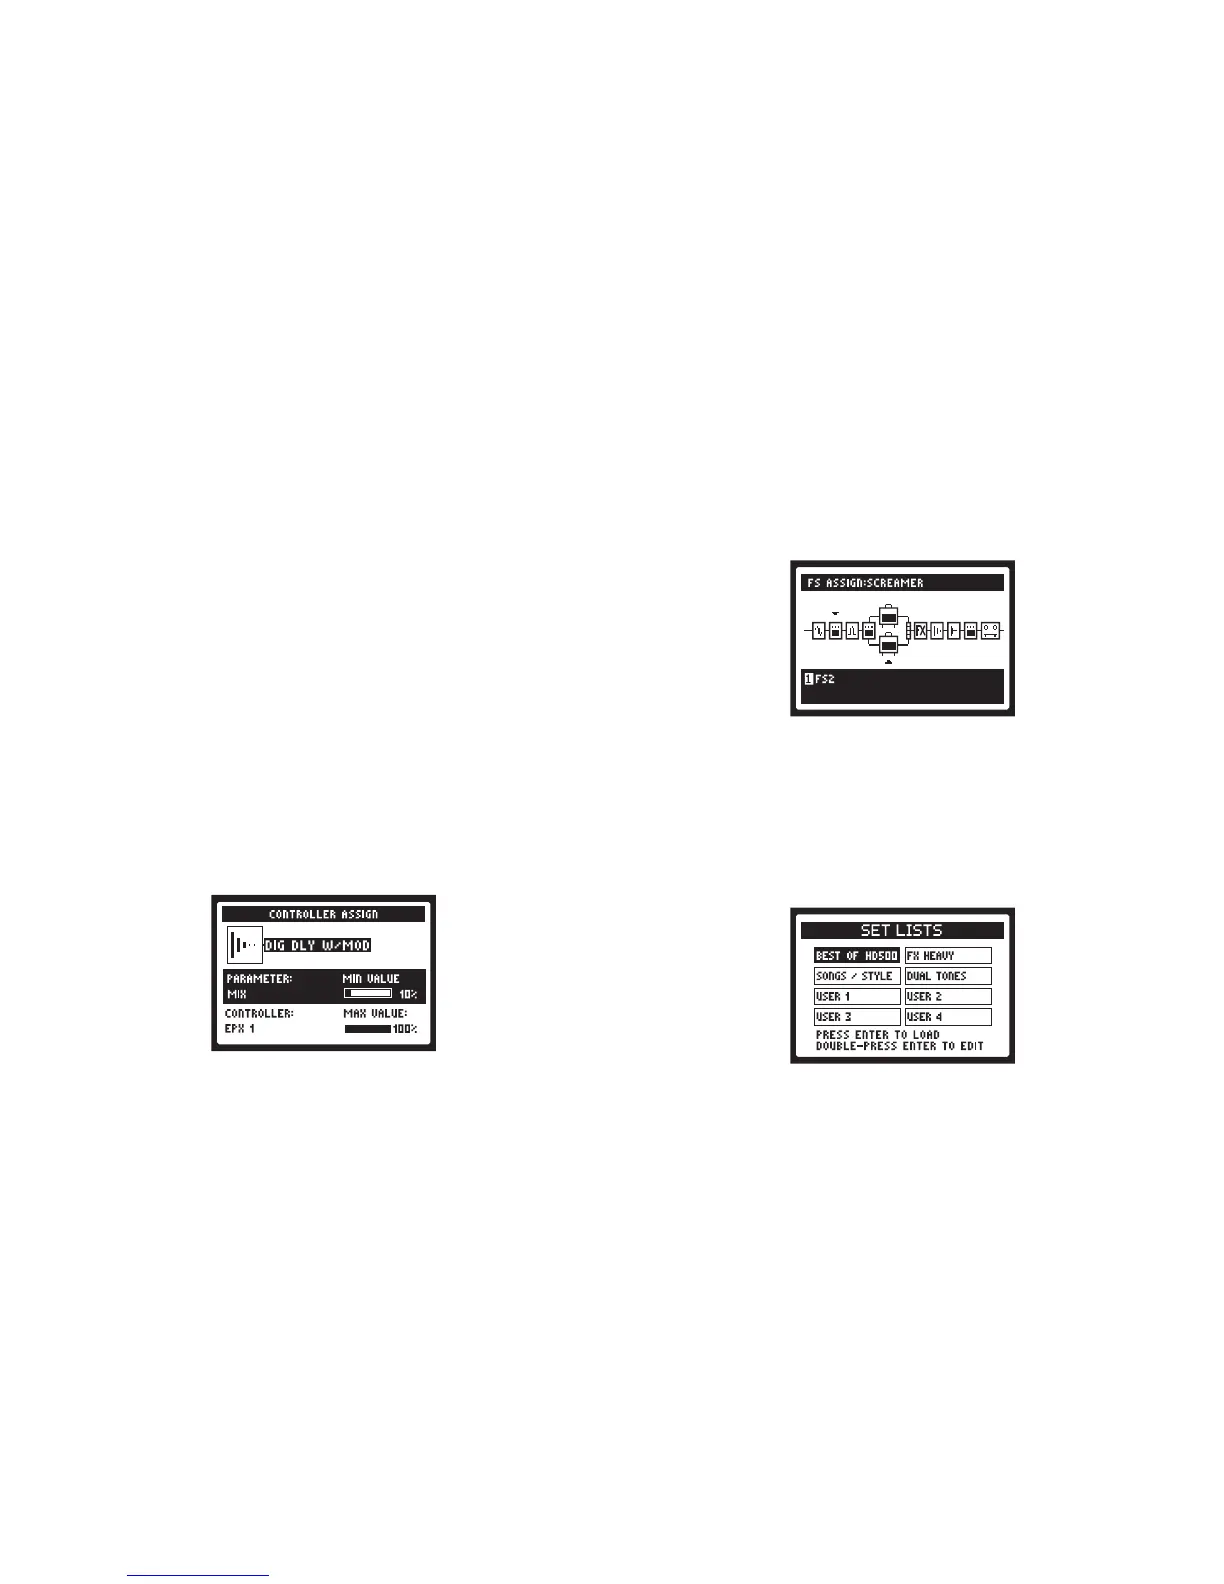
Set Lists
PODHD500Xstoresup64Presetswithin eachofits8SetLists.The
big idea here is that you can load any one of these Set Lists to then gain
access to any of its Preset locations.
From any screen, simply push the PRESETS knob to display the Set
Lists screen.
Load a Set List: Use the 4 Way Nav, or turn the PRESETS knob to
select any Set List, then press the ENTER button. This immediately
loadstheselected Set List, making allits Presetsavailable.Note that
your previously loaded Preset is automatically closed, and the Preset of
thesameBank/ChannellocationnumberfromthenewSetListisloaded.
 Loading...

