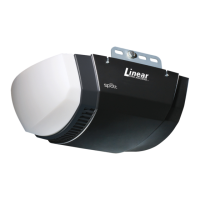
5
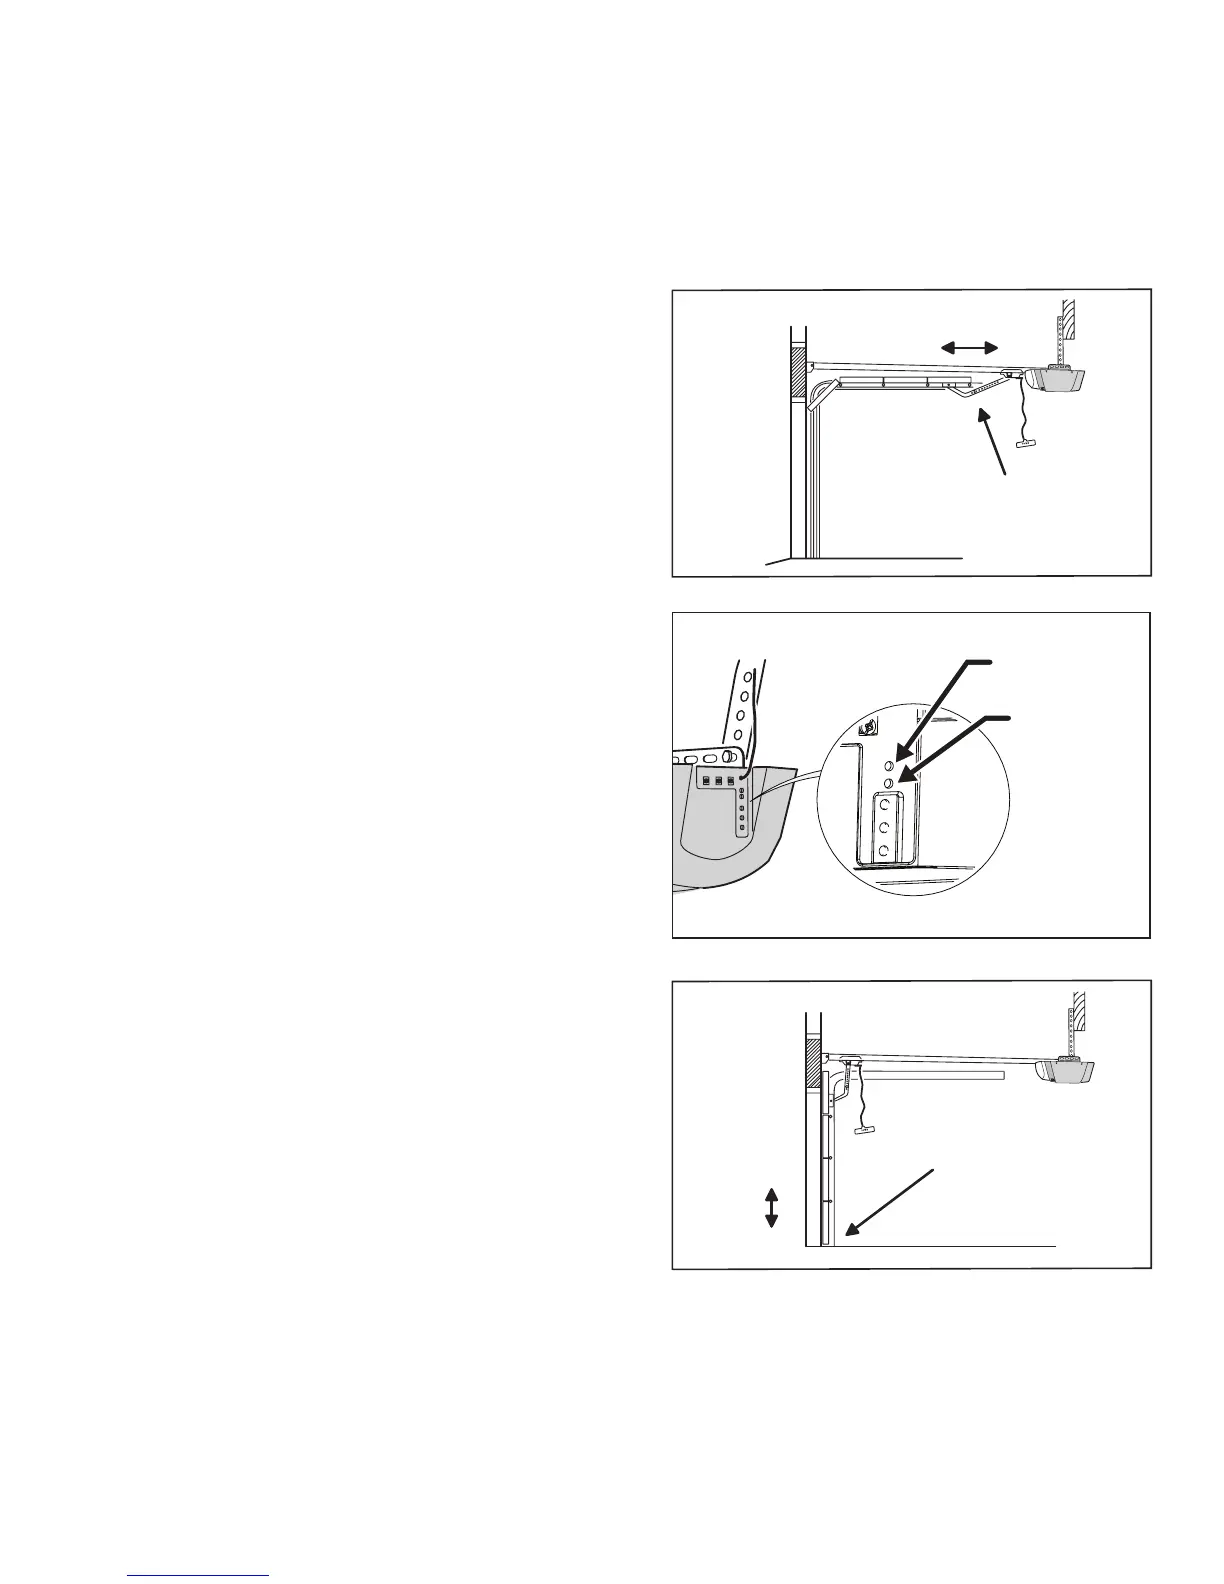
The limit settings control how far the door will open or close. The limits should be set so the door opens
even with door opening, and closes at the oor level.
If required, use the following steps to adjust the limits. After beginning to adjust the limits, if no buttons are
pressed for one minute, the opener will return to normal operation.
Adjusting the Open Limit
1 Use the wall station or a remote control to move the
door to the open limit position.
2 On the back of the opener, press both the UP and
LEARN buttons for three seconds. The green indicator
and opener’s light will ash twice then stay on.
3 Use the UP and DOWN buttons to jog the door at slow
speed to ne-tune the open limit position.
4 When the door is at the proper open limit position,
press the LEARN button to store the setting and exit
setup. The green indicator and the opener’s light will
ash two times.
Adjusting the Close Limit
1 Use the wall station or a remote control to move the
door to the close limit position.
2 On the back of the opener, press both the DOWN and
LEARN buttons for three seconds until red indicator
and opener’s light will ash twice then stay on.
3 Use the UP and DOWN buttons to move the door at
slow speed to ne-tune the close limit position.
4 When the door is at the proper close limit position,
press the LEARN button to store the setting and exit
setup. The red indicator and the opener’s light will
ash two times.
NOTE: If the opener is eld reset, both the open and
close limits must be adjusted and the automatic door
force setup must be completed for proper operation.
ADJUSTING THE OPEN AND CLOSE LIMITS
DOWN
UP
EXAMINE THE SPOT WHERE
THE DOOR OPENS
ADJUSTING THE OPEN LIMIT
DOWN
UP
EXAMINE THE SPOT WHERE
DOOR CLOSES
ADJUSTING THE CLOSE LIMIT