Model No.
Quick Installation
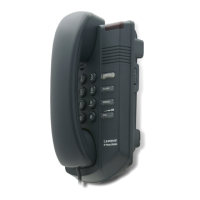
Model No. SPA932
A Turn both the SPA962 and SPA932 face down.
B Align the hole in the SPA962 alignment recess with the hole on
the attachment arm.
C Using the attachment arm screw, secure the attachment arm
to the SPA962.
D Align the hole in the SPA932 alignment recess with the hole on
the attachment arm.
E Using the attachment arm screw, secure the attachment arm
to the SPA932.
32 Button Attendant Console
Package Contents
• SPA932 Attendant Console
• Attachment Arm
• Two (2) Attachment Arm Screws
• Auxiliary Cable
• Desktop Stand
• Quick Installation
1
Connecting to the SPA962
C
E
F
Locate the AUX IN port on the back of the SPA932. Connect
one end of the auxiliary cable to this port.
G Locate the AUX port on the back of the SPA962. Connect the
other end of the auxiliary cable to this port.
H Route the auxiliary cable inside the cable relief channel.
I Attach the appropriate desktop stand to each unit. The SPA932
is powered via the auxiliary cable with the SPA962. No addi-
tional power source is required.
IMPORTANT: Do not plug a telephone line cord into an AUX port. Use only the
auxiliary cable provided with the SPA932.
F
G
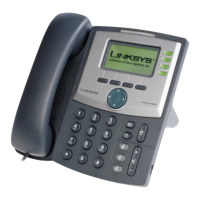
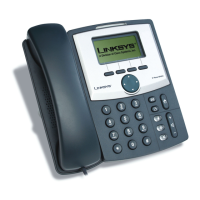
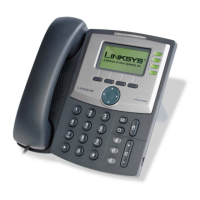
for the SPA962 IP Phone