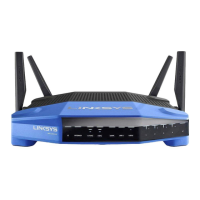
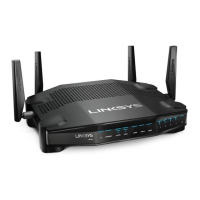
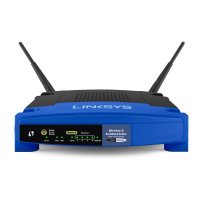
Adjustable antennas (1)—The four adjustable external antennas should be connected to the router before powering
it on. Twist the antenna connector clockwise onto the antenna port on the router.
Note—For best performance, position the side antennas vertically as shown in the picture on the left.
Wi-Fi Protected SetupTM button (2)—Press to configure wireless security on Wi-Fi Protected Setup-enabled
network devices.
Ethernet ports (3)—Connect ethernet cables to these blue gigabit (10/100/1000) ports, and to wired devices on your
network.
Note—For best performance, use CAT5e or higher-rated cables on the ethernet ports.
Internet port (4)—Connect an ethernet cable to this yellow gigabit (10/100/1000) port, and to a broadband internet
cable/DSL or fiber modem.
Note—For best performance, use CAT5e or higher rated cables on the Internet port.
USB 3.0 port (5)— Connect and share a USB drive on your network or on the internet.
USB 2.0/eSATA combo port (6)— Connect and share a USB or eSATA drive on your network or on the internet.
Reset button (7)—Press and hold for 10 seconds (until the power light starts blinking) to reset the router to factory
settings.
Power port (8)—Connect the included AC power adapter.
Power switch (9)—Press to the | position to turn on the router.
Setting Up: Basics
To complete the setup, you will need a computer or mobile device.
1. Identify your equipment and prepare for setup.
2. Twist on the antennas as pictured, and plug your router into a power source.