14
Chapter 5: Connecting the Wireless-G USB Network Adapter
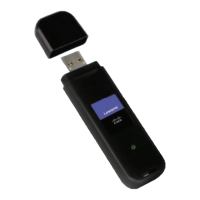
Connecting the Adapter
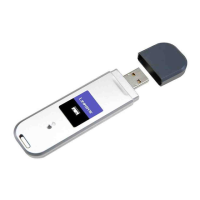
Wireless-G USB Network Adapter
Chapter 5: Connecting the Wireless-G USB Network Adapter
Connecting the Adapter
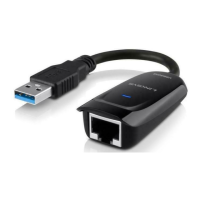
1. Connect one end of the included USB cable to the Adapter’s USB port.
2. Connect the other end of the cable to one of the USB ports on your computer.
3. The Power LED should light up when the Adapter is plugged in.
4. When Windows 2000 begins installing the Adapter’s driver, a Digital Signature Not Found screen may appear,
indicating that a digital signature was not found. This driver has been tested and found to work properly with
Windows 2000. Click the Yes button to continue the installation.
5. Raise the antenna. Make sure the antenna points straight up into the air, at a 90º angle from the Adapter. This
will ensure optimum wireless operating range and performance.
Congratulations! The installation of the Wireless-G Network Adapter is complete.
If you want to check the link information, search for available wireless networks, or make additional
configuration changes, go to “Chapter 6: Using the Wireless Network Monitor.”
Figure 5-1: How the Adapter Connects to Your PC
NOTE: You must run the Setup Wizard before connecting the Adapter.
Figure 5-2: Adapter’s USB Port
Figure 5-3: PC’s USB Ports
NOTE: If you want to attach the Adapter to your wall, go to the next section,
“Using the Adapter’s Wall Mount,” before proceeding to “Chapter 6: Using the
Wireless Network Monitor.”
Figure 5-4: Digital Signature Not Found Screen

 Loading...