How To Use a Prompted Field
Linx 5900 & 7900
Page 16 of 21 FA69402–2 English
Jun 2013
21
5 Use a prompted field
When you have created a message that contains one or more prompted fields, you can select
that message for printing, as described in the Linx 5900 & 7900 Quick Start Guide.
When you select the message for printing, the printer displays a sequence of one or more
prompt pages. At each page, you must enter some text, select a text item from a prompt list,
or accept the default text (which is the most recent text entry).
NOTES:
1. When the printer displays a prompt page, you can press the Cancel key to cancel
the message selection and return to the Print Monitor page. (The current message
reverts to the message that was selected previously.)
2. If you turn off the printer, and then turn on the printer, and the current message
contains a prompted field, the printer prompts you to enter the field information
when you press the Start key. If you then press the Cancel key, the printer does not
print the current message. The printer returns to the Print Monitor page and the
printer status becomes “JET RUNNING”.
3. You can change the Prompted Fields setting to switch the prompts off, so that the
printer does not display any prompt pages when you select the message. The
printer automatically loads the most recent data into the prompted fields. See
‘Disable the prompts’ on page 20.
5.1 Prompted fields: example sequence
This example uses a message (with the message name “YOGHURT”) that contains two
prompted fields. One field has a User Prompt and the other field has a Prompt List.
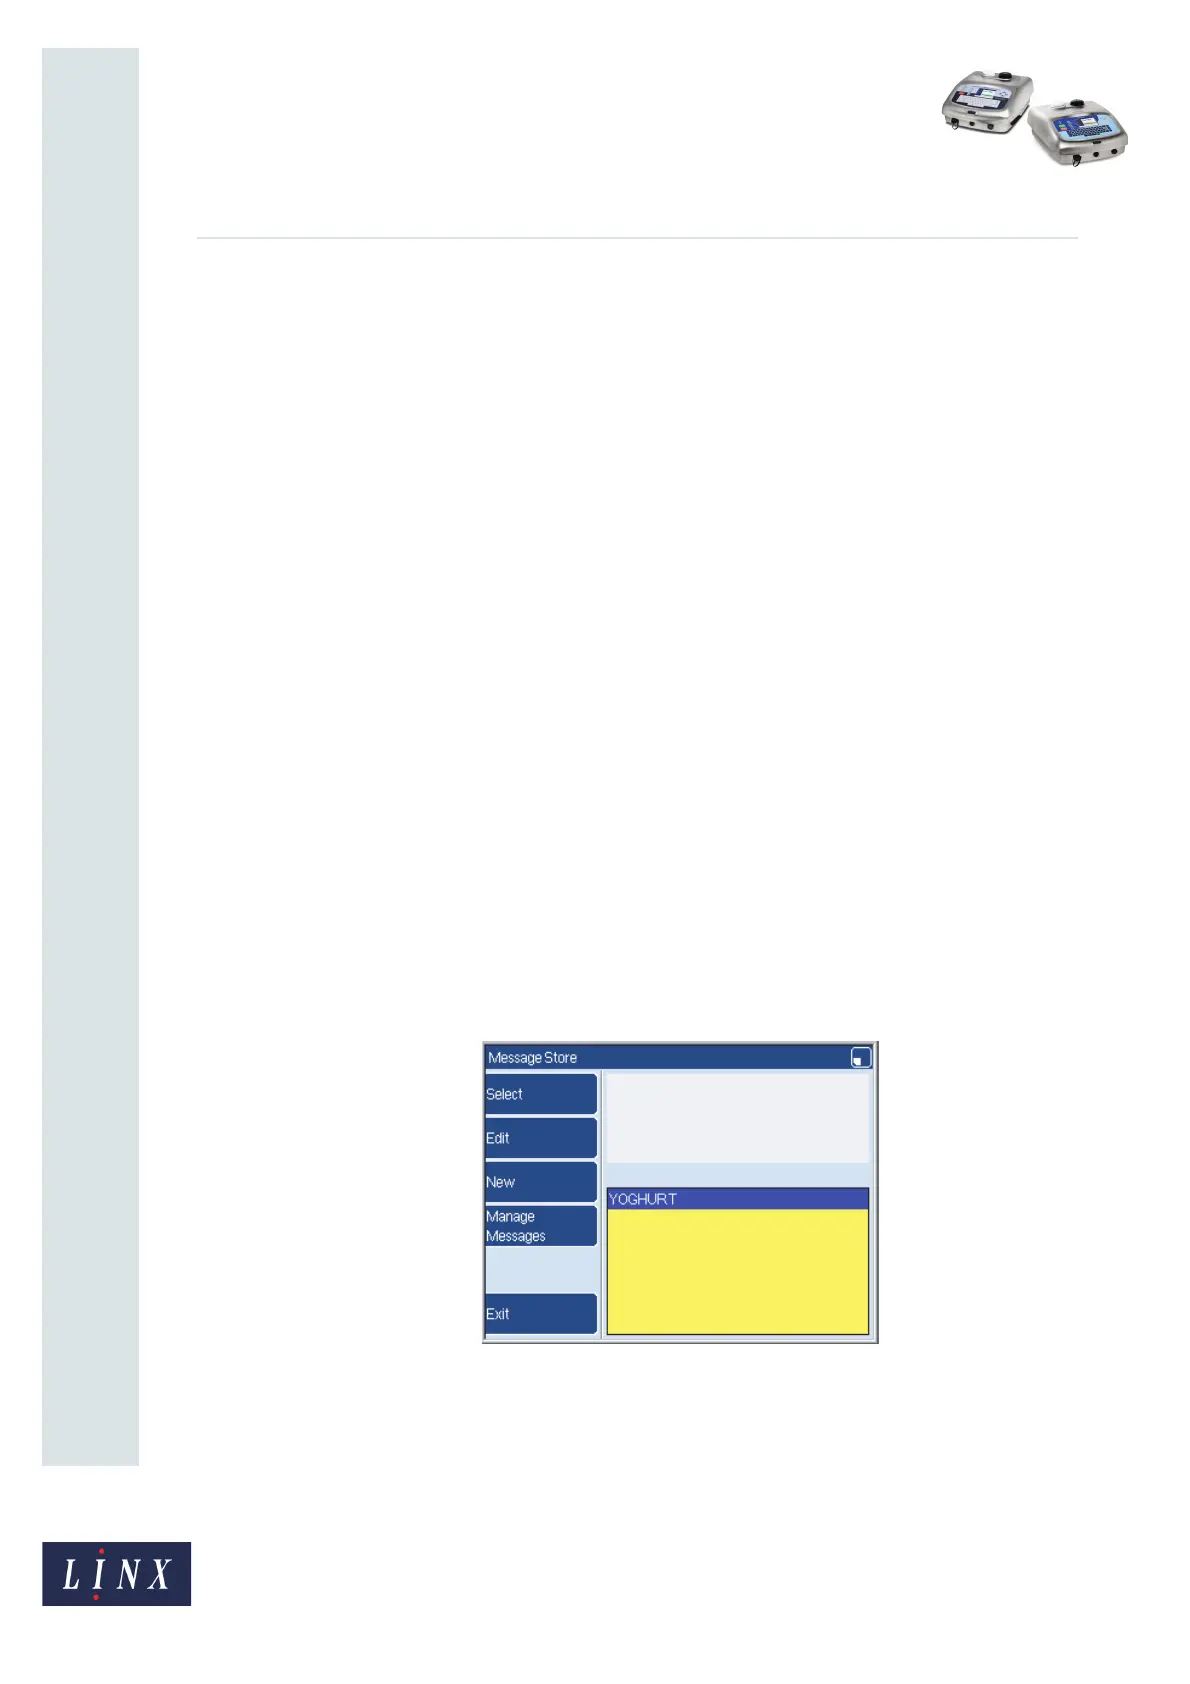
1 At the Message Store page, highlight the message name to preview the message on
the Message Store page.
Figure 23. Message Store page: “YOGHURT” message preview
NOTE: The prompted field remains blank until the message is selected and the
user enters the text. After the text is entered for the first time, the field
information is shown on the Message Store page when you preview the
message.
79006
 Loading...