How To Use a Prompted Field
Linx 5900 & 7900
Page 20 of 21 FA69402–2 English
Jun 2013
21
5.2 Update a prompted field
If the current message contains a prompted field, or a message that contains a prompted
field is printing, you can update the prompted field.
To update the prompted field, at the Print Monitor page, do one of the following:
• Press the [Alt] key and the [P] key together.
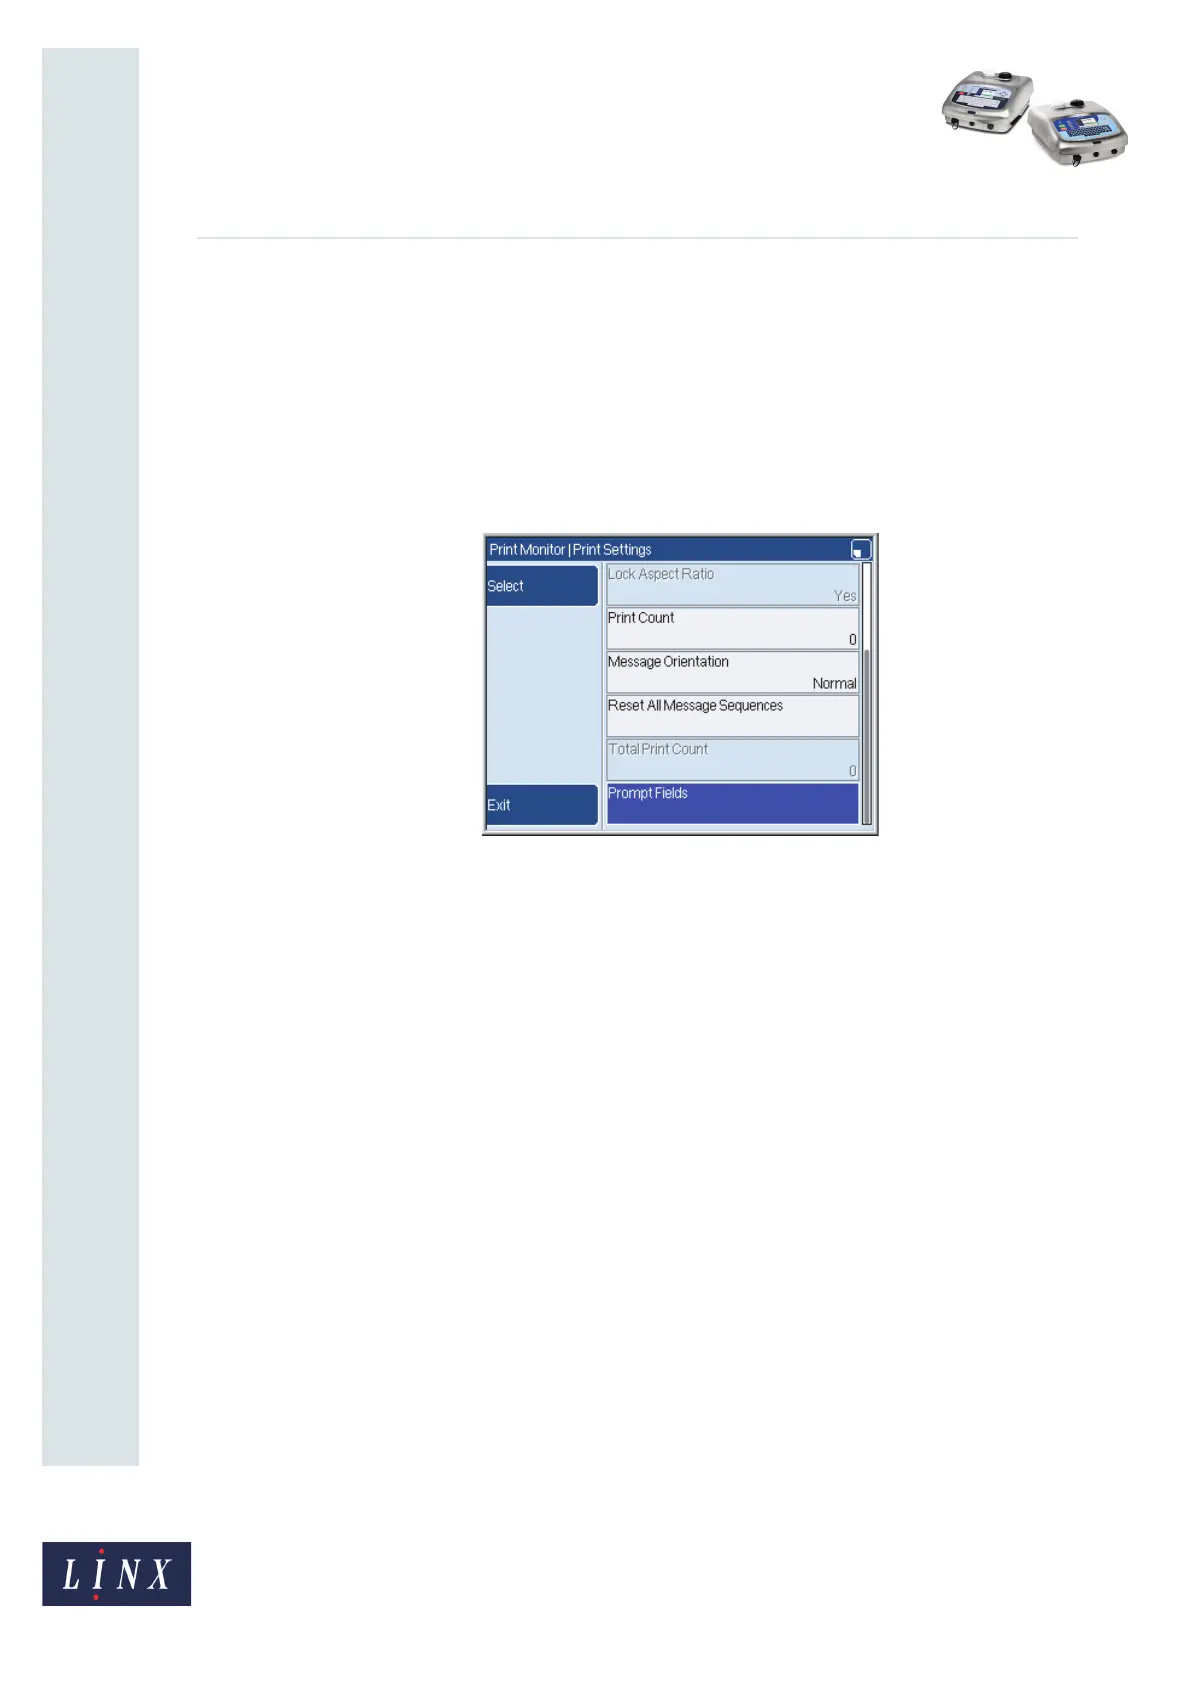
• Press the Print Settings key to display the Print Settings page. Then select the Prompt
Fields option (see Figure 30) to display the Prompted Field Edit page.
Figure 30. Print Settings page: Prompt Fields option
NOTE: The Prompt Fields option is not available on the Print Settings page if the
current message does not contain a prompted field.
The printer displays each prompt page in sequence, as shown in ‘Prompted fields: example
sequence’ on page 16.
When all the prompted fields are completed, the fields are loaded into the current message
and the message is printed at the next print trigger. (See How to Change the System Setup for
more information about how to change the Trigger setup.)
NOTE: When you select the Print Settings > Prompt Fields option, the printer
automatically exits the Print Settings page and returns to the Print Monitor page
when all prompted fields are completed.
5.3 Disable the prompts
You can disable the prompts so that when you press the Select key, the printer does not
display any prompts, and you do not need to enter the field information. Instead, the
printer automatically updates each prompted field with the most recent entry.
79025