‑ 11 ‑ EN
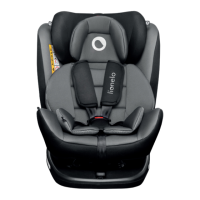
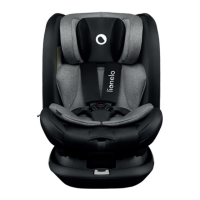
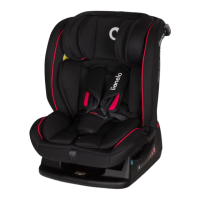
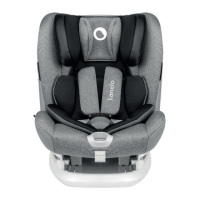
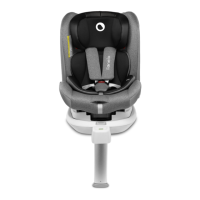
K. Seat liner
L. Support leg indicator
M. Base 360 ° rotaon buon
N. Base
O. Seat lng handle
P. Hip belt guide
Q. Headrest
R. Headrest height adjustment lever
S. Shoulder belt guides
T. Top belt connector
U. Manual locker
V. ISOFIX arms
W. Support leg
X. ISOFIX buon
Y. Support leg adjustment buon
Z. ISOFIX sheaths
How to use
HOW TO FASTEN BELTS OF THE CHILD SAFETY SEAT
To fasten belts of the child safety seat (g. 5):
1. Join belt buckles.
2. Insert them in the buckle (G), you will hear a disncve „click”.
3. Make sure the belts have been properly ghtened and are not twisted.
To unfasten 5-point belts of the child safety seat, press the red buon (F) on the buckle
and loosen the belts.
HOW TO ADJUST TENSION OF THE CHILD SAFETY SEAT BELTS
1. To ghten the belts, pull the tension adjustment strap (J) (g. 6).
2. To loosen the belts, press adjustment buon (I) and pull the shoulder belts (D) (g. 7).
Note! Make sure the child safety seat belts t ght the child’s body and are not twisted.
Make sure the hip belts go low and protect the child’s pelvis. The belts must t ght the
child’s body but must not be too ght and cause discomfort.
HOW TO DISASSEMBLE CHILD SAFETY SEAT BELTS
• Open the manual locker.
• Pull the metal belt connector (T) out of the plasc fastener, and then remove the belts
(g. 8).
•
Loosen the belts as much as you can (see chapter: HOW TO ADJUST TENSION OF
THE CHILD SAFETY SEAT BELTS).
• The metal belt connector must be placed in a special spot for future use (see: g. 9).
• Unfasten Velcros on belt protecve cushions.
•
Unfasten child safety seat covering Velcros. Pull the buckle through the hole in the
covering.
• Fasten belts and hide them in the glovebox in the child safety seat.
Installaon of belts must be performed in a reversed order.
 Loading...