Rev: 11.09.20 Page 7 CCD-0001450
Zone Sensor Installation
The OneControl Zone Sensor Kit consists of a sensor with cable, a cable hold-down clamp, and a sensor
cover. The kit is for use exclusively with OneControl thermostats and climate control systems. A sensor must
be installed in each of the climate zones to be controlled.
Each climate zone requires at least one temperature sensor to be connected between the blue with stripe
"Sensor Power" lead and the blue "Zone Temperature Input" lead. The zone sensor should be installed on an
interior wall if possible at a height between 54" and 66" above the floor.
Disconnect all power sources and the HVAC controller power connections before installing the zone
sensor. Failure to do so may result in serious personal injury from electric shock.
1. Location selection.
NOTE: It is important to select a sensor location carefully to ensure proper operation of the OneControl
HVAC control system. Use the following guidelines to determine the location for the sensor.
A. The sensor should be mounted at least 54" but no higher than 66" above floor height.
B. Install the zone sensor on an interior wall. Avoid installation on outside walls.
NOTE: Do not mount the sensor in close proximity (less than 36") to direct heat or cold-air sources. Avoid
locations close to outside doors, windows, or near corners of outside walls. Avoid areas where the
air may not circulate, such as under cupboards or above appliances.
2. Running the zone sensor wire.
A. The zone sensor wire must connect to the HVAC controller.
B. Using a drill and
⁄
" bit, drill a hole in the wall where the sensor will be mounted.
C. Insert wire through the previously drilled hole in wall.
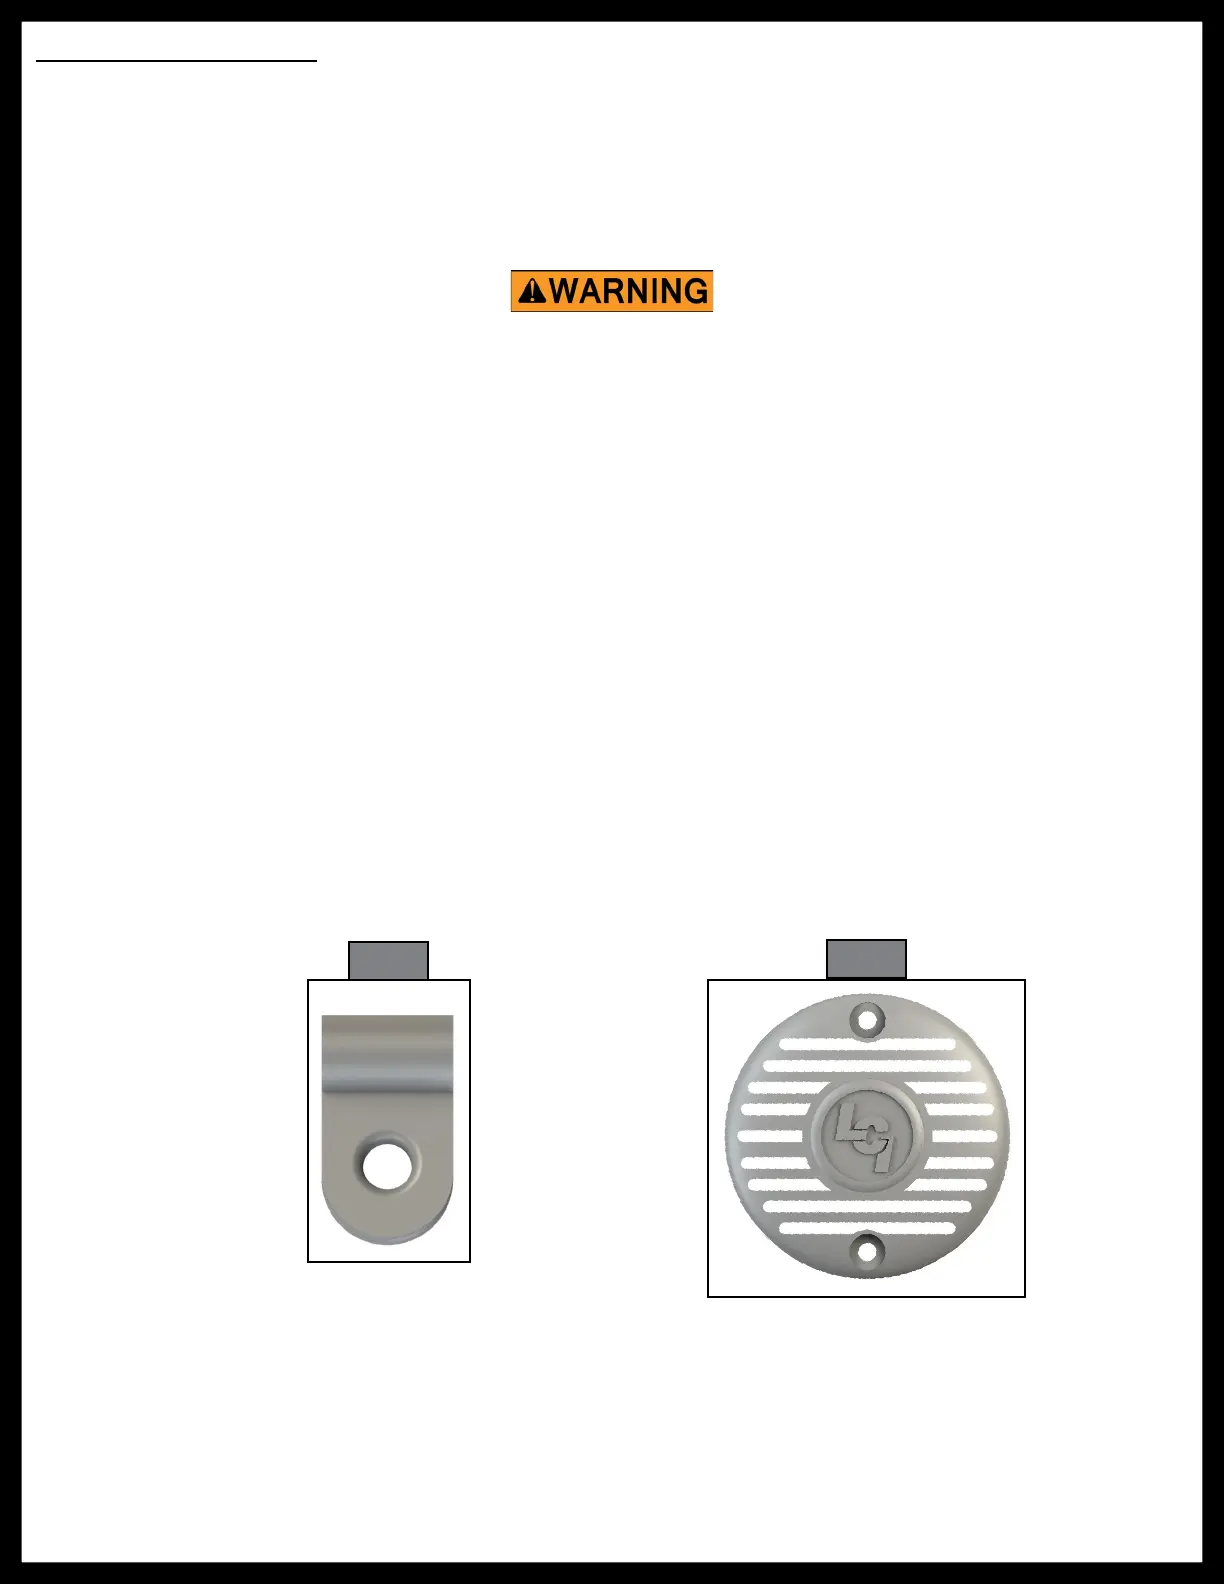
D. Secure the sensor to the wall using a "P-clip" (Fig. 7) and a #8 pan head screw.
3. Cover the sensor, "P-clip" and the hole with a plastic thermistor cover (Fig. 8).
4. Secure with two #4 screws.
5. Connect the zone sensor wire between the blue/white stripe sensor power lead and the blue zone
temperature input lead on the pigtail harness (Fig. 5B, 6B).
Fig. 7
Fig. 8
 Loading...