Rev: 09.17.2015
Page 4
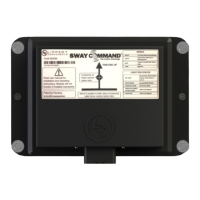
Sway Command™ OEM Install Manual
Sway Command Wiring
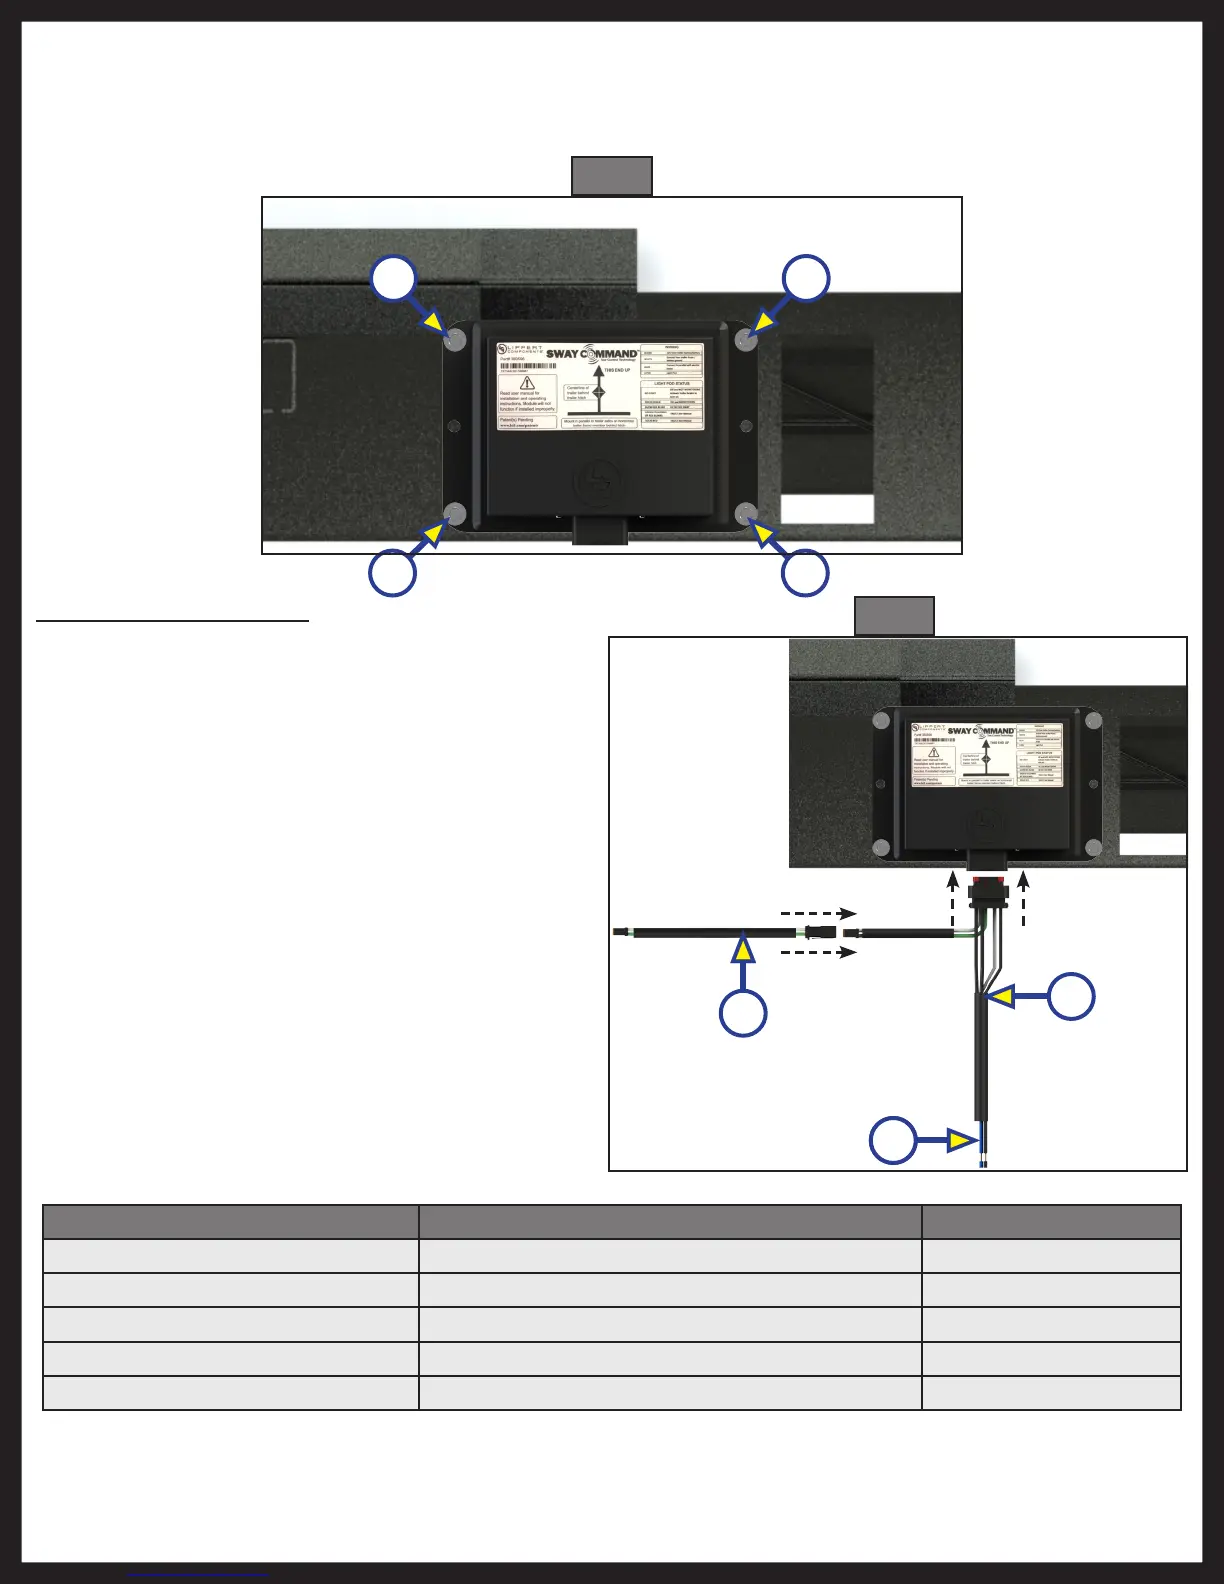
1. Connect the Sway Command™ main wire
harness (Fig. 4A) to the port on the Sway
Command™ controller.
2. Connect the Light Pod extension harness
(Fig. 4B) to the two-pin connector on the
main harness.
3. Connect the loose wires (Fig. 4C) on the main
wire harness as described in the table below.
NOTE: All wiring connections should be made at
the trailer junction box according to RVIA
codes.
Sway Command™ Wire Connection Wire Gauge
2 Pin Connector Light Pod Extension Harness N/A
Light Pod Extension Harness Light Pod N/A
Black 12VDC from tow vehicle/breakaway battery 12AWG
White Trailer Battery/Frame ground 12AWG
Blue Electric Brake wire from tow vehicle 12AWG
3. Using the ⁄" drill bit and power drill, drill pilot holes into the crossmember on the 4 marks made
during step 2.
4. Using four #12 x ¾" screws with lock washers (Fig. 3A), attach the controller to the crossmember
ensuring the orientation is correct (Fig. 3).
Fig. 3
A A
A A
Fig. 4
A
B
AC