Wandbefestigung
d
Montage sur le mur
f
Wandbevestiging
l
Fissaggio alla parete
i
Wall fastening
g
Fijación de pared
e
l
Controleer de afstand/uitsprong van de schroefkop
tot de wand. De ruimte (ca. 2 mm) tussen de schro-
efkop en de wand is noodzakelijk om de speaker in
te hangen.
Hang de speaker op aan de schroeven aan de wand
Wanneer er bovenaan te veel afstand is tussen de
speaker en de wand, neemt u de speaker er weer
af en draait u de schroeven een beetje verder in.
Vervolgens hangt u de speaker weer op.
g
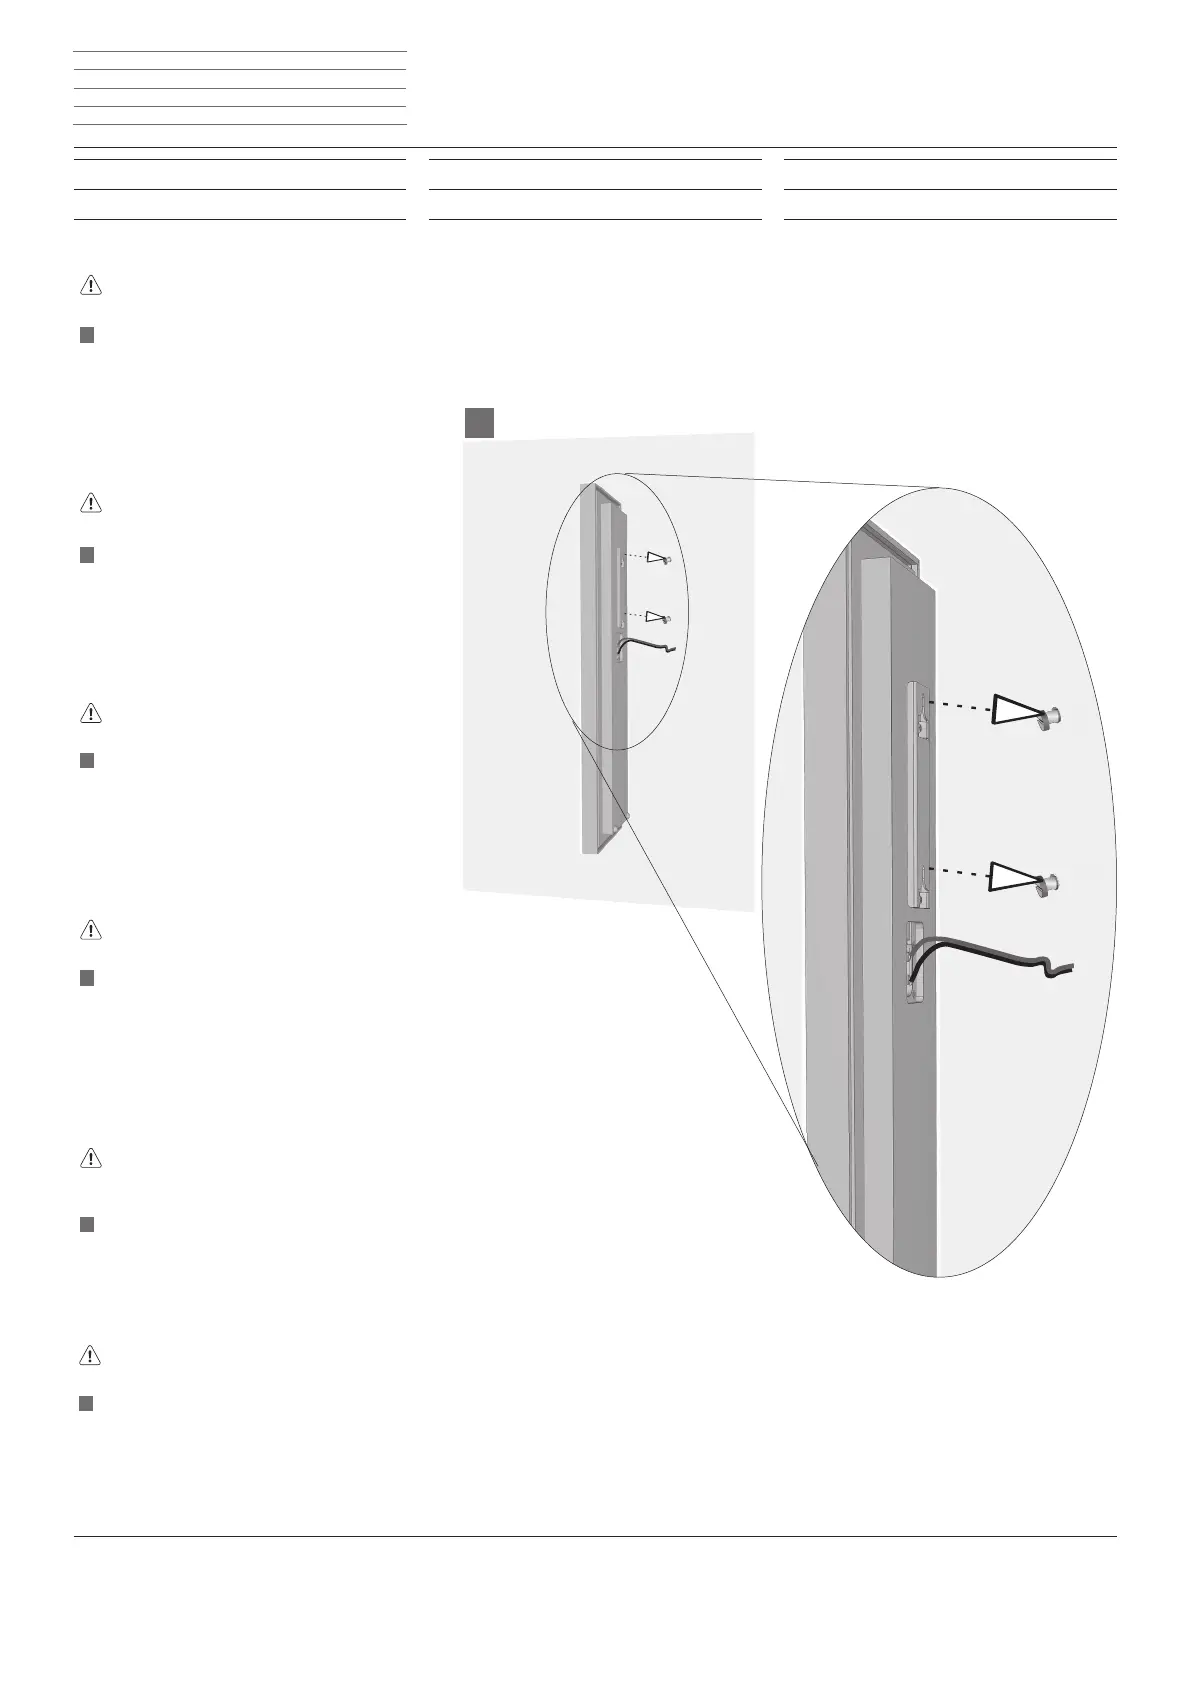
Check the distance/projection of the screw head
from/to the wall. Approx. 2 mm of clearance is
needed between the screw head and the wall to
allow space for the speaker to be installed.
Hang the speaker onto the screws in the wall
If there is too much space between the top part of
the speaker and the wall, remove the speaker and
screw the screws in a little more. Then hang the
speaker back onto the screws.
f
Vérifi ez l'écart/ la partie superfl ue de la tête de vis
par rapport au mur. Une cote d’écartement (env.
2 mm) entre la tête de vis et le mur est nécessaire
pour monter le Speaker.
Accrochez le Speaker aux vis fi xées sur le mur.
Si le Speaker est trop éloigné du mur, décrochez-
le et vissez la vis un peu plus profondément. Puis
raccrochez le Speaker.
i
Verifi care la distanza / sporgenza della testa
della vite rispetto alla parete. La dimensione della
fessura (di circa 2 mm) tra la testa della vite e la
parete è necessaria per consentire di agganciare
l'altoparlante.
Agganciare l'altoparlante nelle viti applicate nella
parete
e
Compruebe la distancia/saliente de la cabeza del
tornillo en la pared. Se necesita una ranura (aprox.
2 mm) entre la cabeza del tornillo y la pared para
fi jar el altavoz.
Cuelgue el altavoz en los tornillos de la pared
Si la distancia del altavoz a la pared en la parte
superior es excesiva, retire el altavoz y apriete
ligeramente el tornillo. A continuación, vuelva a
colgar el altavoz.
d
Prüfen Sie den Abstand/ Überstand des Schrauben-
kopfes zur Wand . Spaltmaß (ca. 2 mm) zwischen
Schraubenkopf und Wand ist zum Einhängen des
Speakers notwendig.
Hängen Sie den Speaker in die Schrauben an der
Wand ein
Sollte der Speaker oben zur Wand zu viel Abstand
haben, nemen Sie den Speaker ab und drehen die
Schrauben noch etwas ein. Anschließend hängen
Sie den Speaker wieder ein.
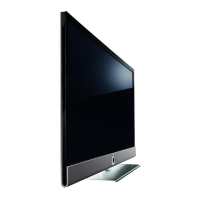
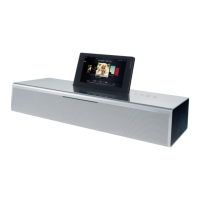
Speaker Reference ID - 10 -
Montageanleitung Instructions de montage
Montage-instructies Istruzioni di montaggio
Installation instructions Instrucciones de montaje