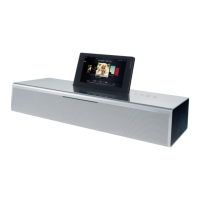
Abstandshalter am Speaker
d
Ecarteur sur le Speaker
f
Afstandhouder op de speaker
l
Distanzale sull‘altoparlante
i
Spacers on the speaker
g
Espaciador en el altavoz
e
l
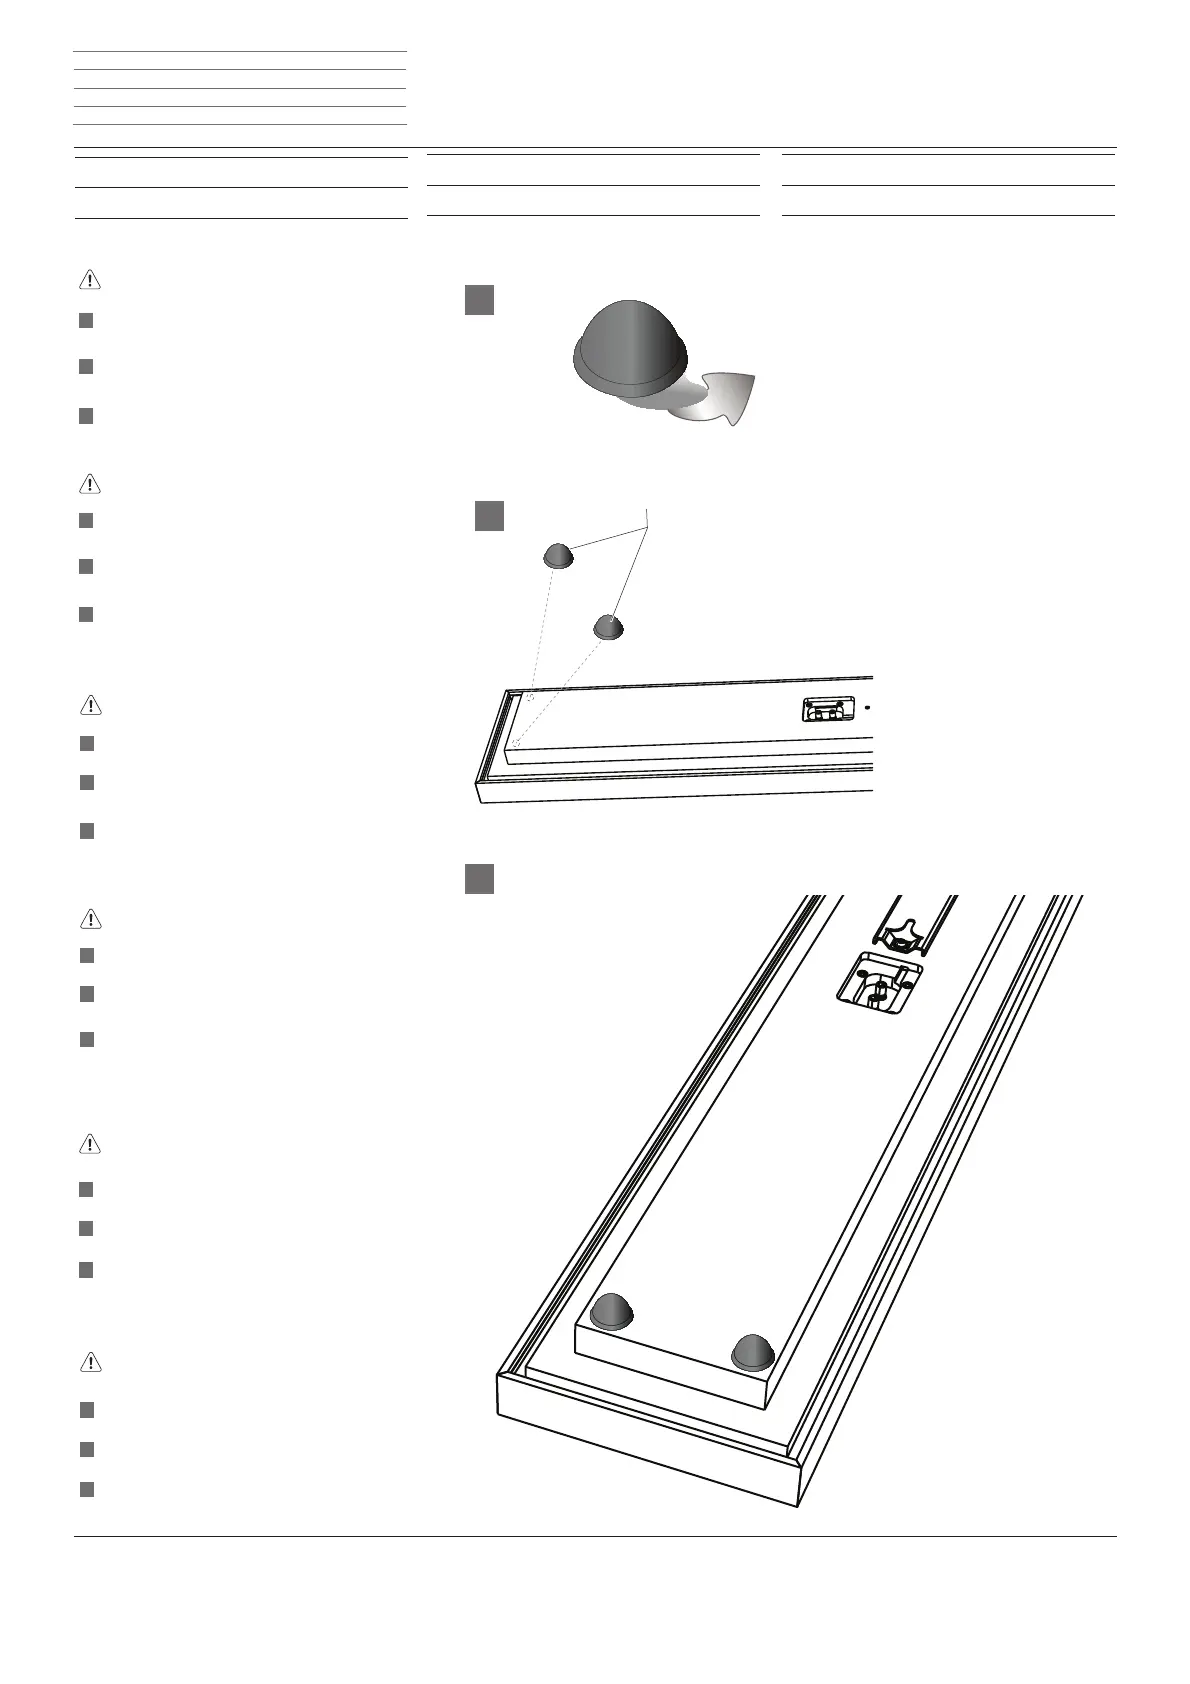
Bescherm de gevoelige oppervlakken tegen krassen.
Maak de kleefvlakken van de afstandhouders vrij
(beschermfolie verwijderen)
Kleef de afstandhouder B vast op de achterkant van
de speakers, zoals getoond in de tekening
De afstandhouders verhinderen dat de speaker kan
verschuiven op de wand
g
Protect the sensitive surfaces against scratches.
Pull off the protective fi lms from the spacers to
expose their adhesive surfaces.
Affi x spacer B onto the back of the speaker as
shown in the diagram
When the spacers have been installed, they prevent
the speaker from slipping on the wall when it is in
operation.
f
Protégez les surfaces sensibles contre les rayures.
Libérez la surface adhésive (retirez le fi lm de protec-
tion) de l’écarteur.
Collez l'écarteur B sur la paroi arrière du Speaker
comme représenté sur la fi gure.
Une fois l'écarteur monté, il permet d'éviter que le
Speaker glisse sur le mur lors de son utilisation.
i
Proteggere le superfi ci sensibili da possibili graffi -
ature.
Liberare le superfi ci d'incollaggio dei distanziali
(rimuovere la pellicola protettiva).
Incollare i distanziali B sul retro dell'altoparlante,
come illustrato nello schema.
I distanziali evitano che l'altoparlante possa scivola-
re sulla parete durante il suo funzionamento
e
Proteja las superfi cies delicadas frente a posibles
arañazos.
Deje al descubierto las superfi cies adhesivas del
espaciador (retire la lámina protectora)
Peque el espaciador B en la parte trasera del altavoz
como se muestra en el esquema
Si monta los espaciadores evitará que el altavoz se
desplace en la pared durante el funcionamiento
d
Die empfi ndlichen Oberfl ächen vor Verkratzen
schützen.
Klebefl ächen der Abstandshalter frei legen (Schutz-
folie abziehen)
Abstandshalter B auf der Rückseite des Speakers,
wie auf der Skizze dargestellt ankleben
Wurden die Abstandshalter montert, verhindern
sie bei Betrieb des Speakers ein Verrutschen an der
Wand
B
Speaker Reference ID - 6 -
Montageanleitung Instructions de montage
Montage-instructies Istruzioni di montaggio
Installation instructions Instrucciones de montaje