GB
8
Preparation
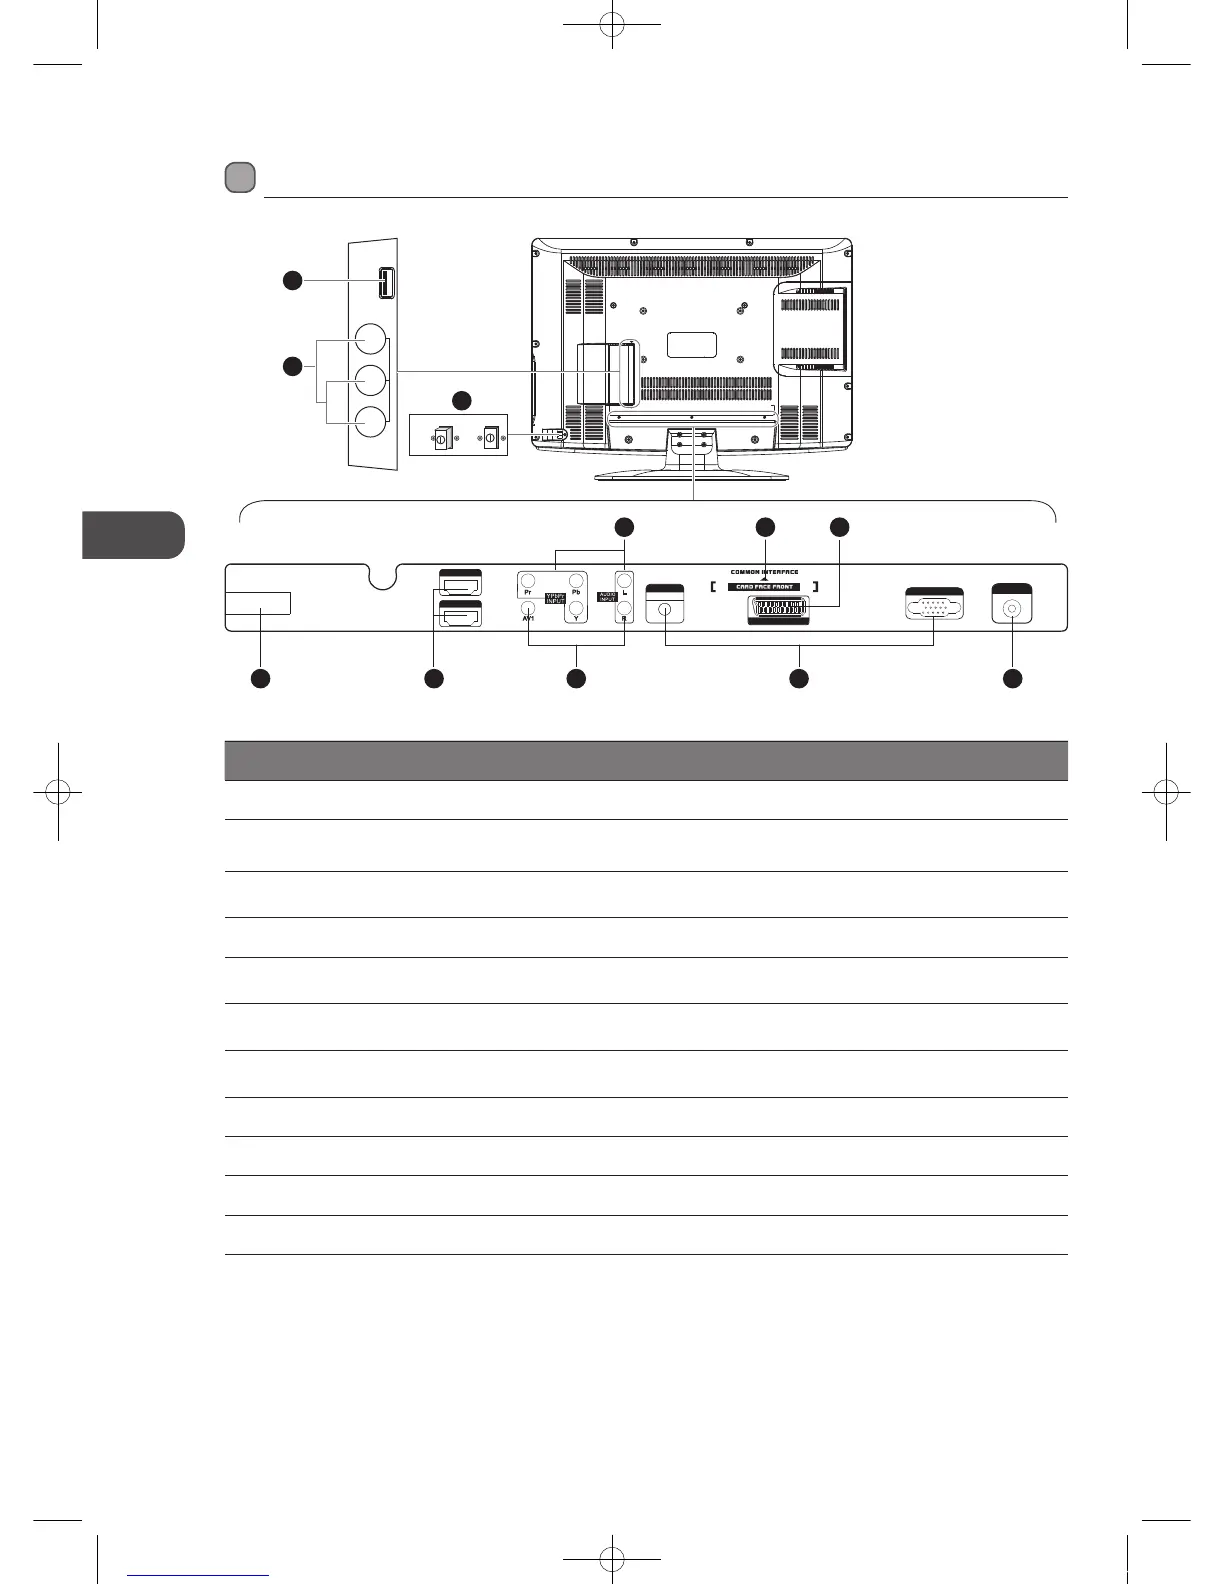
Rear View and Sockets
VGA INPUT
RF INPUT
PC
AUDIO INPUT
SCART
100-240V~ 50/6 0Hz
AC-INPUT
HDMI 1
HDMI 2
Item Description
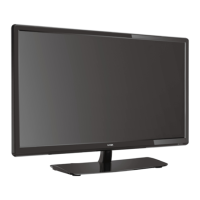
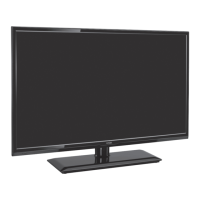
1 Power ON/OFF button Press the POWER ON/OFF button to turn the TV to standby or off mode.
2 USB
Allows the insertion of a USB storage device to play video, audio, photo and text files
(DMP mode) and record DTV programmes on to a USB storage device.
3 AV2 VIDEO / AUDIO (L/R)
To connect to the Composite VIDEO and AUDIO (L/R) output sockets on external video
devices.
4 AC~INPUT Connects the mains cable to the mains socket.
5 HDMI1 / HDMI2
To connect to a High-Definition (HD) signal output device, such as a set-top box, blu-ray
disc player or AV receiver.
6 AV1 VIDEO / AUDIO (L/R)
To connect to the Composite VIDEO and AUDIO (L/R) output sockets on external video
devices.
7 Y, PB, PR / AUDIO (L/R)
To connect to a DVD player, Digital Set-Top-Box, or other AV devices with component
(YPbPr) video and audio output sockets.
8 VGA INPUT / PC AUDIO To connect to a computer or other devices with a VGA interface.
9 COMMON INTERFACE Allows the insertion of a Common Access Module. (Refer to page 22 for details)
10 SCART To connect to a VCR, DVD Player, or other AV device with a SCART output socket.
11 RF INPUT To connect to the aerial socket on the wall with the RF coaxial cable.
4 5
7 9 10
6 8 11
Video
AV2
L
R
USB