10 OM-ST-4E/6E
Initial Start-Up
After the LoLo steamer has been installed, test it to ensure that the unit is operating
correctly.
1. Remove all literature and packing materials from the interior of the unit.
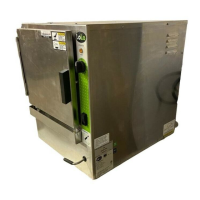
2. Make sure the water supply line is open and the drain valve handle is in the
closed position (6:00 o’clock). (See Photo 10-1)
3. Turn on electrical service to the unit. The steamer will not operate without elec-
trical power. IMPORTANT: Do not attempt to operate the unit during a power
failure.
NOTE: The door MUST be closed for the elements to operate.
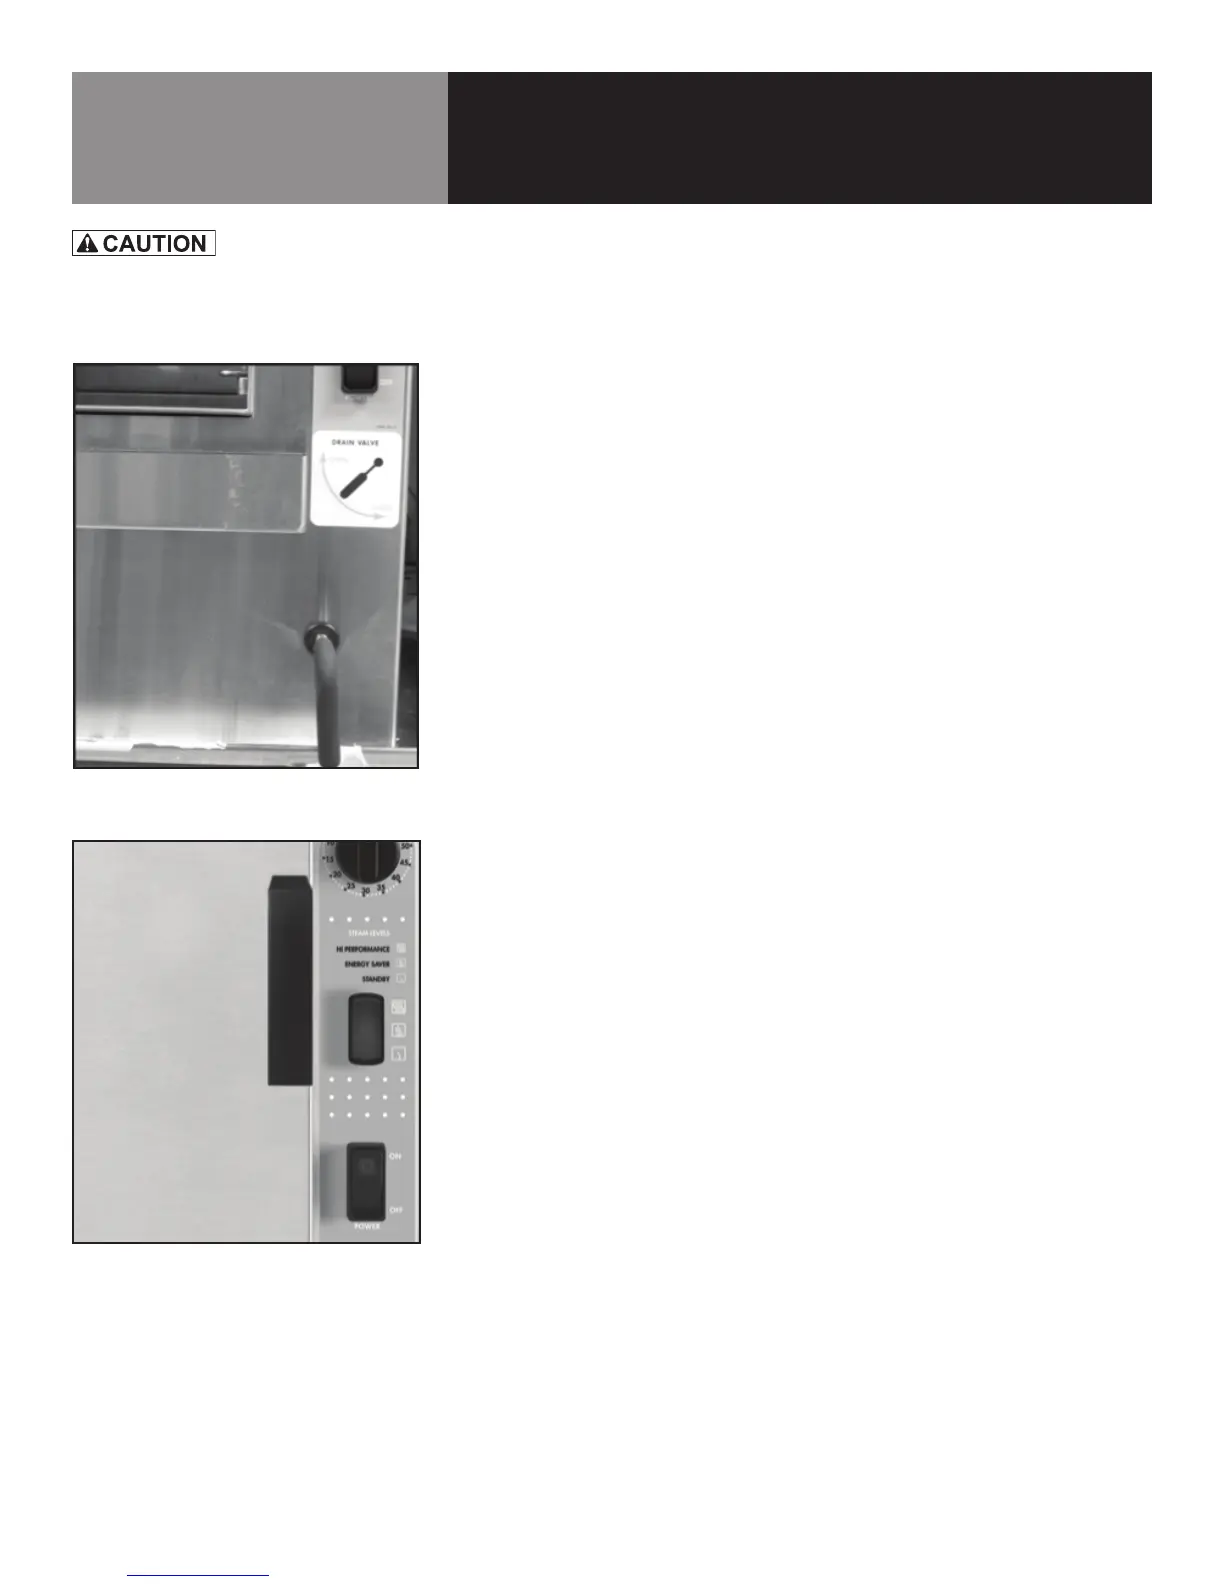
4. To turn unit on, toggle POWER ON/OFF switch to the ON position and rotate
timer knob to ON position. The green light on the switch will come on.
NOTE: For normal operation, the POWER ON/OFF switch may be left in the ON
position. Use the timer knob to turn unit steaming ON and OFF during the day.
5. Make sure three position STEAM LEVEL switch is in HIGH PERFORMANCE or
ENERGY SAVER position.
6. When the steam generating reservoir has filled with water, the heaters will
begin heating only when the timer is in the ON or TIMING position. Within
15 minutes or less the READY light will come on, indicating that the water has
reached its standby temperature. When the READY light comes on, you may
take any of the following steps:
• Set the timer knob to the desired steaming time.
• Leave timer knob in the ON position for continuous steaming.
• Set the timer knob to the OFF position to put the steamer into the idle
mode.
7. To shut down the unit, toggle the ON/OFF switch to the OFF position. Wait 30
minutes and rotate the drain valve to open position (9:00 o’clock) to drain the
water reservoir.
8. If the steamer operates as described, the unit is functioning correctly and ready
for use.
WHEN YOU OPEN THE DOOR, STAY AWAY
FROM STEAM COMING OUT OF THE UNIT.
STEAM CAN CAUSE BURNS.
Photo 10-1
Photo 10-2
From top to bottom: Timer, STEAM LEVEL
switch & POWER ON/OFF switch