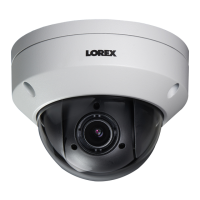
Installation4
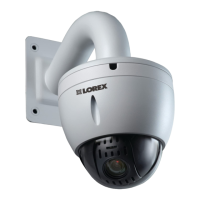
7. Push the connection cables into the wall mount
8. Push the camera into the wall mount with the flat surfaces aligned on the inside. This will al-
low the M6x14 screws (x3) to align with the holes on the camera.
9. Use the included Allen key to tighten the M6x14 screws and secure the camera in place.
10. Connect the connection cables.
To connect the cables using the waterproof connector:
#LX400116; r. 4.0/60127/60127; en-US 10

 Loading...