B. LCD Receiver Setup
Insert the included SD card into the SD card slot on the LCD
receiver until you hear a “click.”
NOTE: The receiver is compatible with most major brands of
SD card up to 64 GB.
3
Connect one end of the receiver’s power adapter to the back of the
receiver. Connect the other end to an electrical outlet.
NOTE: Make sure to first connect the camera(s)
to an electrical outlet before powering on the
receiver. This will ensure a proper connection.
4
5
Pull up the antennas on the back of the LCD receiver.
6
Press and hold the power button on top of the LCD receiver.
NOTE: If one or more cameras do not appear when selected (e.g, Camera 2 is
plugged in but does not appear on channel 2), follow the pairing process
described in the user’s guide.
*Number of cameras, and SD card capacity may vary
by model. Check your package for specific content information.
Time
Under 20
minutes*
NOTE: AVOID INSTALLING IN A LOCATION
THAT REQUIRES THE WIRELESS SIGNAL TO
PASS THROUGH CEMENT, CONCRETE, OR
METAL STRUCTURES. THIS WILL REDUCE THE
TRANSMISSION RANGE.
WIRELESS VIDEO MONITORING SYSTEM
LW2770 SERIES
QUICK START GUIDE
Charge the receiver for at least 10 hours before using.
The receiver has a rechargeable battery for up to 2.5 hours of portable use.
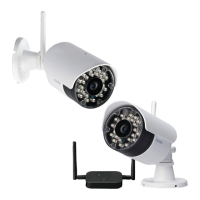
This system comes with the following
components:
• 7” wireless touch panel LCD color
monitor
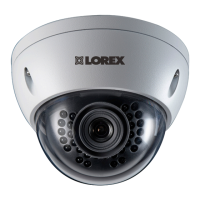
• Indoor / outdoor color camera(s)*
• Battery
• SD memory card*
• Mounting hardware kit(s)*
• Power adapters*
• Ethernet cable
Loosen the thumbscrews (1, 2) and the adjustment ring (3) by turning
them counter clockwise.
2
1
Use the included mounting screws to attach the camera(s) to the
mounting surface:
a. Mark the positions of the screw holes on the mounting surface.
b. Drill holes and insert the drywall anchors (included) as needed.
c. Firmly attach camera(s) to the surface using the included screws.
2
1
3
Adjust the angle of the camera(s) as needed, then tighten the
thumbscrews and the adjustment ring.
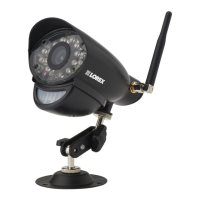
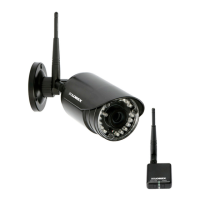
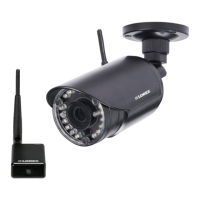
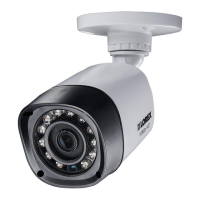
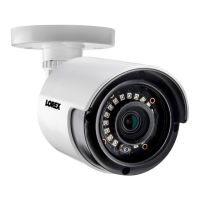
A. Camera Setup
Before installing camera(s), carefully plan where and how it will be positioned,
and where you will route the cable that connects the camera to the power adapter.
3
Connect one end of the camera’s power adapter to the camera and the
other end to an electrical outlet. Make sure the power connector is fully
inserted to avoid water getting in the plug.
4
Remove the protective film from the front of the camera(s). If the film is
not removed, it will block the microphone and will affect picture quality.
• Cameras are rated for indoor/outdoor installation, but are not intended for direct
exposure to rain or snow. For outdoor applications install under shelter protected
from the elements.
• Wireless cameras require a power source to operate.
• Ensure power outlets are sheltered from the elements.
Installation Tips
NOTE: If you run the power cable through the mounting surface,
connect power before attaching the camera to the wall.
Use a Phillips screwdriver (not included) to open the battery
compartment on the back panel.
1
Connect the battery cable to the terminals in the monitor. When
finished, close the battery compartment and replace
the screws.
2
NOTE: The battery cable only connects one way.
Do not force the battery cable.
If you do not plan to use the unit for a prolonged period of
time, disconnect the battery or ensure you charge it at least
once every 6 months.
*
LW2770_SERIES_QSG_EN_R1