Do you have a question about the Lorex LW2232 and is the answer not in the manual?
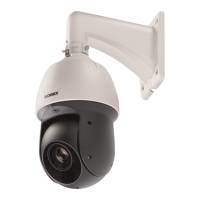
Mount cameras only as instructed in the guide using provided brackets.
Do not service yourself; refer all servicing to qualified personnel.
Unplug and refer to qualified personnel if power cord, liquid, exposure, or performance issues occur.
Use manufacturer-specified parts for safety and to prevent hazards.
Ensure product is in safe operating condition after service or repairs.
High-quality wireless video transmission with MPEG-4 compression.
Continuously monitors wireless signal and reconnects automatically.
Reduces signal interference for reliable communication.
Provides extensive wireless coverage for various environments.
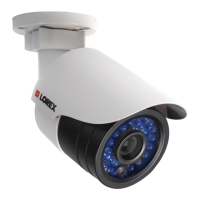
Suitable for indoor and outdoor installation (IP66 rated).
Effective night vision up to 135ft (41m) / 90ft (27m).
Achieves accurate color reproduction in varying lighting conditions.
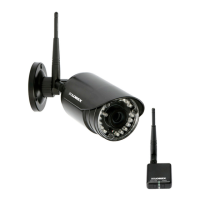
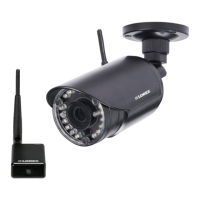
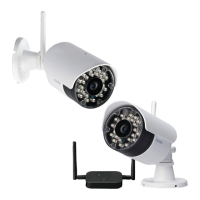
Lists all included components in the system package.
Button used to pair the camera with the receiver.
Aim cameras for clear view, avoid obstructions, consider temperature, avoid submersion.
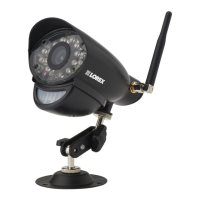
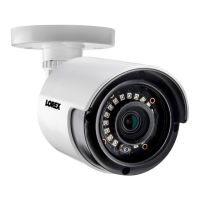
Cameras are suitable for outdoor use; sheltered location is recommended.
Use included screws to mark, drill, and attach cameras to the mounting surface.
Loosen thumbscrews to adjust angle, then tighten to secure position.
Connect power cable and plug adapter into a power outlet or surge protector.
Connect and power on cameras before powering on the receiver for proper connection.
Steps to re-pair cameras and receiver if pairing is lost.
Details TX frequency, power, range, data rate, modulation, and operating temperature.
Discusses open field vs. closed environment ranges and limiting factors.
Explains FHSS technology and pairing for signal security.
Solutions for missing video signal from cameras.
Emphasizes clear path between camera and receiver for optimal signal.
| Brand | Lorex |
|---|---|
| Model | LW2232 |
| Category | Security Camera |
| Language | English |