5
Installing the Camera
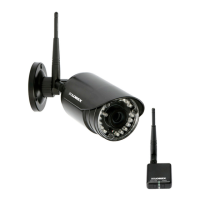
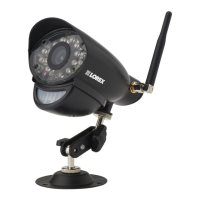
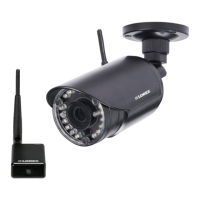
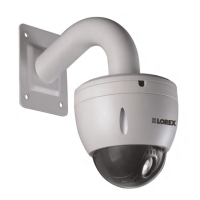
4.2 Mounting Positions
You may mount your cameras on a wall, ceiling, or counter. See the images below for
recommended configurations of the camera stand and antenna.
NOTE: For ceiling installation, position the antenna as high as the ceiling allows. See the
"Ceiling" mounting position in the figure above.
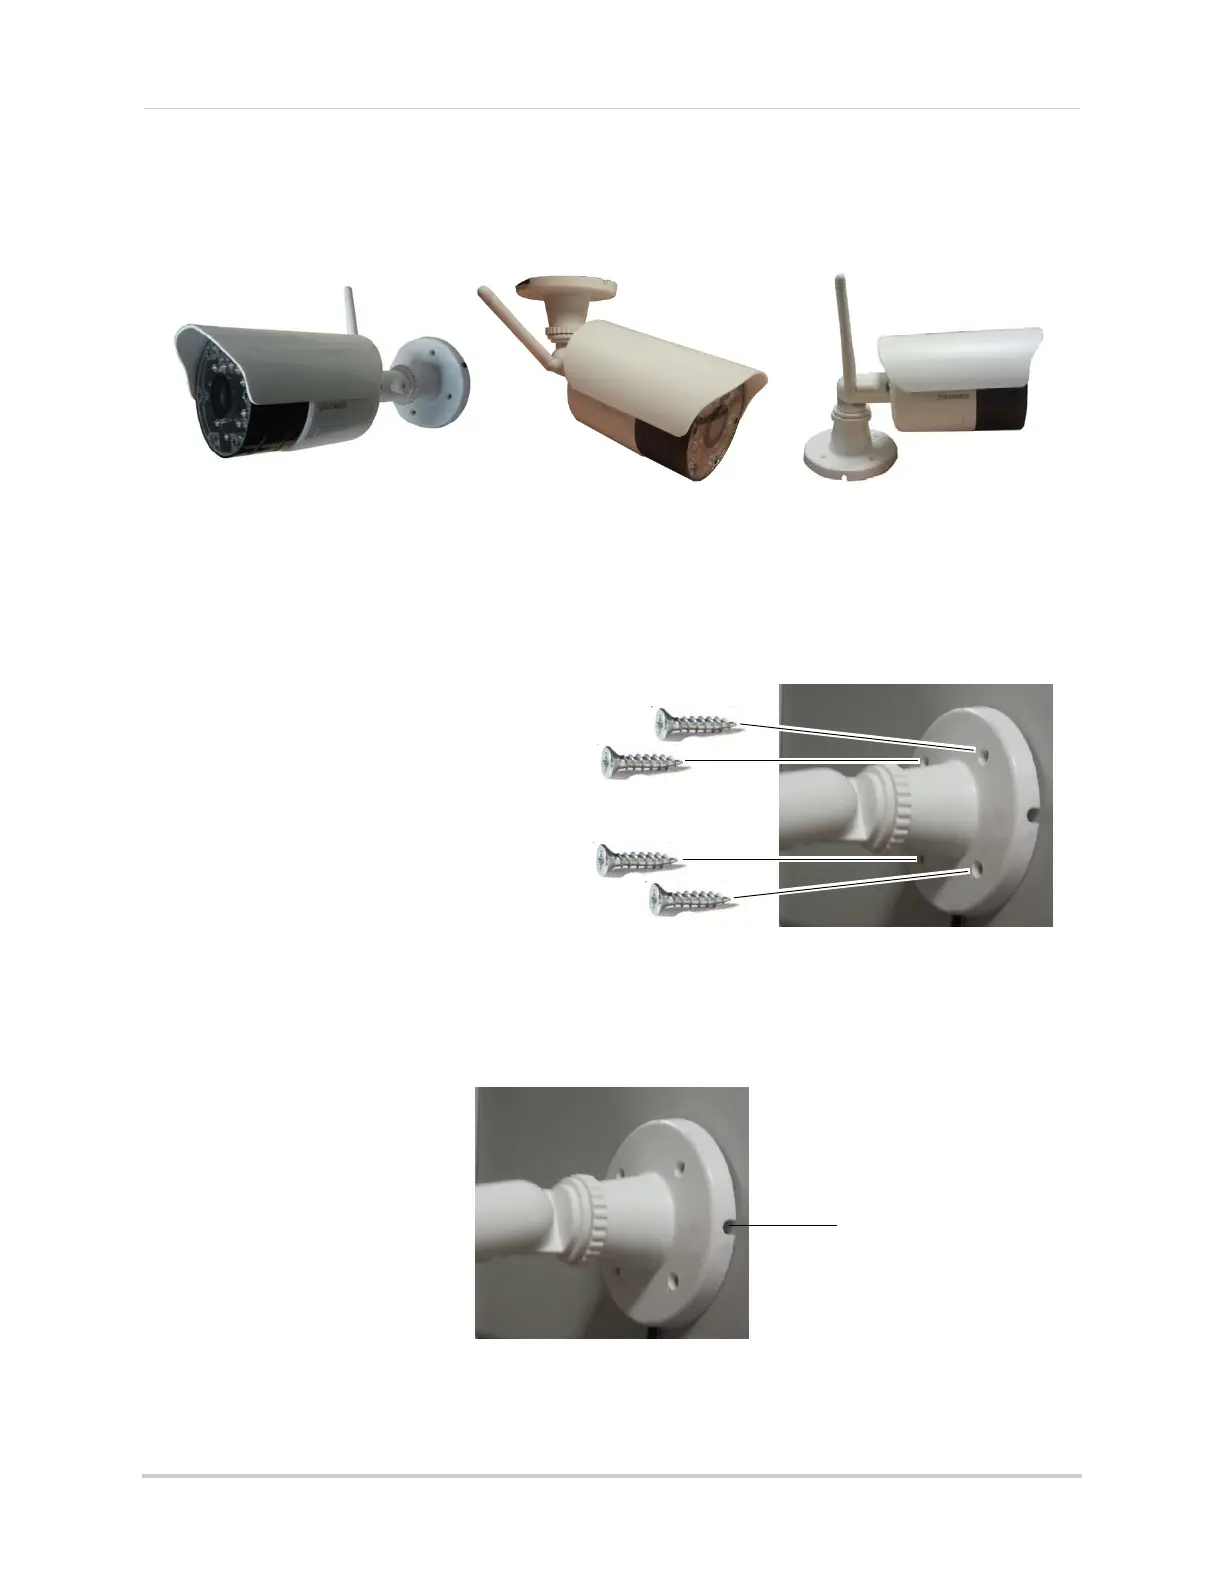
4.3 To Install the Cameras
1 Use the included mounting screws to mount the cameras to the mounting surface:
• Mark the positions of the screw holes
on the mounting surface.
• Drill holes and insert the drywall plugs
(included) as needed.
• Firmly attach the cameras to the
mounting surface using the included
screws.
NOTE: If you run the power cable through the mounting surface, connect power before
attaching the camera to the wall.
NOTE: If you run the power cable along the mounting surface, the cable must go through
the cable notch on the camera base. This will keep the camera base flush to the
mounting surface