LSI Corporation
- 9 -
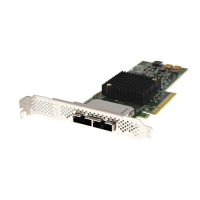
LSI SAS 9201-16i PCI Express to 6Gb/s SAS HBA User Guide
August 2011
Hardware Installation
2. Prepare the computer. Turn off the computer, and disconnect the power cord from the rear of the power supply.
3. Remove the cover from the chassis.
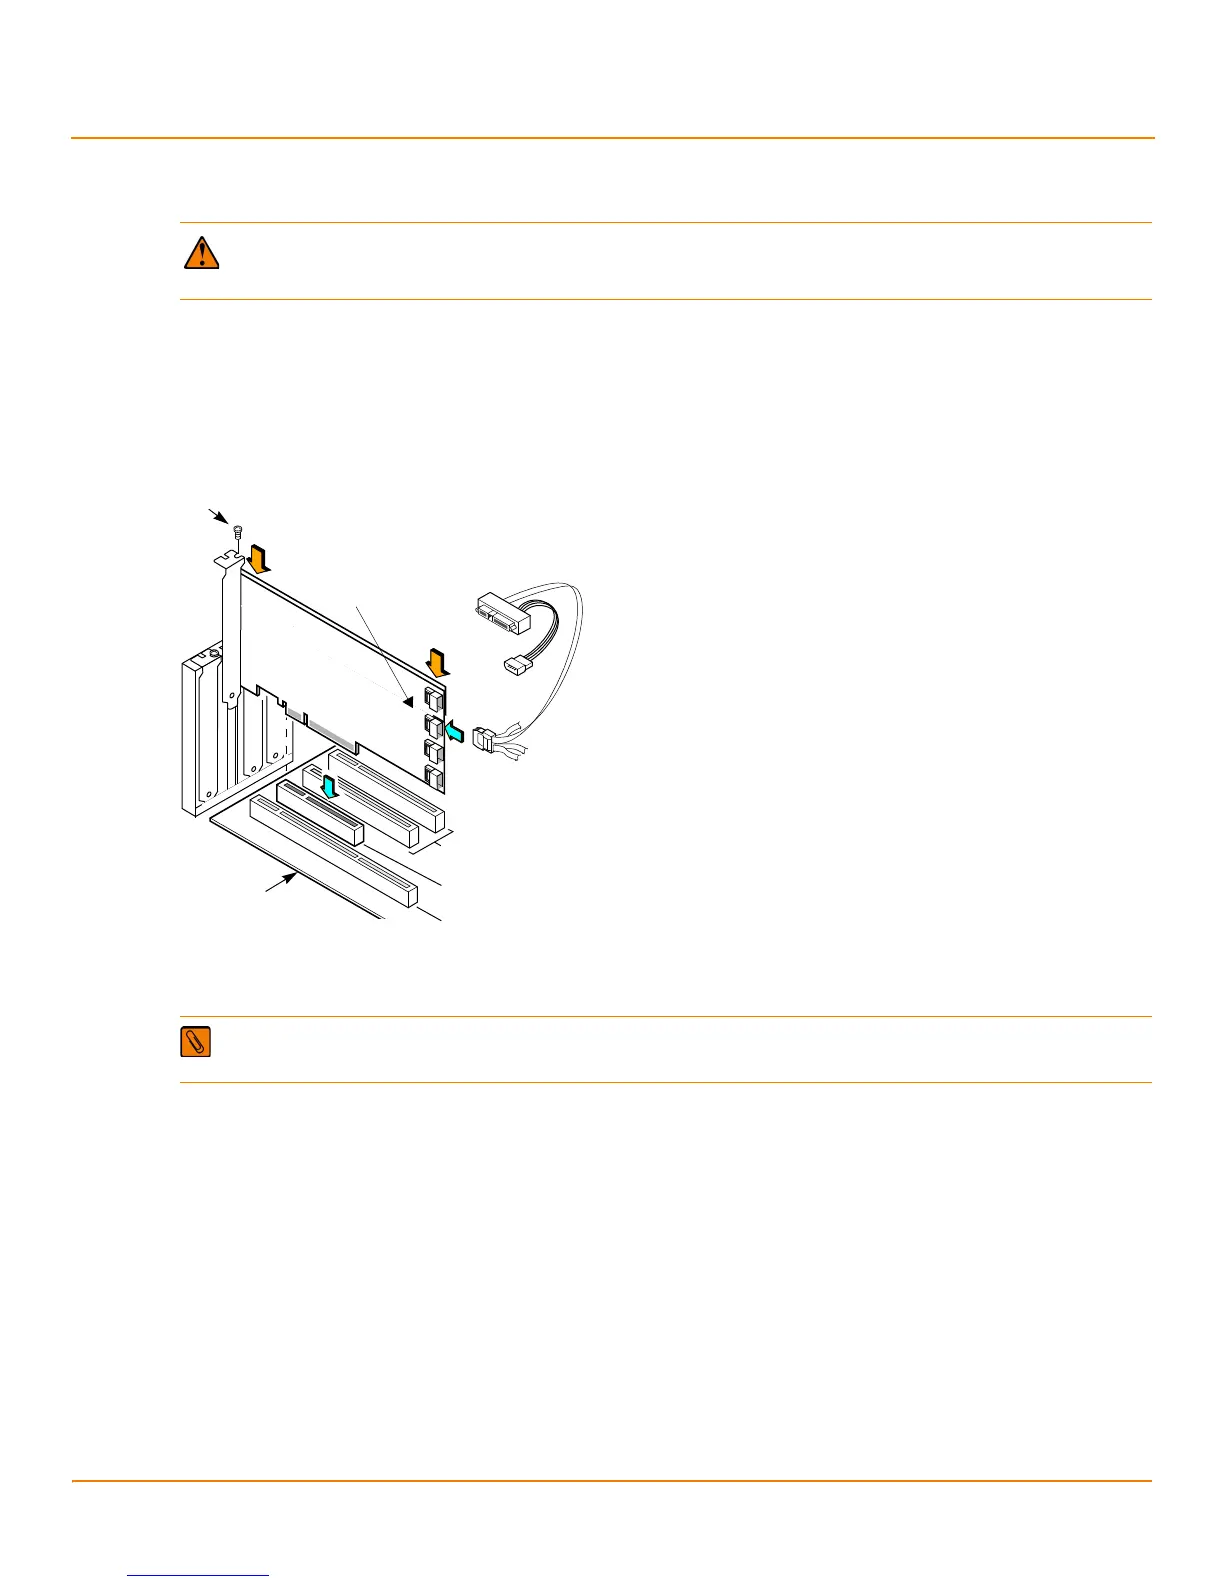
4. Insert the HBA in an available PCIe slot. Locate an empty PCIe slot. Remove the blank bracket panel on the back
of the computer that aligns with the empty PCIe slot. Save the bracket screw, if applicable.
Align the HBA to the PCIe slot. Press down gently, but firmly, to properly seat the HBA in the slot. The following
figure shows how to insert the HBA in a PCIe slot.
Figure 2 Installing an LSI SAS 9201-16i HBA in a PCI Express Slot
5. Secure the bracket to the system’s chassis. Install the bracket screw, if applicable, or engage the system
retention mechanism to secure the HBA to the system’s chassis.
6. Connect serial cables between the HBA and any serial HDDs. Figure1 shows the locations of the
HBA connectors.
7. Replace the cover and any power cords and power up the system. Replace the chassis’s cover, reconnect any
power cords, and reconnect any network cables. Turn on the power.
The hardware installation of your LSI SAS 9201-16i HBA is complete.
CAUTION Disconnect the computer from the power supply and from any networks before you install the
HBA, or you risk damaging the system.
NOTE The shape, size, and locations of components on your HBA and its bracket might vary from this
illustration. The LSI SAS 9201-16i HBA requires a x8 PCIe slot.
32-bit Slots
64-bit Slot
(3.3 V Only)
(3.3 V Only)
Edge of
Host Board
Bracket
Screw
Press
PCIe
x8 Slot
Here
Press
Here
Mini-SAS x4 (SFF-8087)
Internal Connectors
with Shell

 Loading...