Montage Installation
LUBING Top Klima System - 14 - LUBING Top Climate System
Pressmuffen (optional) Terminal sleeves (option)
Es ist Silikonfett zu verwenden,
das widerstandsfähig gegen
chemische Flüssigkeiten und
korrosive Gase/Luft ist.
1) Pressmuffe prüfen.
Die O-Ringe müssen an
ihrem Platz und
unbeschädigt sein.
Es dürfen keine Schmutz-
oder Reststoffe in der
Muffe sein.
2) Rohre durch die
Dichtungen bis zum
Anschlag schieben.
3) Rohre mit dem Spezial-
Presswerkzeug verbinden/
abdichten.
4) Rohr und Pressmuffe ver-
binden, indem Rohr und
Muffe gleichzeitig mit
leichtem Druck gedreht
werden. Das Rohr darf
nicht nach oben und unten
verwackelt werden, da
damit die Dichtung be-
schädigt werden kann.
Sollten Probleme auftreten, ist
möglicherweise nicht ausreichend
entgratet worden. Entgraten
wiederholen.
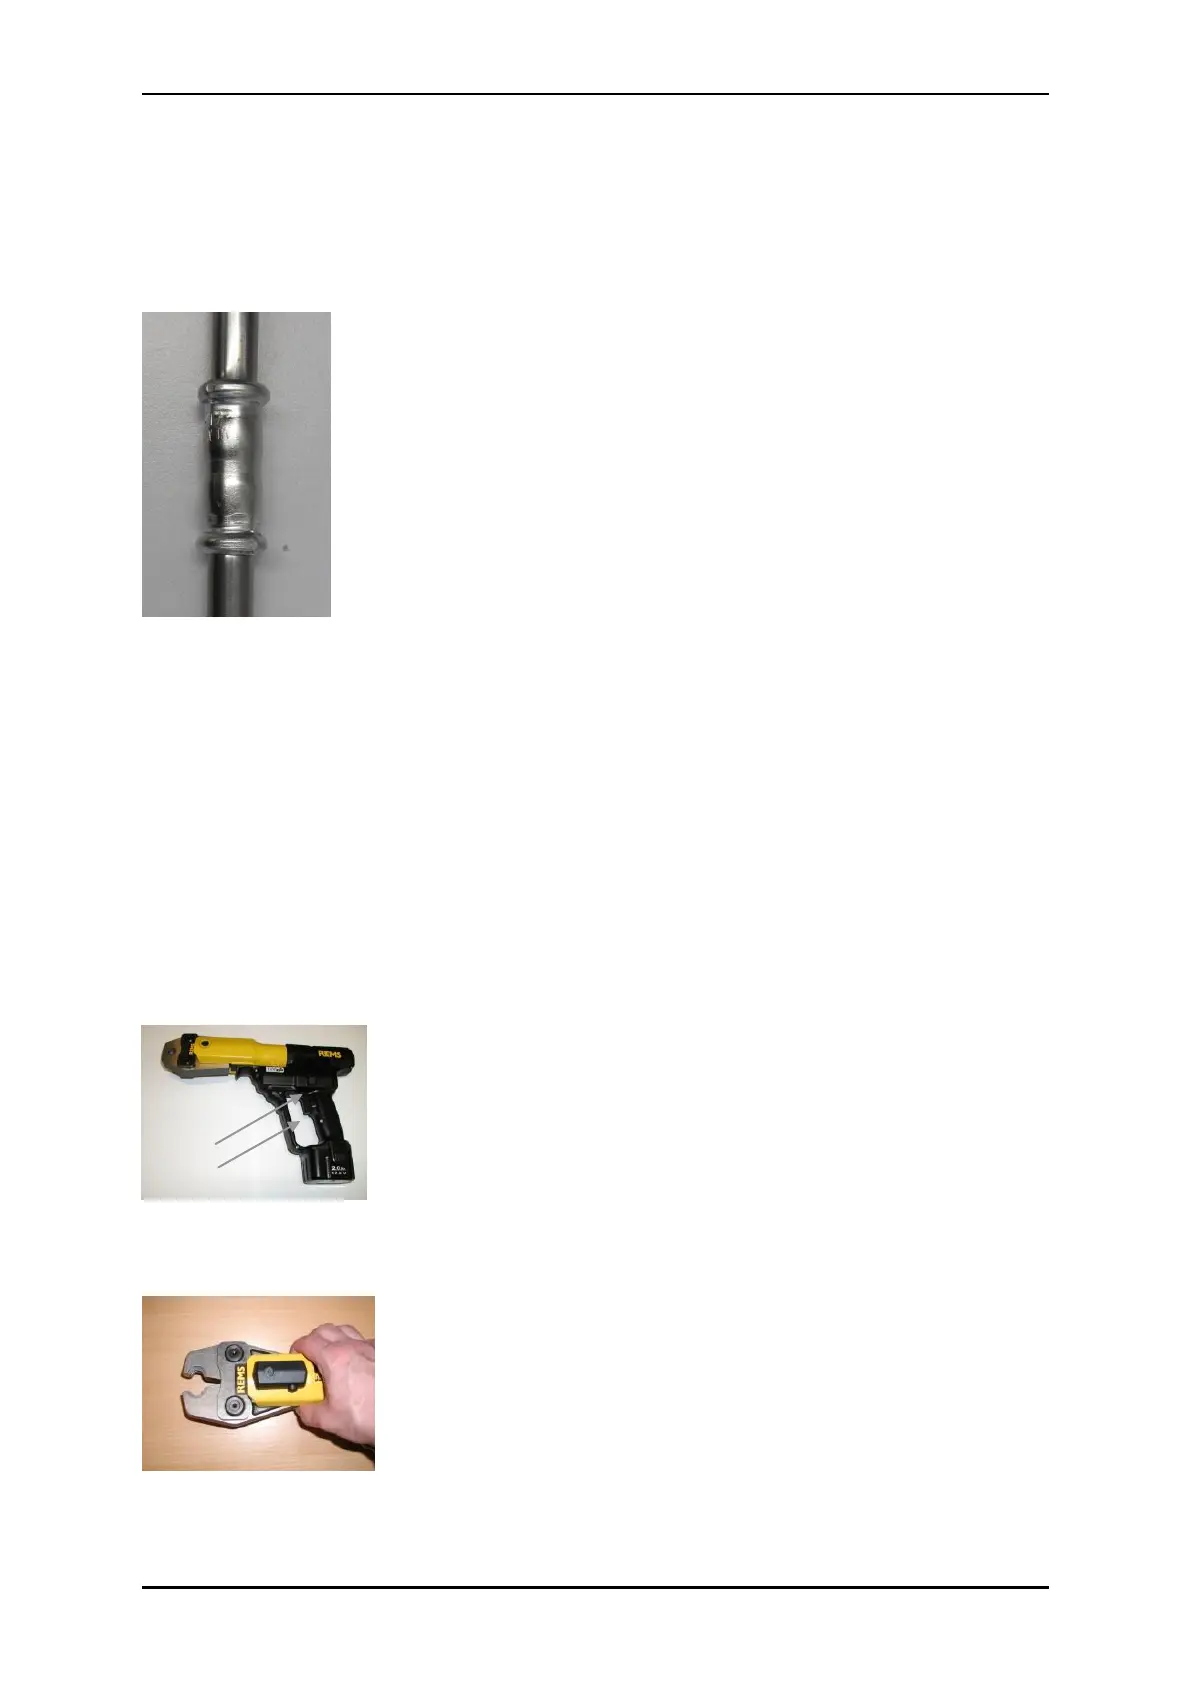
Presswerkzeug
1) Rohr und Pressmuffe mit
dem Presswerkzeug
zusammenpressen.
Die Backen greifen um die
Erhebung und pressen
Rohr und Muffe dicht.
Nach etwa 6 Sekunden ist
ein Klick zu hören und die
Verbindung ist fertig.
2) Das andere Ende der
Muffe ebenso pressen.
Knopf 1 zum Zusammenpressen
der Backen drücken.
Knopf 2 gleichzeitig zum Lösen
der Backen drücken.
Zum Öffnen wie abgebildet auf die
Backen drücken, damit sie über
das Rohr gesteckt oder abge-
nommen werden können.
Use stopcock grease (silicone
grease), which is resistant to
chemical liquids and corrosive
gases.
1) Check the terminal
sleeve.
The O-rings must be in
place and undamaged.
There must be no dirt or
residual substances in
the sleeve.
2) Push the pipes through
the packings up against
the end stop.
3) Assemble/tighten the
pipes with the special
press tool.
4) Assemble the pipe and
terminal sleeve by
turning the pipe and
sleeve at the same time
pressing slightly. Do not
wriggle the pipe up and
down as this may dam-
age the packing.
In case of problems, these may be
caused by insufficient deburring
and the process may have to be
repeated.
Press tool
1) Press the pipe and
terminal sleeve together
with the press tool. The
jaws grab round the el-
evation, pressing the
pipe and sleeve tightly
together.
After approx. 6 sec-
onds, a click sounds
and the joint is com-
pleted.
2) Press the other end of
the sleeve in the same
way.
Push button 1 to press the jaws
together.
Push button 2 at the same time to
release the jaws.
Press the jaws as illustrated in the
photo to open the jaws so that they
can be positioned on/removed
from the pipe.