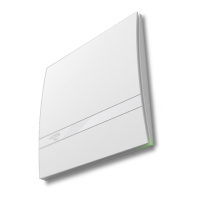
Other outer grilles available on request!
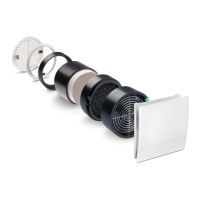
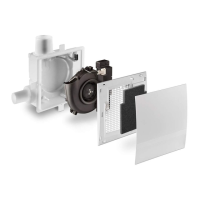
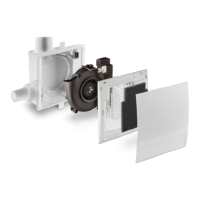
Assembly—Assembly Tube and Outer Grille
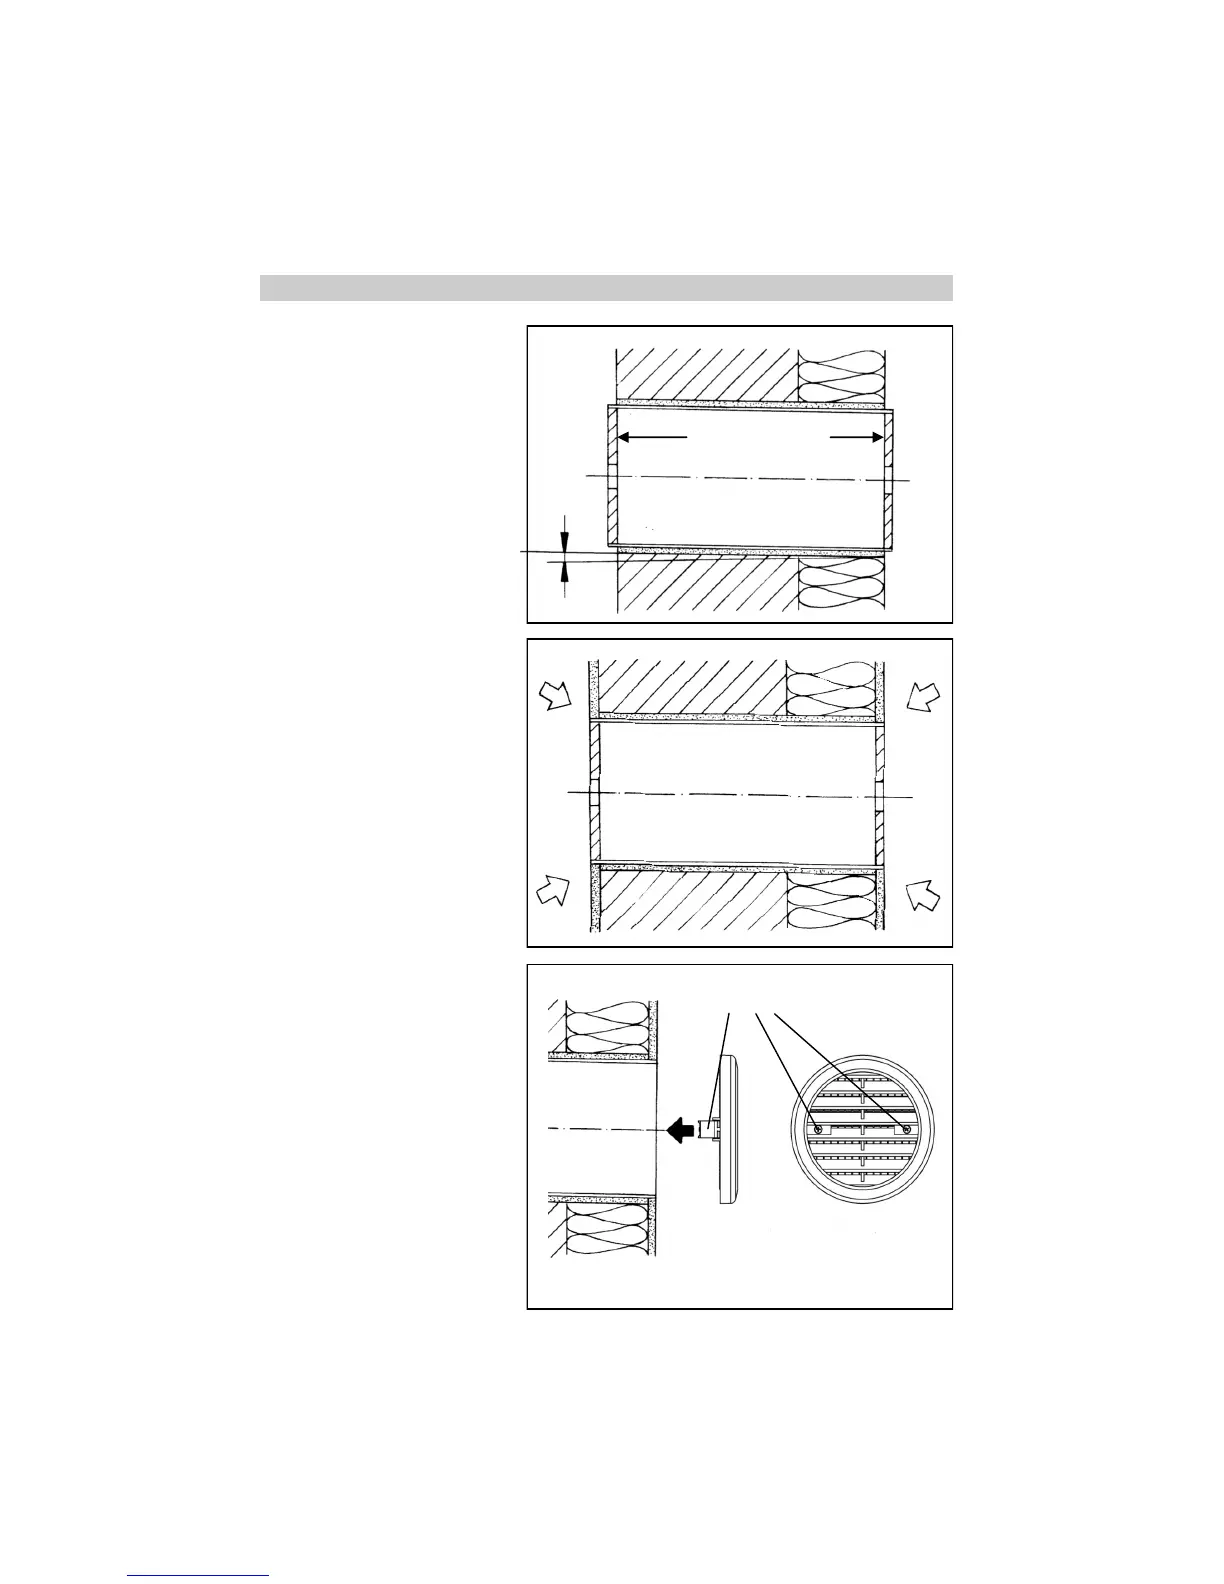
Prepare wall cavities for the assem-
bly tube (via core bore hole, drill bit
Ø106 mm). If necessary, shorten the
tube to the required installation
length. Make sure there is a protru-
sion of the tube on both sides to
bridge the plaster thickness (after
plastering, the tube must be flush
with the plaster). Insert the tube and
seal it all round (Assembly adhesive
Order No. 038 733).
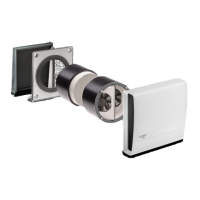
Apply the inside and outside plaster.
In the case of an outside closure to
be plastered, first replace the plaster
protective cover with the outside
closure.
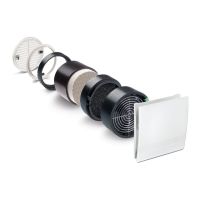
Remove the outside plaster protec-
tive cover. Mount the outer grille
using the integrated claws (tighten
the screws). The solid plastic out-
side covers provided by Lunos en-
sure high resistance to driving rain
and can be used in the Stress
Group III pursuant to DIN 4108-3
(2012-04). Metal or metal-coated
covers can be used in Stress Group
I pursuant to DIN 4108-3 (2012-04).
In the case of buildings exposed to
wind or the risk of strong winds and
rain to the outside covers, further
measures of weather protection may
be required.
4
①
②
➂
inside
inside
outside
outside
Plaster protective
Tighten the claws with screws
3 mm