Motorized shade with wireless radio frequency (RF) control.
Installation Guide—Please Read Before Installing
Serena® Remote-Controlled Shades
Insulating Honeycomb Shades
English
2
Lutron Electronics Co., Inc., 7200 Suter Road, Coopersburg, PA 18036-1299, U.S.A.
Printed in the U.S.A. 8/13 P/N 368-3194 Rev. B
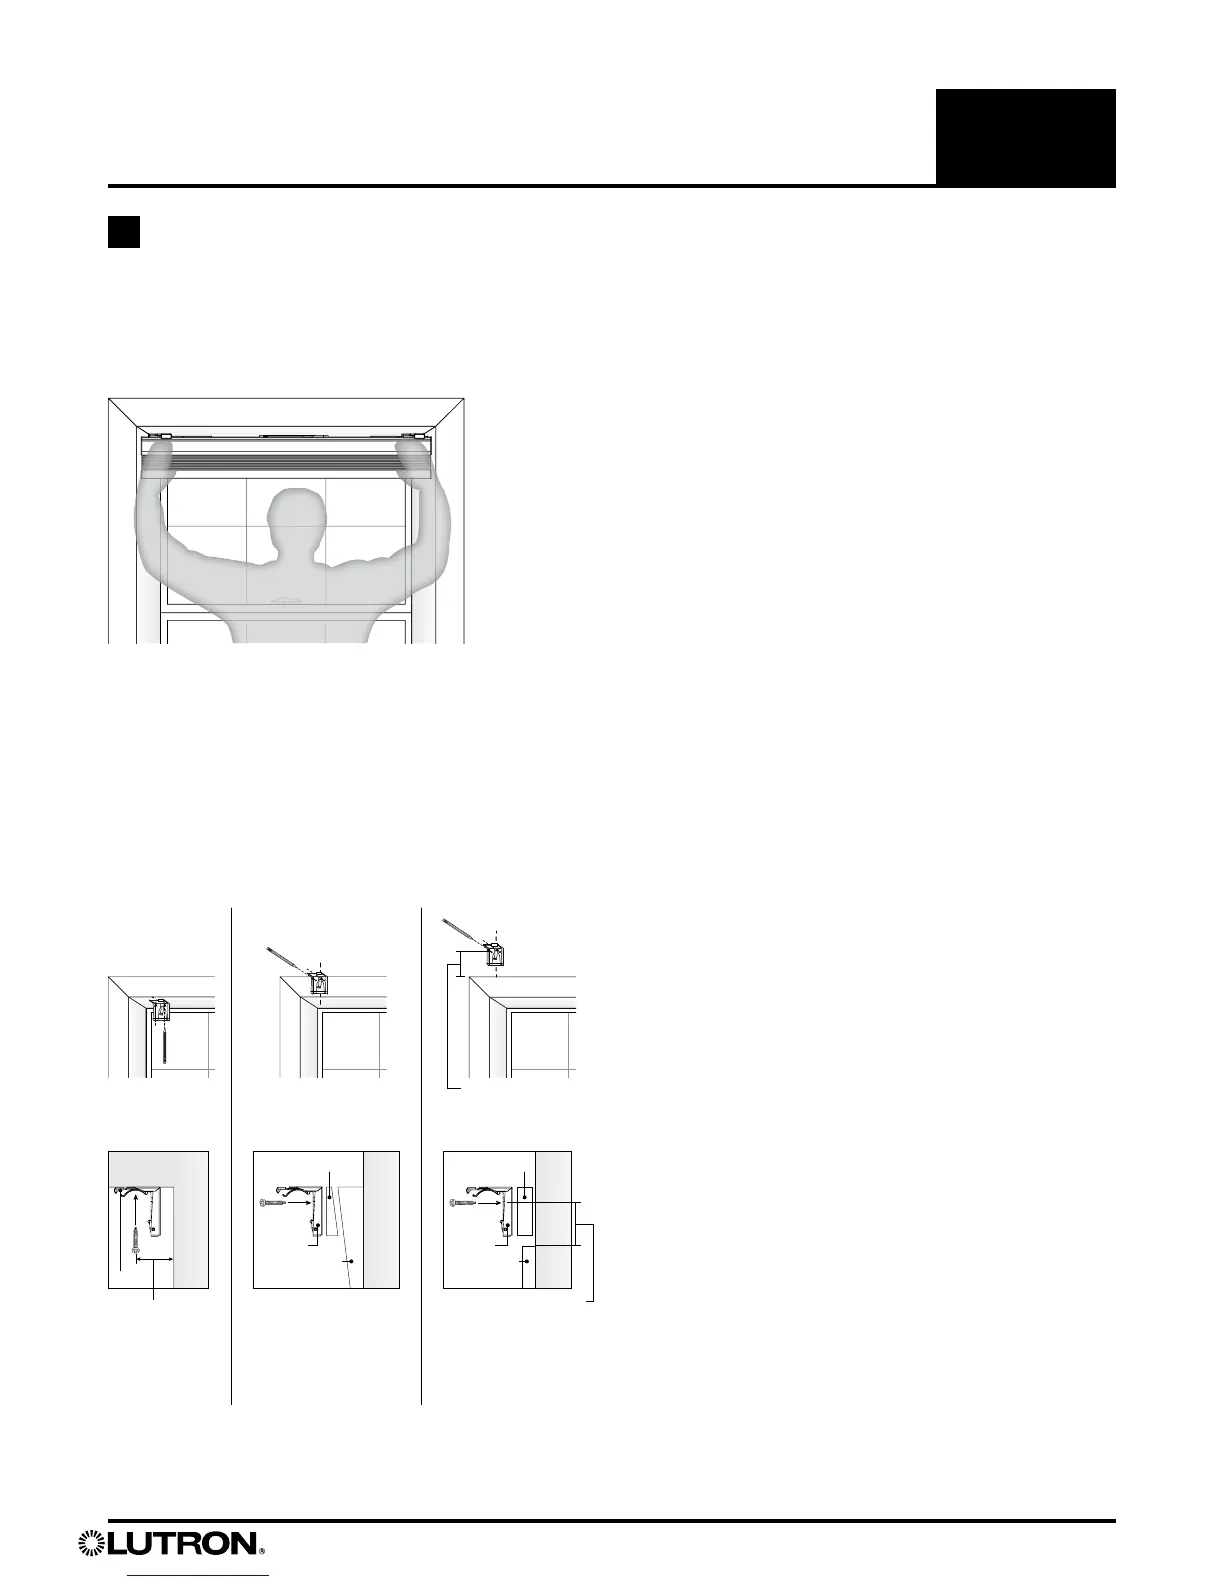
2.1 Verify Correct Shade Size
Hold the shade up to the window to make sure it is the correct size.
NOTE: For outside mounting, center the shade with the window and mark the wall
or trim at each end of the shade.
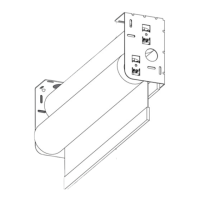
2.2 Attach Brackets to Mounting Surface
•
Use Bracket Placement Table found on next page to position bracket
on mounting surface and mark hole locations for pre-drilling.
•
Use a level to make sure the marks are aligned.
•
Pre-drill holes for the screws. Repeat for all brackets.
•
Install the mounting brackets using the provided screws or other appropriate fasteners.
Inside Mount Outside Mount
On Trim
* Hole locations
should be no less
than 2.75 in (70 mm)
above the trim.
Outside Mount
Above Trim*
* If window trim is angled,
place an angled spacer
(not included) behind each
bracket. Ensure that the
trim is level before placing
the bracket flush against
its edge Pre-drill a hole
through the spacer.
2.75 in
(70 mm)
minimum
bracket
window
trim
spacer
wall
angled spacer*
wall
window
trim
bracket
window frame
window glass
bracket
1.25 in (32 mm)
minimum
2 Mount Shade