1 2
1
2
1 2 3 4
1 2 3
[ 30 ] [ 31 ]
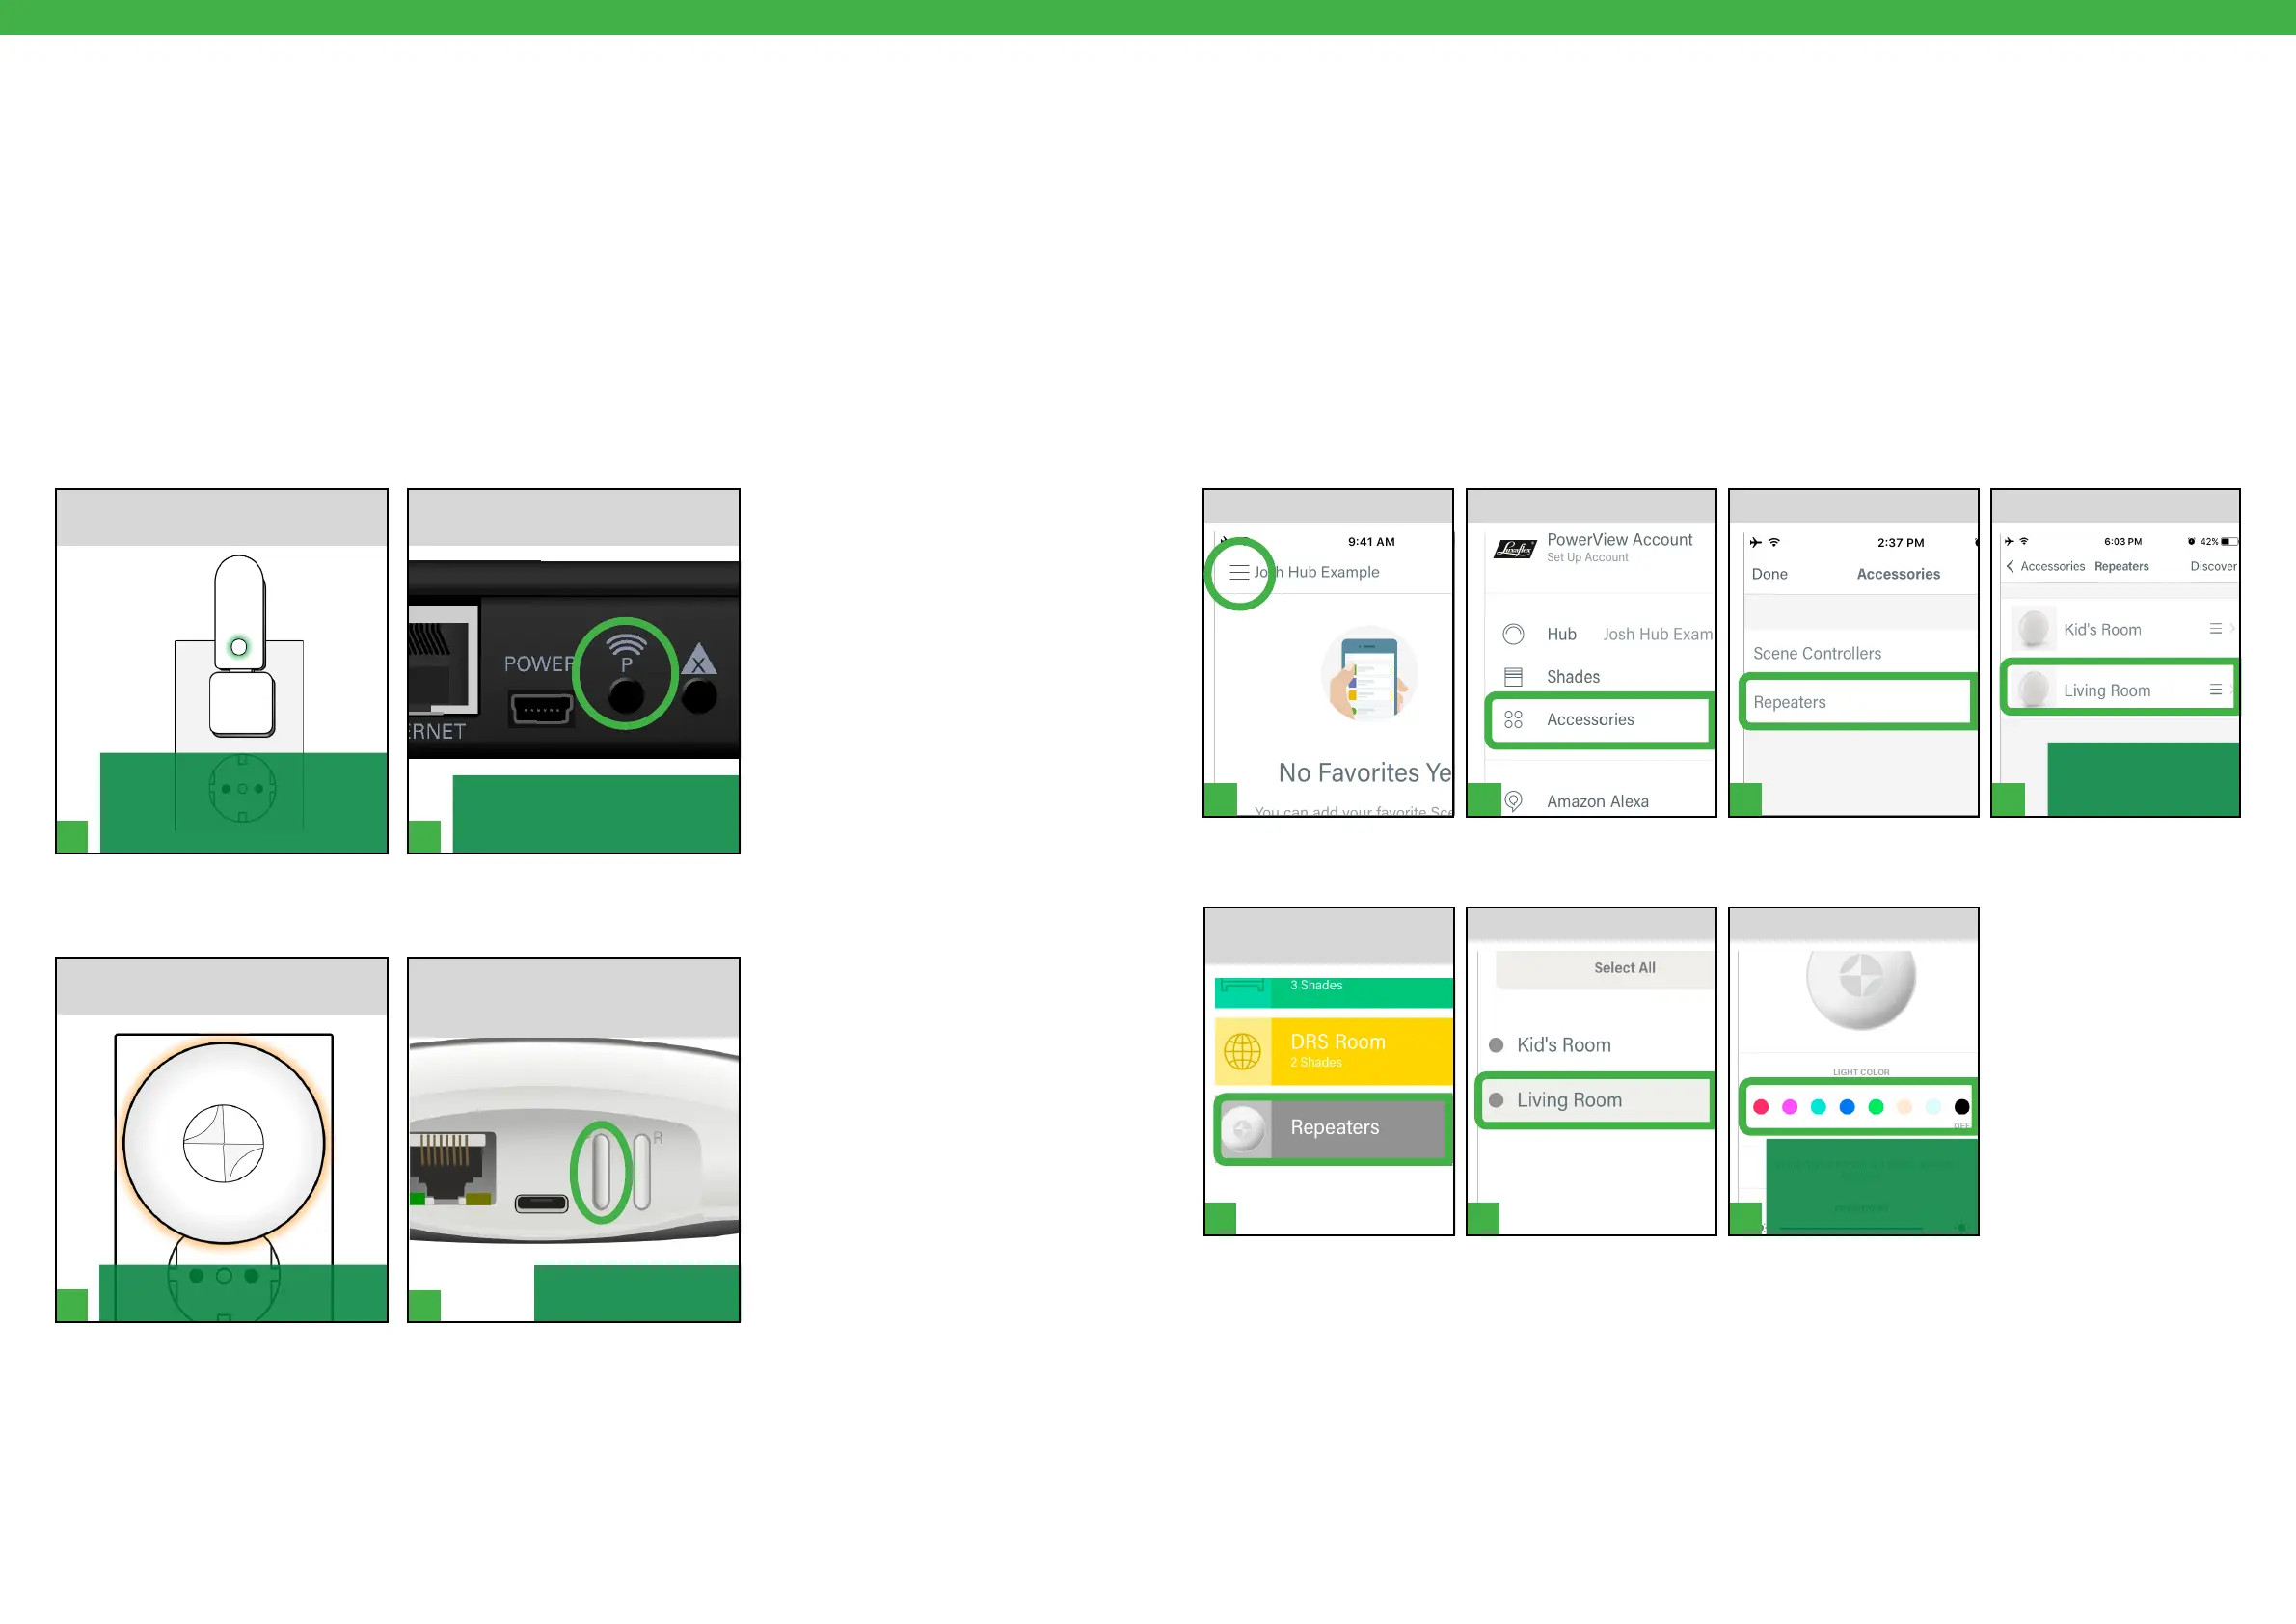
NOTE: Default light color
changes immediately.
Use slider to adjust
brightness.
From here, flash to
identify or give a
custom name.
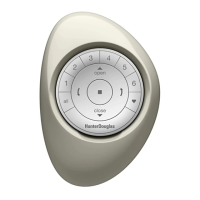
NOTE: A solid green light will
illuminate on the Repeater to
indicate that it is receiving power
and ready to join a network.
NOTE: The solid green light on the
Repeater will go out, indicating
that it has been paired to the Hub.
Pairing a Repeater to a Hub
PRESS and RELEASE the “P” button
on the back of the Generation 1 Hub.
Ideally, Repeaters would be joined to a Hub network at the time of
installation and Hub setup using the Discover function in the PowerView®
App. However, additional Repeaters can be added to a PowerView® Shade
Network later using the Hub, if necessary.
NOTE: A Generation 1 (Generation 1) Repeater Kit comes packed with a
USB power source.
ASSEMBLE Repeater Kit. PLUG the
Repeater into an electrical outlet.
For Generation 1 Repeaters with a Generation 1 Hub
NOTE: The Repeater will flash
amber.
NOTE: The Repeater will
stop flashing.
PRESS and RELEASE the raised
“P” button on the back of the
Generation 2 Hub.
PLUG the Repeater into an electrical
outlet.
For Generation 2 Repeaters with a Generation 2 Hub
Using Repeaters with the PowerView® App
Generation 2 (Generation 2) Repeaters feature a light or glow with adjustable brightness and color. All Generation
2 Repeaters discovered in the App are considered accessories and can be accessed there or found in the Repeaters
Room. Access Generation 2 Repeaters in the Repeaters Room to change the default light color for a specific
Repeater.
NOTE: Changing or adjusting light colors on Generation 2 Repeaters can only be done using the PowerView® App.
A PowerView® Pebble® or Surface Remote cannot be used to program color changes or make brightness adjustments.
Repeaters in Accessories
TAP Menu. SELECT Repeater.TAP Repeaters.TAP Accessories.
Change Repeater Colors or Adjust Brightness
SELECT Color.SELECT Repeater.From Rooms, TAP
Repeater Room.
 Loading...