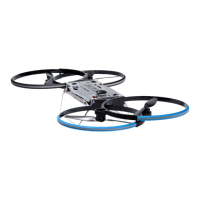
18
Once you hear and see the above then secure the cover
plates.
Leave the Hoverbike Drone until the Pixhawk ashes
green (acquires GPS satellites).
Arm for ight
YOUR HOVERBIKE DRONE IS NOW ARMED AND READY TO FLY!
Hold the arming button
on the side until the
button lights up solid red
and the motors sing out a
tune, the motors should
then remain quiet.
Hold the yaw (left stick of
your transmitter) fully to
the right and down until
you hear a long tone from
the Pixhawk buzzer and
the Pixhawk light goes
solid green.
Pixhawk:
Arming button:
Motors:
Pixhawk:
Contents
System overview 4
In the box 5
Caring for Drone 6
You + Drone 7
Safety rst 8
First time setup 9
Batteries 12
Controls 12
Warning signals 14
First ight 15
Every ight 17
Flying modes 19
About Drone 20
After connecting the batteries you should hear the mo-
tors start beeping, quickly followed by a tune from the
Pixhawk buzzer. The motors will continue to sound and
the arming button light will ash red.
Arming button:
Pixhawk:
Motors:
Leave the drone whilst the Pixhawk ashes red and blue,
it should not be disrupted at this stage (after connecting
the battery).
Pixhawk: