Do you have a question about the Makeblock m Bot mega and is the answer not in the manual?
Connects motor drive modules to the MegaPi board.
Connects the Bluetooth module to the MegaPi board.
Secures the MegaPi main board onto the main chassis.
Installs IR proximity sensors onto the main chassis.
Attaches RGB LEDs and impact switches to the motor brackets.
Installs the DC motors onto the motor brackets.
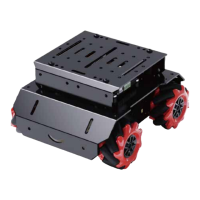
Attaches Mecanum wheels to the motor bracket, noting L/R orientation.
Installs line tracking sensors onto the connector bracket.
Attaches the connector bracket to the motor bracket assembly.
Installs M4x20 nylon standoffs onto the motor bracket.
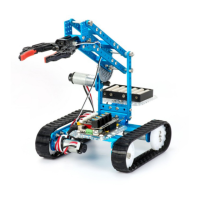
Completes the main chassis structure with the bodyshell.
Attaches an IR proximity sensor to the upper shell component.
Guides connection of all electronic modules to the MegaPi board.
Details the features and ports of the MegaPi control board.
Shows how to connect sensors and actuators to the MegaPi ports.
Illustrates sensor and actuator placement from top and bottom views.
Ensures correct DC motor connections for proper movement direction.
Attaches the upper shell to complete the robot's main structure.
Attaches the battery holder to the bracket using screws.
Notes that the robot won't work properly if the battery is low.
Pressing the limit switch changes the RGB light color to switch modes.
Describes how the robot responds to hand gestures and sensor inputs.
Place line tracking sensor on a black line wider than 18mm.
Robot automatically avoids obstacles when this mode is active.
Ensure GPS and Bluetooth are enabled and authorized before connecting via the APP.
Low battery can cause Bluetooth disconnection, especially in high-speed mode.
Covers age recommendations, adult supervision, handling, and environmental safety.
Includes cleaning, correct power supply use, and periodic inspection for damage.
| Microcontroller | ATmega2560 |
|---|---|
| Operating Voltage | 5V |
| Analog Input Pins | 16 |
| DC Current per I/O Pin | 20 mA |
| SRAM | 8 KB |
| EEPROM | 4 KB |
| Clock Speed | 16 MHz |
| Servo Ports | 8 |
| Communication | Bluetooth |
| Working Voltage | 5V |
| Digital I/O Pins | 54 |
| Flash Memory | 256 KB |
| Power Jack | Yes |