Do you have a question about the Makita Dolmar PS-510 and is the answer not in the manual?
Explanation of how the chain tensioner mechanism operates.
Inspection and assembly of the chain sprocket, clutch drum, and needle bearing.
Procedure for removing the brake band, including safety measures.
Detailed steps for disassembling the clutch, with safety warnings.
Steps for installing the clutch, including alignment and starter considerations.
Steps for dismantling the oil pump assembly.
Steps for disassembling the starter mechanism, including safety.
Instructions for assembling the starter, including spring and cable installation.
Test to confirm the presence of an ignition spark.
Procedure for removing the flywheel, including piston blocking and tool usage.
Steps for removing the ignition armature and its associated wiring.
Instructions for installing the ignition armature, including cable routing and gap setting.
Steps for removing the carburetor, including depressurizing the fuel system.
Provides base adjustment settings for L and H screws, recommending tachometer use.
Procedure for testing carburetor fuel pressure and inspecting components.
Steps to remove the fuel tank, referencing other component removals.
Procedure for testing fuel system pressure and identifying leaks.
Performing a pressure test on the drive sealing after carburetor adjustment.
Performing a vacuum test on the crankcase to check the radial ring.
Steps to remove the cylinder and piston, noting piston support.
Procedure for assembling the cylinder and piston with new gaskets and lubrication.
Specific instructions for assembling ball bearings onto the crankshaft and into the crankcase.
Lists common diagnoses and causes for handle heating system malfunctions.
Procedures for testing the current flow of the generator and heating switch.
Procedures for testing the resistance of the heating film in both handles.
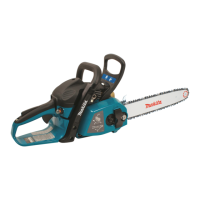
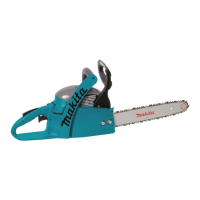
| Engine Type | 2-stroke |
|---|---|
| Displacement | 50 cm³ |
| Fuel Tank Capacity | 0.47 l |
| Oil Tank Capacity | 0.27 liters |
| Chain Pitch | 3/8" |
| Vibration Level | 5.7 m/s² |