1
Name of Each Part
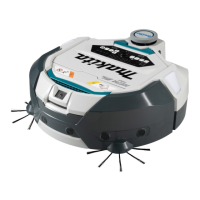
Robotic Cleaner (operation panel (display)
9
*For details, refer to the instruction manual of the robotic cleaner.
1. Time indicator (green)
2. Sound lamp (green)
3. Vacuum fan lamp (green)
4. Boundary-sensing lamp (green)
5. Confirmation button
6. Next button
7. Up button, down button
8. Start/stop button
9. Mode switch button
10. Mode/room number display
Remote control
1. Power OFF button
2. Action buttons
3. Start/stop button
4. Location beacon buzzer/light button
5. Sound ON/OFF button
6. Vacuum fan ON/OFF button
7. Shift button*
8. Start point button
* While pressing this button, press the
action button to make the robotic cleaner
move backward.
Putting batteries in the remote control
To prevent the robotic cleaner from falling
• Refrain from using the robotic
cleaner on a mezzanine floor, a
loft, a stairwell, a place without
walls, or a place with a slope of
10° or more.
• In places where the robotic
cleaner may fall, set up a wall
(25 cm (9-7/8") or more in
height) that cannot be moved or
tipped over even if it is hit by the
robotic cleaner.
• If dirt or water droplets stick to
the cliff sensor* on the underside
of the robotic cleaner, wipe them
off with a dry, soft cloth, a cotton
swab, etc.
*
*
**
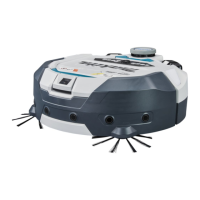
Assembly
Attaching the side brushes
Spread out a mat, place the robotic cleaner on it upside down, and attach
the 2 side brushes on the left and right.
Click
Removing the packing material from inside
the robotic cleaner
3
5
4
Click
Quick Start Guide
885891A933 CRE
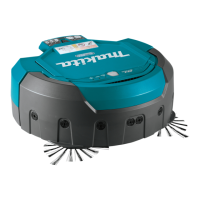
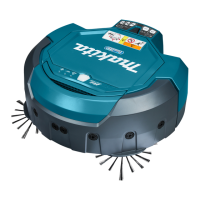
Robotic cleaner
DRC300
ENGLISH
MAKITA CORPORATION | makita.ca | 1950 FORBES STREET, WHITBY, ON. L1N 7B7