9 ENGLISH
For continuous operation, depress the lock button while
pulling the switch trigger, and then release the switch
trigger.Tostopthetool,pulltheswitchtriggerfully,then
release it.
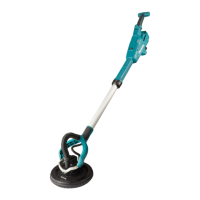
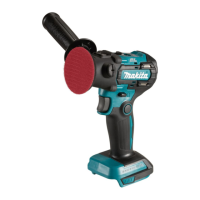
Speed adjusting dial
1
►1.Speedadjustingdial
Therotationspeedofthetoolcanbechangedbyturn-
ingthespeedadjustingdial.Thetablebelowshows
the number on the dial and the corresponding rotation
speed.
Number Speed
1 1,000 min
-1
2 1,200 min
-1
3 1,400 min
-1
4 1,600 min
-1
5 1,800 min
-1
NOTICE: The speed adjusting dial can be turned
only as far as 5 and back to 1. Do not force it past
5 or 1, or the speed adjusting function may no
longer work.
Overload and overheat indicator
lamp
1
►1. Indicator lamp
If the tool is operated with excessive load, the tool stops
automaticallyandtheindicatorlampblinksinred.Inthis
case, reduce the load on the tool.
Ifthetoolisoverheated,thetoolstopsautomatically
and the indicator lamp lights up in red. In this case, let
the tool cool down before turning the tool on again.
Electronic function
Thetoolsequippedwithelectronicfunctionareeasyto
operate because of the following features.
Constant speed control
Possibletogetnenish,becausetherotatingspeedis
kept constant even under the loaded condition.
Soft start feature
Soft start because of suppressed starting shock.
ASSEMBLY
CAUTION: Always be sure that the tool is
switched o and the battery cartridge is removed
before carrying out any work on the tool.
Installing the abrasive disc
1
2
►1. Abrasive disc 2. Pad
Removeanydirtorforeignmatterfromthepad,and
then attach the abrasive disc to the pad while aligning
the holes in the abrasive disc with those in the pad.
 Loading...