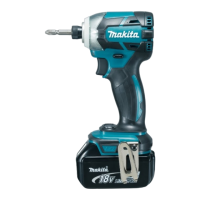
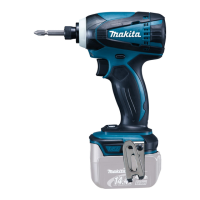
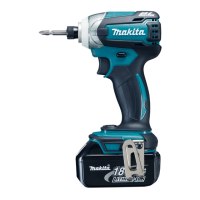
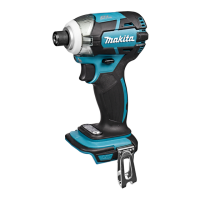
This document provides an instruction manual for the Makita Cordless Impact Driver models DTD137 and DTD148.
Function Description
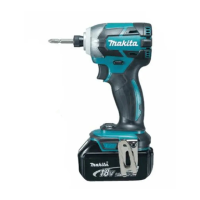
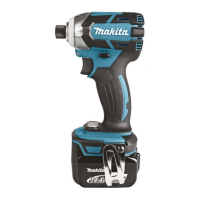
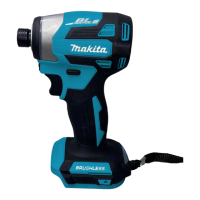
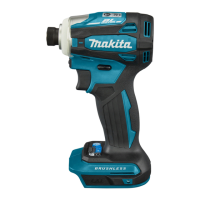
The Makita Cordless Impact Driver is designed for screw driving in wood, metal, and plastic. It features an impact mechanism for efficient fastening and a reversing switch to change the direction of rotation. The tool includes a front lamp for illuminating the work area and a battery protection system to extend battery life.
Important Technical Specifications
Models: DTD137, DTD148
Capacities:
- Machine screw: 4 mm - 8 mm
- Standard bolt: 5 mm - 16 mm
- High tensile bolt: 5 mm - 14 mm
No Load Speed (min⁻¹):
- DTD137:
- Impact mode (Hard): 0 - 3,400
- Impact mode (Medium): 0 - 2,100
- Impact mode (Soft): 0 - 1,100
- T mode: 0 - 3,400
- DTD148:
- Impact mode (Hard): 0 - 3,600
- Impact mode (Medium): 0 - 2,100
- Impact mode (Soft): 0 - 1,100
- T mode: 0 - 3,600
Impacts per Minute (min⁻¹):
- DTD137:
- Impact mode (Hard): 0 - 3,600
- Impact mode (Medium): 0 - 2,600
- Impact mode (Soft): 0 - 1,100
- T mode: 0 - 2,600
- DTD148:
- Impact mode (Hard): 0 - 3,800
- Impact mode (Medium): 0 - 2,600
- Impact mode (Soft): 0 - 1,100
- T mode: 0 - 2,600
Rated Voltage:
- DTD137: D.C. 14.4 V
- DTD148: D.C. 18 V
Overall Length: 119 mm
Battery Cartridge (compatible models):
- DTD137: BL1415, BL1415N, BL1430, BL1440
- DTD148: BL1815, BL1815N, BL1820, BL1830, BL1840, BL1850
Net Weight (with battery cartridge):
- DTD137: 1.2 kg (BL1415, BL1415N), 1.4 kg (BL1430, BL1440)
- DTD148: 1.2 kg (BL1815, BL1815N, BL1820), 1.5 kg (BL1830, BL1840, BL1850)
Noise Levels (A-weighted, according to EN60745):
- DTD137:
- Sound pressure level (LPA): 95 dB (A)
- Sound power level (LWA): 106 dB (A)
- Uncertainty (K): 3 dB (A)
- DTD148:
- Sound pressure level (LPA): 96 dB (A)
- Sound power level (LWA): 107 dB (A)
- Uncertainty (K): 3 dB (A)
- Wear ear protection is recommended.
Vibration Total Value (tri-axial vector sum, according to EN60745):
- DTD137:
- Work mode: impact tightening of fasteners of the maximum capacity of the tool
- Vibration emission (ah): 11.0 m/s²
- Uncertainty (K): 1.5 m/s²
- DTD148:
- Work mode: impact tightening of fasteners of the maximum capacity of the tool
- Vibration emission (ah): 12.5 m/s²
- Uncertainty (K): 1.5 m/s²
Usage Features
Battery Installation/Removal:
- Always ensure the tool is switched off before handling the battery.
- To remove, slide the battery cartridge from the tool while pressing the button on the front.
- To install, align the tongue with the groove and slide it in until it clicks. The red indicator should not be visible when fully inserted.
Battery Protection System (Lithium-ion battery with star marking):
- Equipped with a protection system that automatically cuts off power to extend battery life.
- Overloaded: If the tool draws abnormally high current, release the switch trigger, stop the application, and then restart. If it doesn't start, the battery may be overheated; allow it to cool.
- Low battery voltage: If the remaining capacity is too low, the tool will not operate. Remove and recharge the battery.
Switch Action:
- The tool starts by pulling the switch trigger. Speed increases with pressure. Releasing the trigger stops the tool.
- The tool automatically stops if the switch trigger is pulled for approximately 180 seconds.
Reversing Switch Action:
- A reversing switch changes the direction of rotation.
- Depress the lever from side A for clockwise rotation or side B for counterclockwise rotation.
- When the lever is in the neutral position, the switch trigger is locked.
- Always check the direction of rotation before operation.
- Only use the reversing switch after the tool has come to a complete stop to prevent damage.
Lighting up the Front Lamp:
- Press the button for a few seconds to turn on the lamp status. Press again for a few seconds to turn it off.
- With lamp status ON, pulling the switch trigger turns on the lamp. Releasing the trigger turns it off after approximately 10 seconds.
- With lamp status OFF, the lamp will not turn on even if the trigger is pulled.
- Do not look directly into the light source.
Changing the Impact Force:
- The impact force can be adjusted in four steps: Hard, Medium, Soft, and T mode.
- Pressing the button changes the number of blows.
- T mode is specifically for self-drilling screws. In this mode, the tool starts with faster rotation for drilling and then impacts in medium force grade for tightening.
- The impact force can be changed for approximately one minute after releasing the switch trigger.
Indicating the Remaining Battery Capacity:
- Pulling the switch trigger activates an LED display showing the remaining battery capacity:
- All LEDs lit: About 50% or more
- Two LEDs lit: About 20% - 50%
- One LED lit: About less than 20%
- If the LED display goes off, the tool is turned off to save battery power.
- If the tool is overheated, the light blinks for one minute, then goes off. Cool the tool before resuming operation.
- If the LED display lights up and the tool stops even with a recharged battery, cool the tool fully. If the issue persists, contact a Makita service center.
Installing/Removing Driver Bit or Socket Bit:
- Always ensure the tool is switched off and the battery cartridge is removed.
- Use bits with the specified inserting portion.
- For tools with normal sleeve (shallow bit hole): Pull the sleeve, insert the bit fully, then release the sleeve to secure.
- For tools with one-touch type sleeve (shallow bit hole): Insert the bit fully into the sleeve.
- For tools with deep bit hole (requiring bit-piece): Insert the bit-piece with its pointed end facing in, then insert the bit into the sleeve.
- To remove a bit, pull the sleeve and pull the bit out.
- Ensure the bit is firmly secured after insertion.
Hook:
- A hook is provided for temporarily hanging the tool. It can be installed on either side of the tool housing using a screw.
Operation:
- Hold the tool firmly and place the driver bit in the screw head. Apply forward pressure to prevent the bit from slipping.
- Use the proper bit for the screw/bolt head.
- When fastening M8 or smaller screws, choose a proper impact force and carefully adjust pressure on the switch trigger.
- Hold the tool pointed straight at the screw.
- If the impact force is too strong, the screw or bit may be overstressed or damaged. Perform a test operation to determine the proper fastening time.
- Fastening torque is affected by battery discharge, driver/socket bit size, and bolt characteristics (diameter, torque coefficient, class, length).
Maintenance Features
- Always ensure the tool is switched off and the battery cartridge is removed before inspection or maintenance (except for light-related troubleshooting).
- Do not use gasoline, benzine, thinner, alcohol, or similar substances, as they may cause discoloration, deformation, or cracks.
- For product safety and reliability, repairs and other maintenance should be performed by Makita Authorized Service Centers using genuine Makita replacement parts.
- Keep handles dry, clean, and free from oil and grease.
Optional Accessories:
- Screw bits
- Socket bits
- Hook
- Plastic carrying case
- Makita genuine battery and charger
- Bit-piece
- Battery protector
- Tool hanger
- Note: Some items may be included as standard accessories and may vary by country.