P 13/ 17
Repair
[3] ASSEMBLY/ DISASSEMBLY
[3]-5. Armature
DISASSEMBLING
Take the disassembling step in reverse.
ASSEMBLING
Note: Make sure that Flat washer 15 is set in place. (Fig. 20)
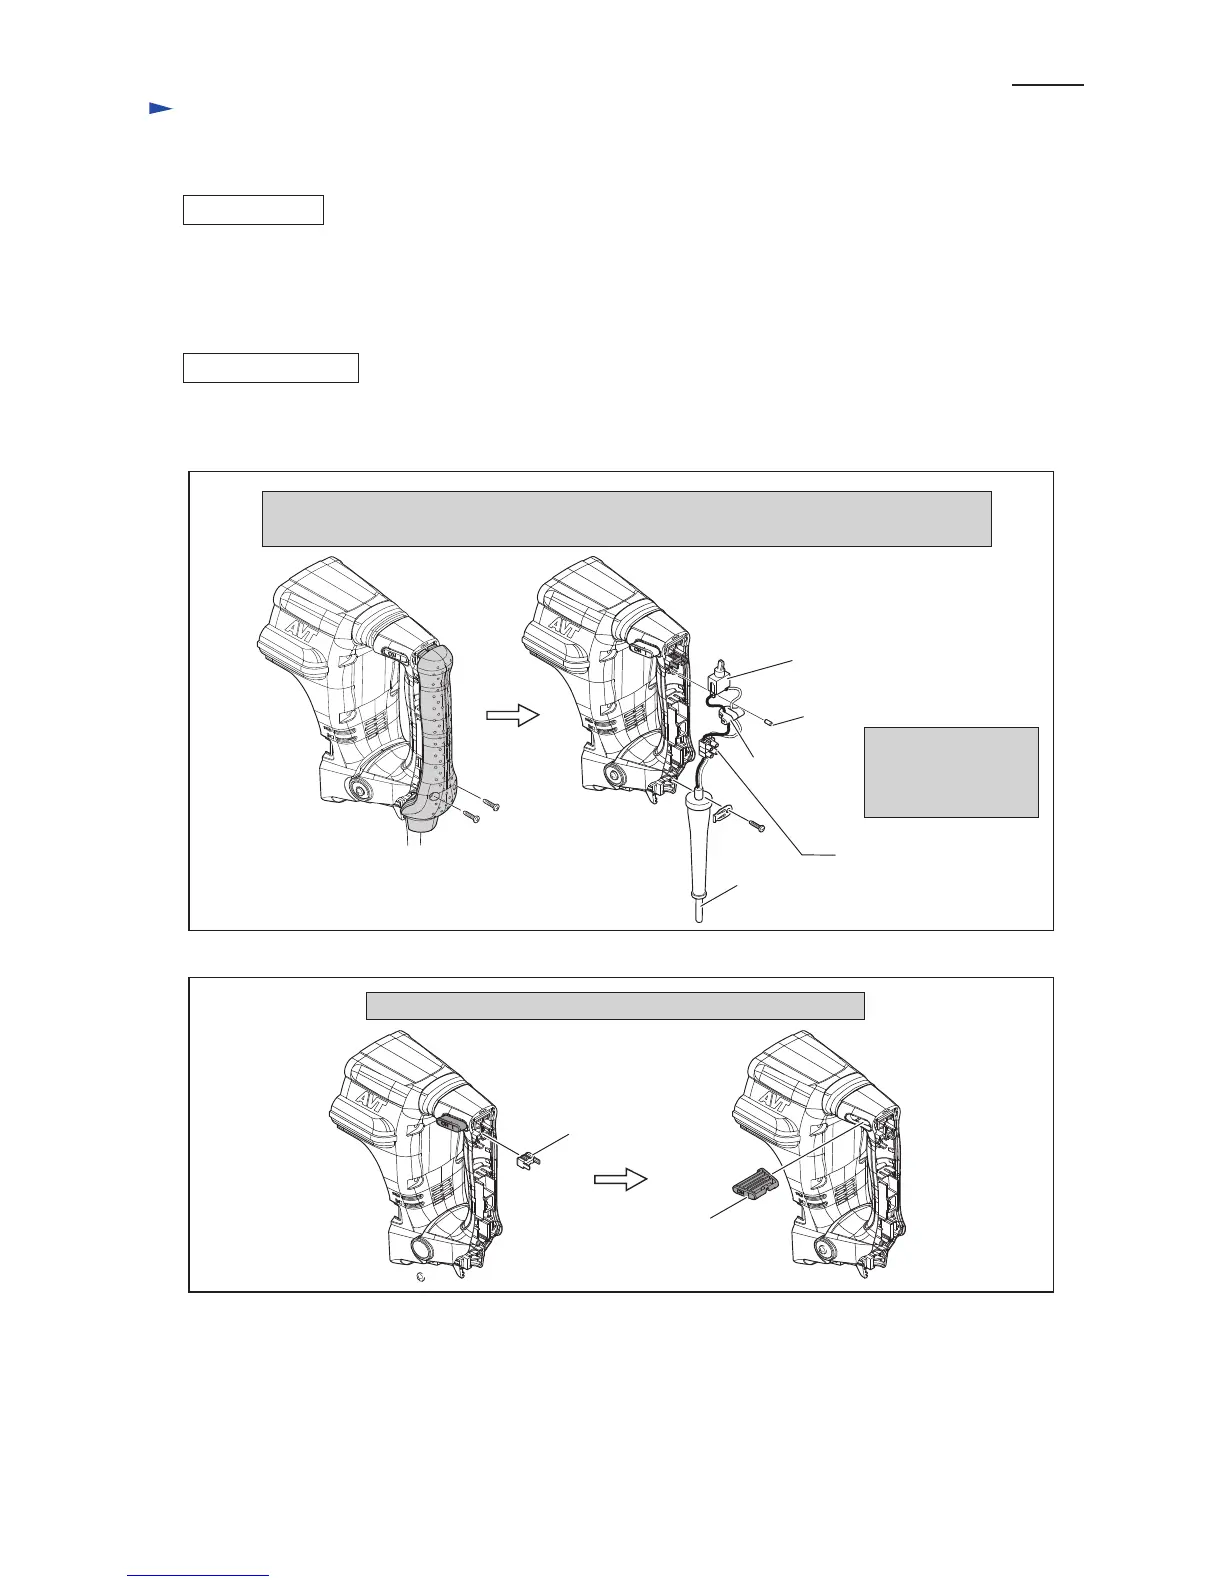
[3]-6. Electrical parts in Handle section
Power supply cord
4x18 Tapping
screw (2pcs.)
Pull off Lever stopper with pliers. Switch lever can be removed.
Remove Handle cover. So the electrical parts, (Switch, Power supply cord, Terminal block etc.)
can be replaced.
Terminal block
Switch
Sponge sheet
Pay attention not to
lose Rubber pin 4
when disassembling
Switch.
Rubber pin 4 (green)
Fig. 29
Fig. 30
(1) Disassemble Handle section. (Fig. 4)
(2) The electrical Parts can be disassembled as illustrated in Figs. 29 and 30.
Lever stopper
Switch lever
 Loading...