This document is an instruction manual for Makita Electric Breakers, specifically models HM1511, HM1501, HM1512, and HM1502. It provides detailed information on the device's specifications, safety warnings, functional description, assembly, operation, maintenance, and optional accessories.
Function Description
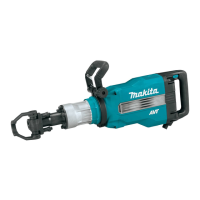
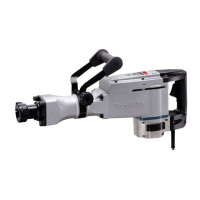
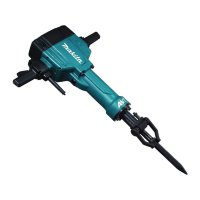
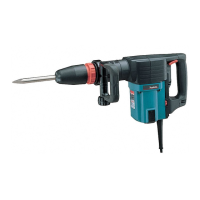
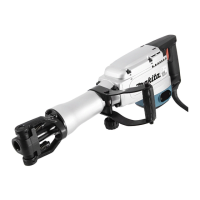
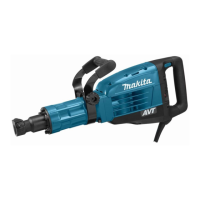
The Makita Electric Breaker is a power tool designed for chiselling work in concrete, brick, stone, and asphalt, as well as for driving and compacting with appropriate accessories. It operates by delivering rapid blows to a bit, effectively breaking down materials. The tool features a double insulation design, allowing it to be used from sockets without an earth wire.
Key electronic functions include:
- Soft no-load rotation function (for HM1511, HM1512 only): This feature reduces blows per minute at no load to minimize vibration. When the bit engages with concrete, the blows per minute increase. This function may not activate if the tool temperature is low, even if the motor is rotating.
- Soft start: This function minimizes start-up shock, ensuring the machine starts smoothly.
The tool is equipped with indicator lamps:
- Power-ON indicator lamp (green): Lights up when the tool is plugged in. If it doesn't light up, the mains cord or controller may be malfunctioning. If it lights up but the tool doesn't start when switched on, carbon brushes may be worn out, or the controller, motor, or switch may be malfunctioning.
- Service indicator lamp (red): Flickers when carbon brushes are nearly worn out, indicating that servicing is required. After approximately 8 hours of use, the motor will automatically shut off.
Important Technical Specifications
The manual provides the following specifications for the different models:
| Model |
Blows per minute |
Overall length |
Net weight |
Safety class |
Soft no-load rotation function |
| HM1511 |
1,300 min⁻¹ |
781 mm |
19.2 kg |
II |
Yes |
| HM1501 |
1,300 min⁻¹ |
781 mm |
18.4 kg |
II |
No |
| HM1512 |
1,300 min⁻¹ |
809 mm |
20.4 kg |
II |
Yes |
| HM1502 |
1,300 min⁻¹ |
809 mm |
19.7 kg |
II |
No |
- Power Supply: The tool operates on single-phase AC supply of the same voltage as indicated on the nameplate.
- Double Insulation: Ensures electrical safety and allows use without an earth wire.
Usage Features
Switch Action
The tool features a switch lever for operation. To start, push the switch lever to "ON (I)" on the left side. To stop, push the switch lever to "OFF (O)" on the right side. The switch can be locked in the "ON" position for extended use, but users are cautioned to maintain a firm grasp on the tool.
Side Handle (Auxiliary Handle)
The side handle can be swung 360° on the vertical axis and secured in any desired position by loosening and tightening the clamp nut. It is crucial to always use the side handle for safe operation and ensure it is firmly secured after adjustment.
Installing and Removing the Bit
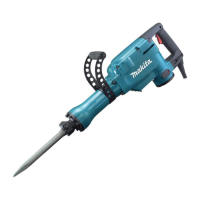
For HM1511, HM1501:
- Clean the shank end of the bit and apply grease (approx. 0.5 - 1 g) for smooth action and longer service life.
- Insert the bit into the tool holder with the notched portion facing the tool retainer.
- Pull out and turn the tool retainer 180° to secure the bit.
- Always ensure the bit is securely retained by attempting to pull it out.
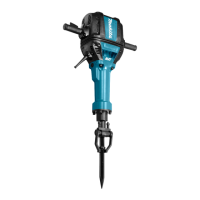
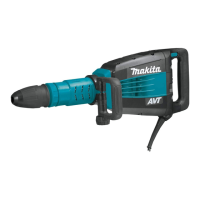
For HM1512, HM1502:
These models accept bits with or without a collar on the shank.
For bits with a collar:
- Pivot the tool retainer as shown in the figure.
- Insert the bit into the tool holder as far as it will go.
- Return the tool retainer to secure the bit.
For bits without a collar:
- Pivot the tool retainer as shown in the figure.
- Insert the bit into the tool holder as far as it will go, with the notched portion of the bit facing the tool retainer shaft.
- Return the tool retainer to secure the bit.
To remove the bit, follow the installation procedure in reverse.
This attachment reduces blown-away dust and particles when chiselling in ceramic materials or concrete.
- Install the hose holder (A) by loosening the clamp nut, removing the hex bolt, placing the hose holder between the hex bolt and the clamp nut, and tightening the clamp nut firmly.
- Attach the hose holder (C) to the cord guard.
- Attach the dust cover and hose to the tool, and fix the hose to the hose holders.
- Connect the hose to a vacuum cleaner using a hose joint. If the hose is not included, attach the dust cover to the cleaner's joint or to Makita's hose Ø28.
- Adjust the distance between the dust cover and the tip of the chisel or bull point. For self-sharpening bull points, ensure the dust cover does not veil the grooves. For other bits, the recommended distance is 30 mm to 100 mm.
Chipping/Scaling/Demolition
Hold the tool firmly with both hands, using both the side grip (auxiliary handle) and the switch handle. Turn the tool on and apply slight pressure. Avoid pressing too hard, as this will not increase efficiency and may cause the tool to bounce uncontrollably. Ensure the workpiece is secured before operation to prevent movement and injury. Do not pull the tool out forcibly if the bit gets stuck, as this can lead to loss of control and injury. Do not leave the tool stabbed in the workpiece, as it may start unintentionally.
Maintenance Features
General Maintenance
- Always ensure the tool is switched off and unplugged before performing any inspection or maintenance.
- Never use gasoline, benzine, thinner, alcohol, or similar substances, as they can cause discoloration, deformation, or cracks.
- For product safety and reliability, all repairs, maintenance, or adjustments should be performed by Makita Authorized or Factory Service Centers using Makita replacement parts.
Lubrication
- This tool features a grease-packed lubrication system and does not require hourly or daily lubrication.
- Regular relubrication is necessary. This service should be performed by Makita Authorized Service Centers. The complete tool should be sent to a Makita Authorized or Factory Service Center for this lubrication service.
Safety Warnings
The manual emphasizes numerous safety warnings, including:
- Personal Safety: Stay alert, use common sense, avoid operating while tired or under influence, use personal protective equipment (eye protection, dust mask, non-skid safety shoes, hard hat, hearing protection), prevent unintentional starting, remove adjusting keys/wrenches before turning on, avoid overreaching, dress properly (no loose clothing/jewelry), use dust extraction/collection facilities, do not let familiarity lead to complacency, and always wear protective goggles/face shield.
- Electrical Safety: Ensure power tool plugs match outlets, avoid body contact with earthed surfaces, do not expose to rain/wet conditions, do not abuse the cord, use suitable extension cords outdoors, use RCD protected supply in damp locations, be aware of EMF (consult doctor if using pacemaker), do not touch power plug with wet hands, and replace damaged cords immediately.
- Electric Breaker Specific Safety Warnings: Wear ear protectors, use auxiliary handle(s), hold by insulated gripping surfaces (to avoid electric shock from hidden wiring), wear hard hat/safety glasses/face shield, ensure bit is secured, check screw tightness regularly, warm up tool in cold weather, ensure firm footing, and hold tool firmly with both hands.
- Keep hands away from moving parts, operate only when hand-held, do not point the tool at anyone, avoid touching hot bits/workpieces, be aware of toxic chemicals in materials, do not touch power plug with wet hands, check for buried objects (pipes, wires) before operation, and avoid unnecessary no-load operation.