S
Sheila StevensonAug 17, 2025
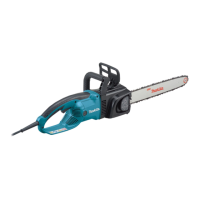
Why my Makita UC3050A Chainsaw does not start?
- MMark WardAug 17, 2025
Your Makita Chainsaw might not be starting due to several reasons. First, ensure it is properly connected to a working power supply, and check the power supply itself. If the cable is defective or the tool has malfunctioned, stop using it immediately and seek assistance from your local authorized service center.