12
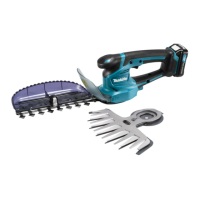
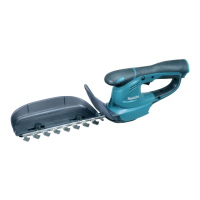
shear blades as optional accessory are provided with or
that remains inside gear housing.
1
2
3
010907
Overlap the oval hole in the upper blade with that in the
lower one. Move the shear blades so that the hole in the
base plate of shear blades are positioned in the center of
these overlapped oval holes.
1
010908
Take out the blade cover from the old shear blades and fit
it onto the new ones for easy handling during the
replacement of blades.
1
010909
Turn the shear blades upside down and install it so that
pin on the tool fit in the hole in the shear blades. Fit the
bent part of the base plate of the shear blades to the
groove in the tool housing. Then make sure that the base
plate of the shear blades is set in place.
1
010910
Tighten two screws with a coin or similars firmly.
1
2
010911
Place the undercover so that the symbol on the
undercover is aligned with the symbol
on the locking
lever.
010912
Press the undercover down and with the undercover
pressed down turn the undercover clockwise until the
symbol
on the label is aligned with the symbol on
the locking lever (the undercover is completely locked.).
1
2
010913
At this time, make sure that the lockimg lever fits in the
groove in the undercover.
CAUTION:
• Never use the tool without installing the undercover
on it.
1. Groove in the
undercover
2. Locking lever
1. Locking lever
2. Undercover
1. Screws
1. Bent part of the
base plate of
shear blades
1. Blade cover
1. Oval holes that are overlapped
2. Hole in the base plate of shear blades
3. Base plate
 Loading...