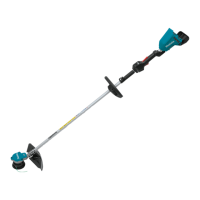
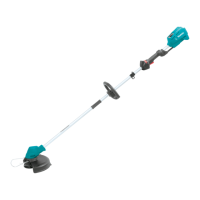
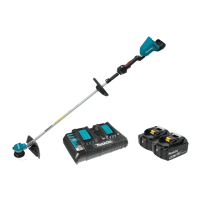
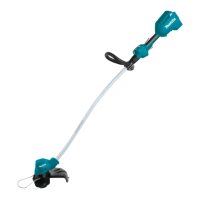
P 3/ 19
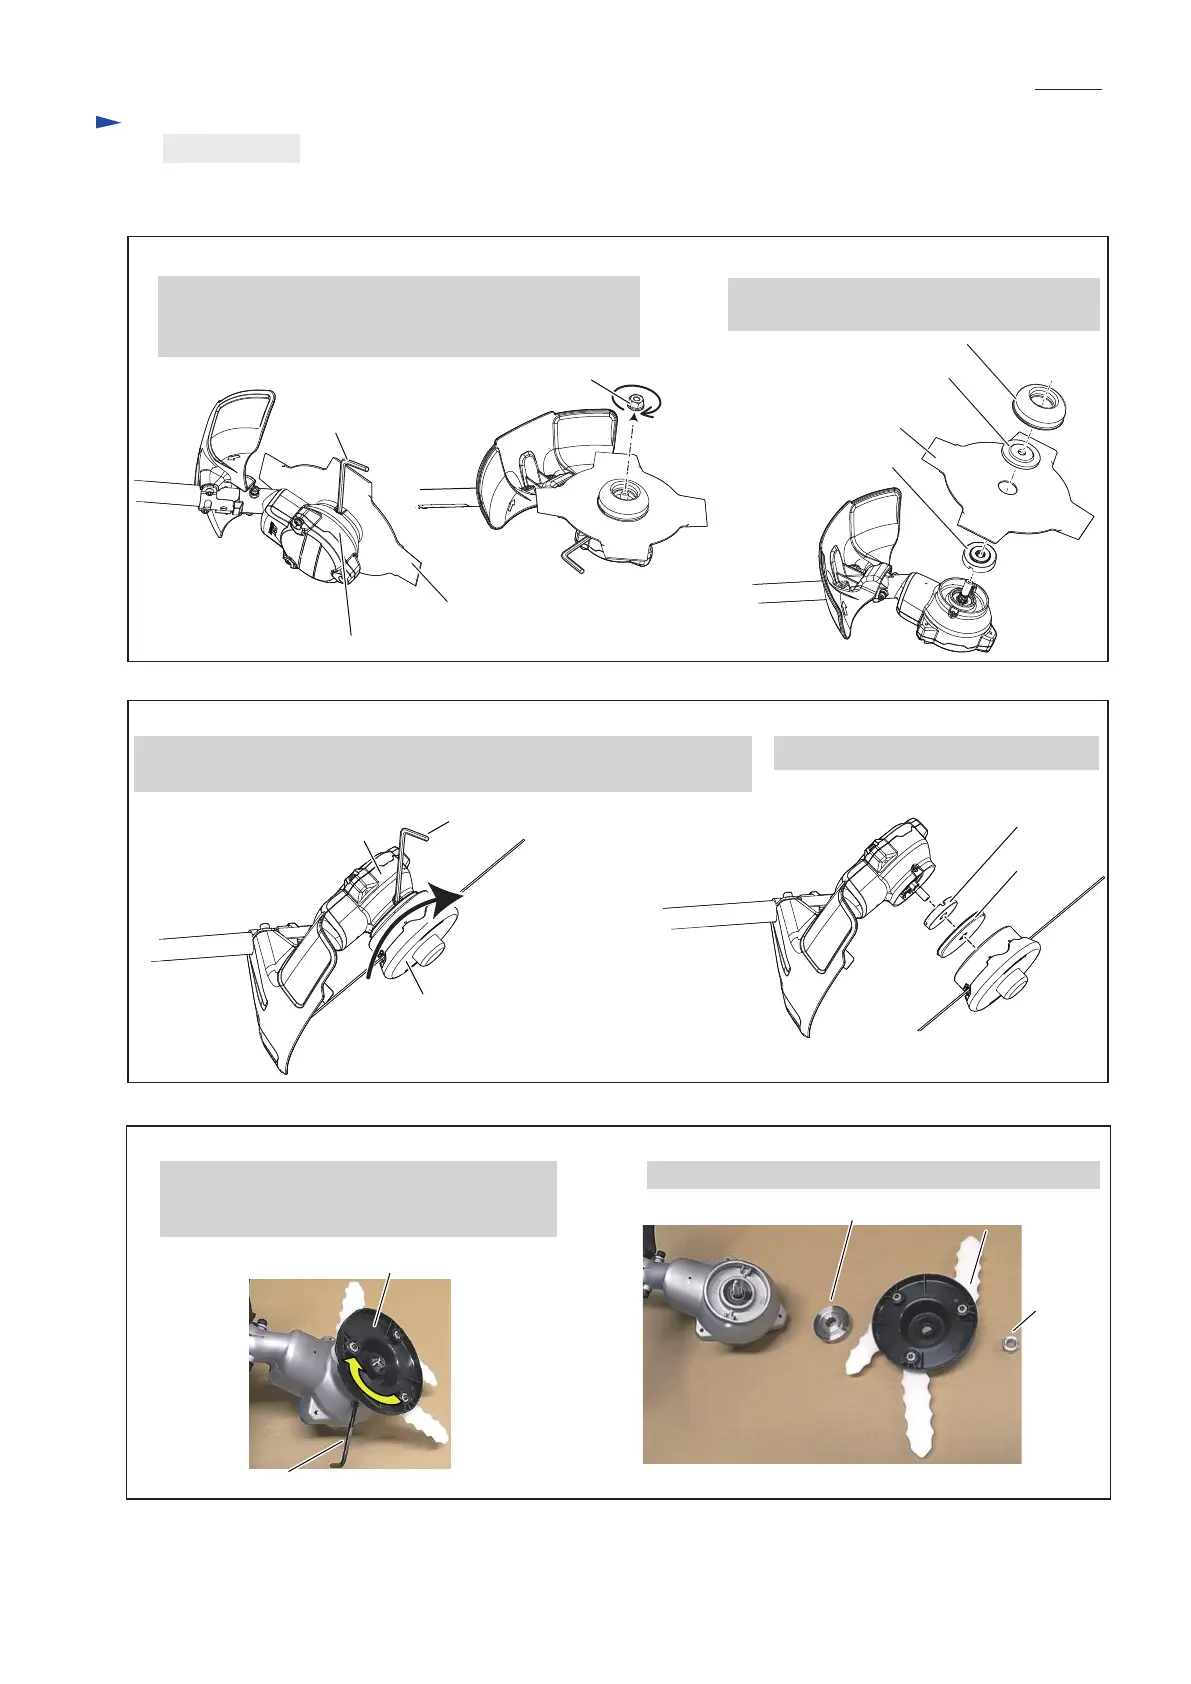
(1) Remove Cutter blade / Tipped saw blade / Nylon cutting head / Plastic blade. (Figs. 2-1-1, 2-1-2 and 2-1-3)
2 ROTOR, STATOR ASS’Y
2-1 Disassembling
1. Hold Rotor by inserting Hex wrench into the side hole
of Motor housing.
Remove M10-17 Hex nut by turning it clockwise.
2. Remove Cup, Clamp washer, Cutter blade
and Receive washer A (48).
M10-17 Hex nut
Fig. 2-1-1
Fig. 2-1-2
Hex wrench to hold Rotor
Motor housing
Receive washer A
Cutter blade/Tipped saw blade
Cutter blade/Tipped saw blade
Clamp washer
Cup
< Cutter blade/ Tipped saw blade>
1. Hold Rotor by inserting Hex wrench into the side hole of Motor housing.
Remove Nylon cutting head by turning it clockwise.
2. Remove Guard and Receive washer.
Guard
Receive washer
Nylon cutting head
Hex wrench to hold Rotor
Motor housing
< Nylon cutting head>
Fig. 2-1-3
1. Hold Rotor by inserting Hex wrench into
the side hole of Motor housing.
Remove Plastic blade by turning it clockwise.
Plastic blade
Hex wrench
2. Remove Hex nut, Plastic blade and Receive washer.
Hex nut
Receive washer
< Plastic blade >
Plastic blade
 Loading...