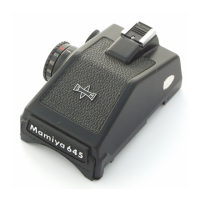
10. Eyecup
11. Eyepiece
12. Lock Button
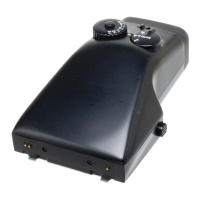
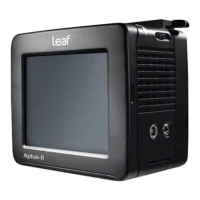
Attaching the Finder to the Camera Body, Fig. A
1. Insert the two Attaching Latches (8) on the front of the finder into the mounting holes on the front of
the camera body.
2. Push down on the back of the finder until it click and locks into place.
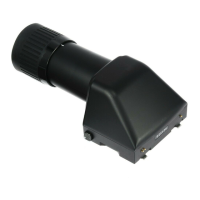
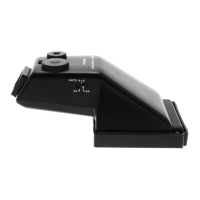
Removing the Finder from the Camera Body, Fig. B
1. Push the finder’s Lock Release Button (3) while pushing down on the button the other side of the
finder.
2. Lift the finder up and off of the camera body.
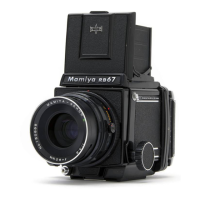
Using the AE Prism Finder FE401
AE Photography
1. To enable AE (Automatic Exposure) Mode, set ‘A’ on the camera’s Shutter Speed Dial opposite the
index mark on the on the center of the dial, Fig. 1.
2. Set the ISO speed on the finder’s ISO Dial, Fig. 2.