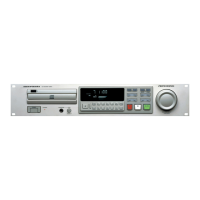
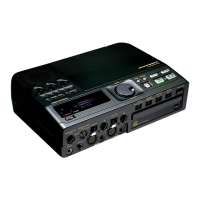
14
ENGLISH
Creating a Virtual Track
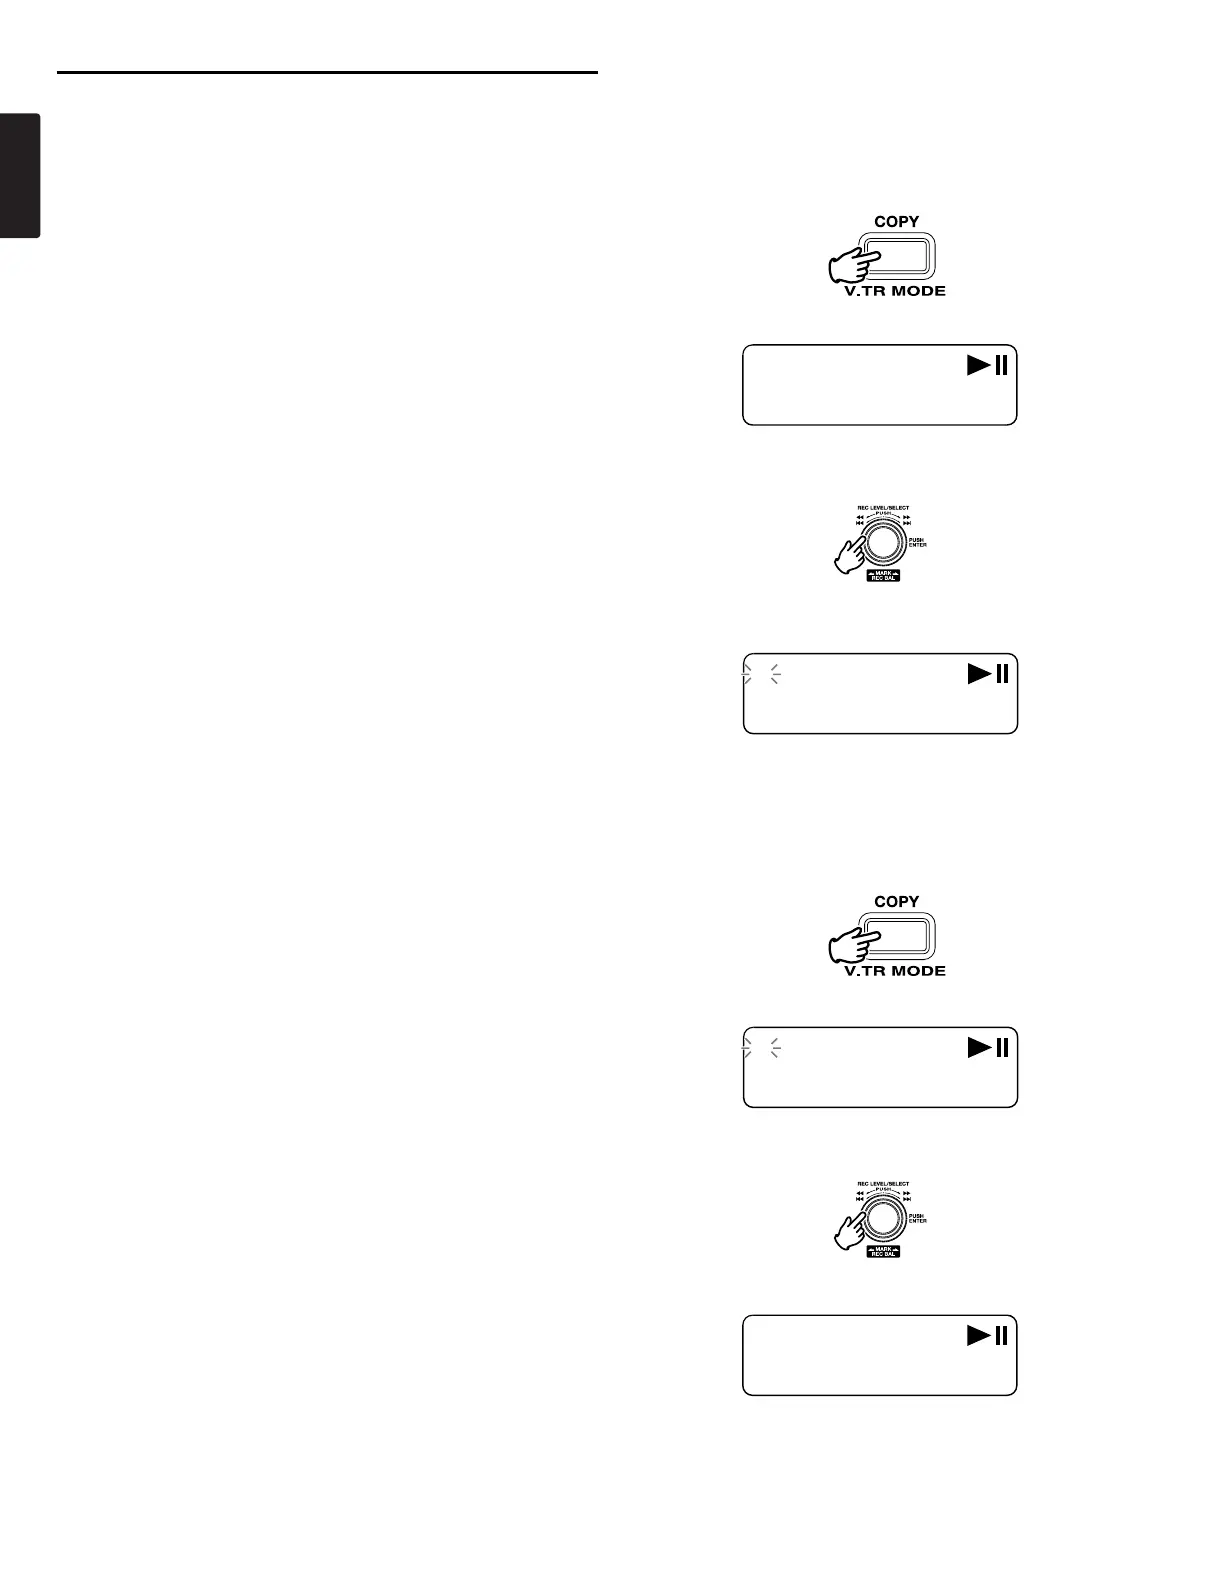
1. During playback, push the COPY button when the audio
reaches your desired In Point.
“SetAs IN?” is displayed.
2. Push the Jog wheel or the PLAY/PAUSE button to store the
In point.
“IN-” will flash in the display to indicate the In point has been
stored and playback of the file resumes.
3. Continue to let the PMD560 play to your desired Out point, or
use the standard transport controls like the Jog wheel to
span greater time lengths.
4. When you have reached your desired Out point, push the
COPY button.
“SetAs OUT?” is displayed.
5. Push the Jog wheel or the PLAY/PAUSE button to store the
Out point.
“StoreV. Tr?” is displayed.
Virtual Track and Copy Segment
Virtual Track
Virtual Track allows you to set an In point and an Out point
within a file (or across multiple files of the same RecFormat and
RecChannel) for later, immediate access. Files marked as
Virtual Tracks are stored in the PMD560 and can be accessed
quickly by entering the PMD560 in Virtual Track Playback mode.
See
page 14, Creating a Virtual Track.
See
page 16, Entering Virtual Track Playback mode.
Note:
Because Virtual Tracks are really just location information
stored on the card, creating Virtual Tracks requires practically
no memory on your card reserving valuable space for actual
recorded material.
Copy Segment
Copy Segment operates exactly like Virtual Track except,
instead of storing In and Out points for immediate playback
access, Copy Segment physically turns your “highlighted”
section into a new and separate file, without destroying the
original source file(s).
See
page 15, Using Copy Segment to create a new file.
Virtual Track Edit mode
In addition, Virtual Playback mode has an edit menu that allows
you to turn one Virtual Track into a new file, all Virtual Tracks
into new files, erase a Virtual Track, and erase all Virtual
Tracks.
See
page 16, Virtual Track Edit mode.