5
ENGLISH
!1 MENU / STORE / EDIT button
• MENU
Menu, accessed from stop by pushing the MENU button,
lets you set or change recording and playback
parameters, such as changing inputs and setting the Date
and Time.
• STORE
Push the STORE button while in the preset menu to write
menu changes and return to stop mode.
See page 21, How to set or change the preset
parameters.
• EDIT
Edit menu, accessed from stop by pushing and holding the
SHIFT button then pushing the EDIT button, lets you erase
tracks, erase EDL marks and format the CF card.
!2 DISPLAY / LOCK button
• DISPLAY
Push to tab through alternate information displays.
Displays are slightly different in Stop, Record and Play.
See Page 21, Display, for more information.
• LOCK
Secures the PMD560 in its present state during Record,
Playback or Stop.
Push and hold the SHIFT button while pushing the
DISPLAY/LOCK button to lock all functions.
!3 USB port
USB mode is started by connecting a USB cable while
stopped.
The CF card in the PMD560 appears as an external drive
on a connected computer. It may also be removed for
data transfer.
See page 18, How to connect via the USB port.
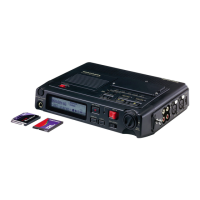
!4 CF card compartment
Pull the card door open to access the CF card.
!5 LEVEL control
Turn to adjust the volume of headphones plugged into the
HEADPHONE jack.
!6 HEADPHONE jack
Stereo headphones are plugged into this jack.
RISK OF ELECTRIC SHOCK
DO NOT OPEN
AUDIO SYSTEM
6 9 F M
100-240V 50/60Hz
MODEL NO. PMD560
SERIAL NO.
FACT
OR
Y CODE
NO.4300
OUTIN
R
L
WARNING : SHOCK HAZARD - DO NOT OPEN.
AVIS : RISQUE DE CHOC ÉLECTRIQUE - NE PAS OUVRIR.
MADE IN JAPAN
FABRIQUE AU JAPON
THIS DEVICE COMPLIES WITH PART 15 OF THE FCC RULES.OPERATION IS SUBJECT
TO THE FOLLOWING TWO CONDITIONS;
(
1
)
THIS DEVICE MAY NOT CAUSE HARMFUL
INTERFERENCE,AND
(
2
)
THIS DEVICE MUST ACCEPT ANY INTERFERENCE RECEIVED,
INCLUDING INTERFERENCE THAT MAY CAUSE UNDESIRED OPERATION.
N29
LINE
REMOTE2
REMOTE1 RS232C
c v b nxz
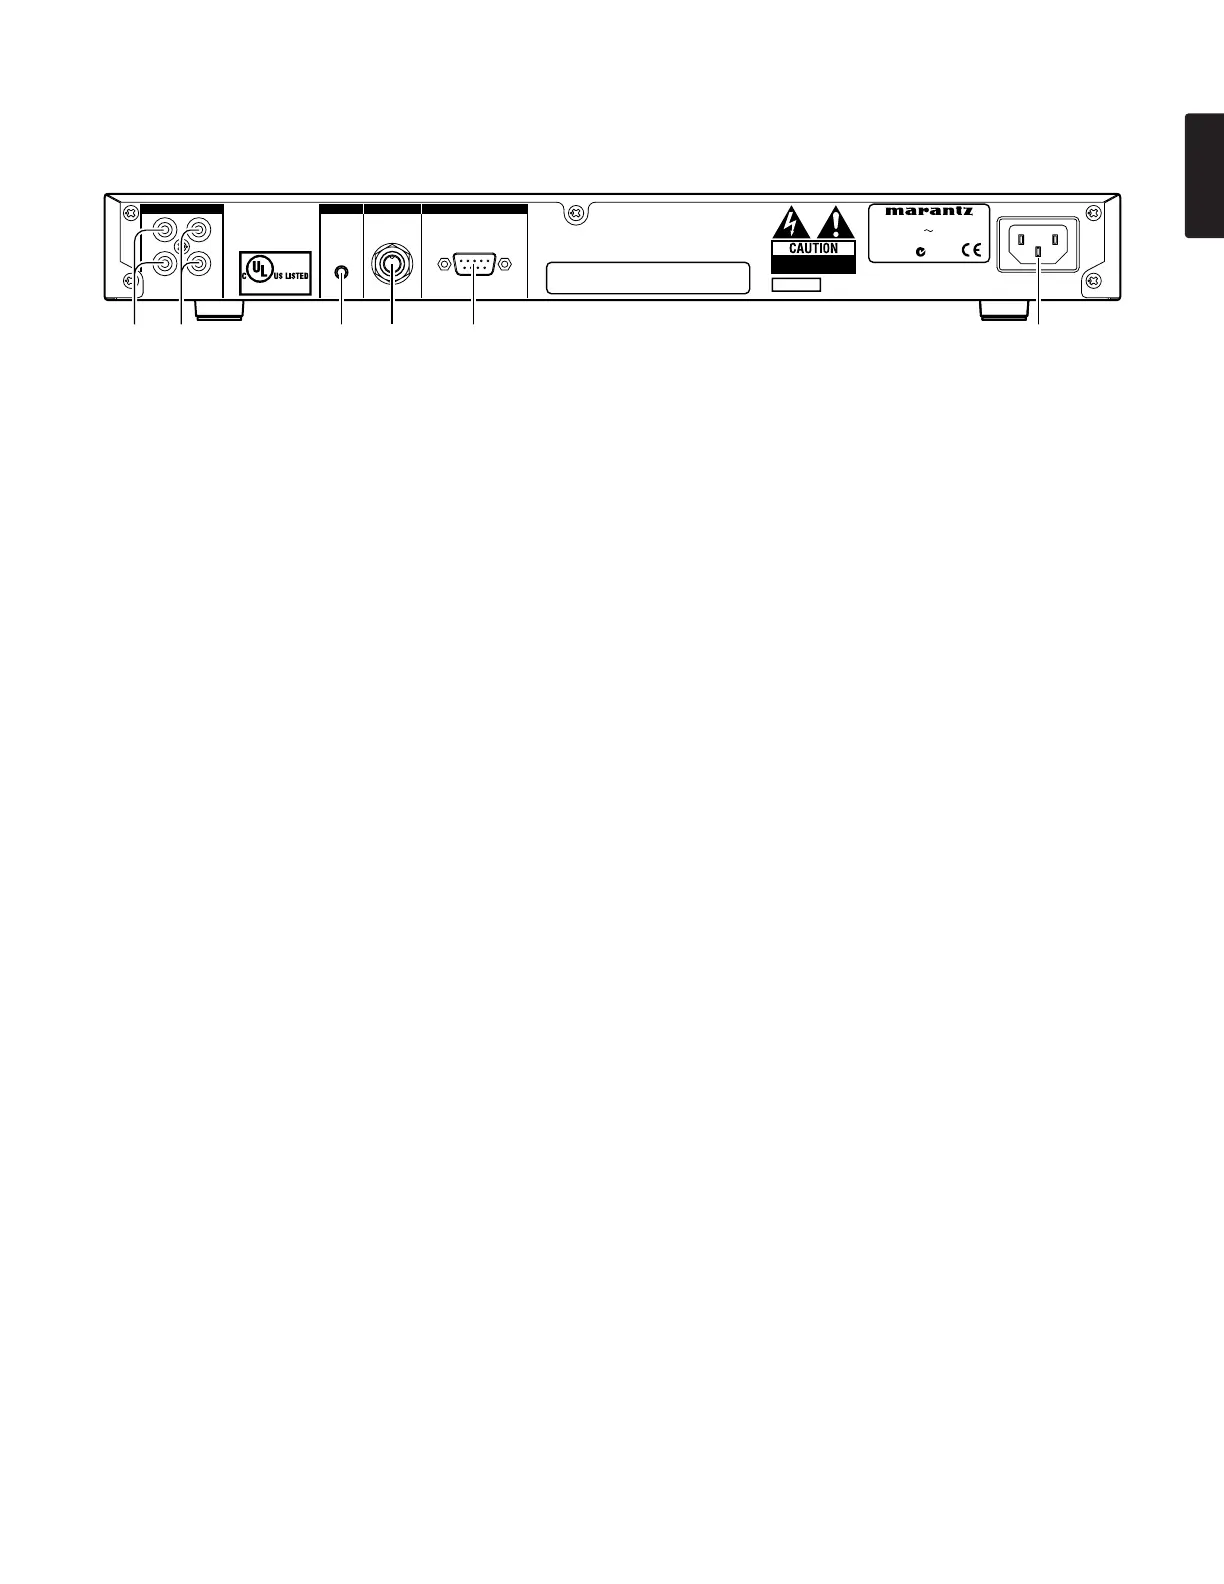
Rear side
z LINE IN (RCA)
Plug external line level audio devices in this jack.
Plug stereo audio cable in this jack to record from the
output of an external unit.
x LINE OUT (RCA)
Plug external line level audio devices in this jack.
Plug stereo audio cable in this jack to connect to the input
of an amplifier or other external unit.
c REMOTE 2 jack
This jack accepts the optional wired remote Marantz
model RC600PMD. Model RC600PMD connects via a
TRRS (Tip Ring Ring Sleeve) plug.
Model RC600PMD permits:
• Starting recording.
• Pausing recording.
• Adding EDL marks.
v REMOTE1 jack
REMOTE1 accepts a remote (not supplied) that connects
via a TS(Tip Sleeve) 1/4 inch plug.
b RS-232C connector
Using serial communication, a host device can control the
PMD560. (page 28)
n AC IN jack
Plug the supplied power cord in this jack.